

StoreCRM provides several actions for Shopify Flow. This page explains the actions that can send email.
Shopify and many Shopify apps provide Shopify Flow triggers. Combining these triggers with StoreCRM actions enables a wide range of integrated campaigns. For example, combine a customer-rank app's rank-change trigger with a StoreCRM action to send an email prepared in StoreCRM when a customer ranks up.
You can also use variables provided by the Shopify Flow trigger in the email body to send more personalized email.
To disconnect LINE:For instructions on disconnecting a customer's LINE account with Shopify Flow, seeDisconnect LINE integration from Shopify Flowfor more information.
Three StoreCRM email actions
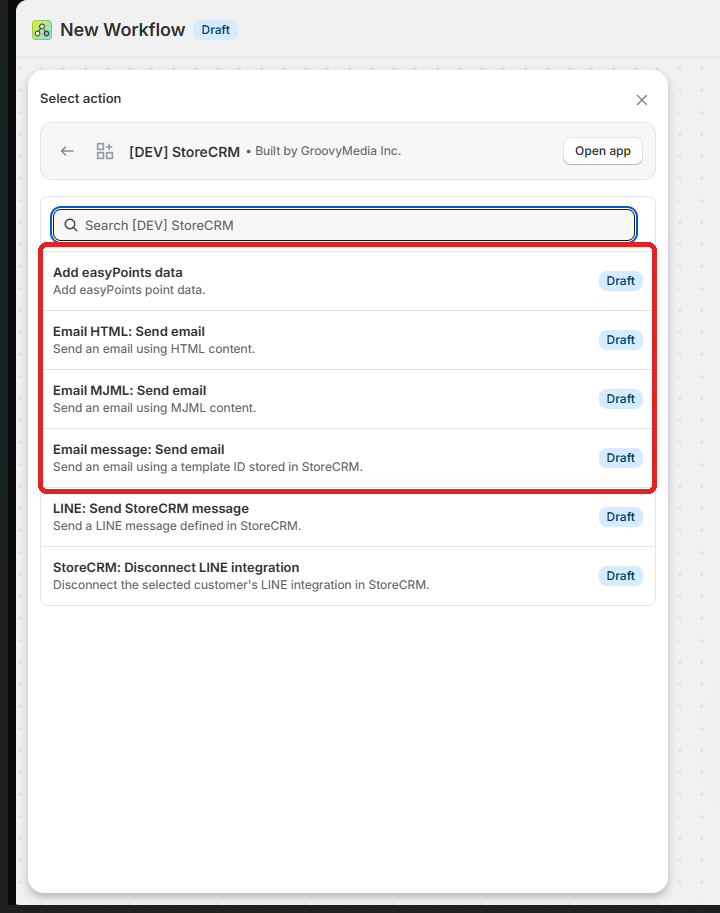
StoreCRM provides the following three actions for sending email.
- Email HTML: Send Email (send an HTML email)
Enter the email body using any HTML. - Email MJML: Send Email (send an MJML email)
Enter the email body using any MJML. - Email Message: Send Email (send an email template)
Send an email created in StoreCRM.
Settings common to the actions
In addition to the email subject and body, the actions have several common settings.
- Do not add a header or footer
Send the email body specified in the action without the header and footer configured in StoreCRM's email component. By default, the email is sent with the header and footer. - Also send to customers without email marketing consent
Send email regardless of whether the customer has consented to email marketing. Enable this only for transactional email, such as order completion messages. - Any email address
This is a test recipient. When this field is set, every workflow execution sends to the entered address. For a store whose review is incomplete, you can specify only one address whose ownership has been verified in StoreCRM Test Settings. A limit of 20 test emails in a rolling 24-hour period also applies. First, seeEnable test modefor detailed instructions. - Any customer ID
This setting is for testing. When a customer ID is entered, every workflow execution sends the email to the address associated with that customer.
Send an email from Shopify Flow
The following steps configure an email sent from Shopify Flow using a StoreCRM action. This example uses Shopify's trigger that runs when an order is canceled.
Configure the trigger
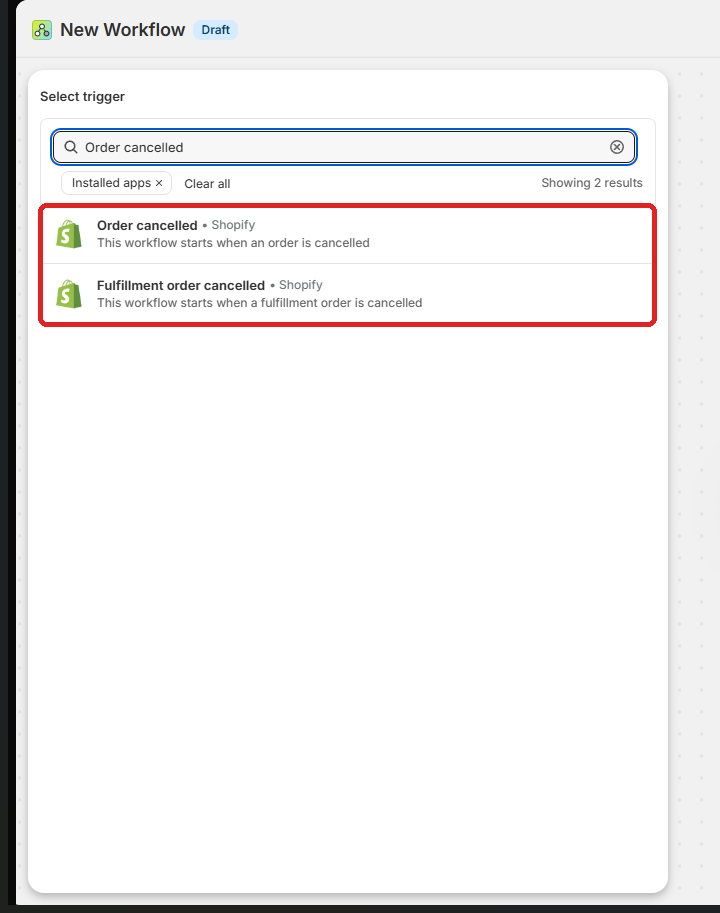
For this example, select Shopify's [Order cancelled] trigger.
Select an action
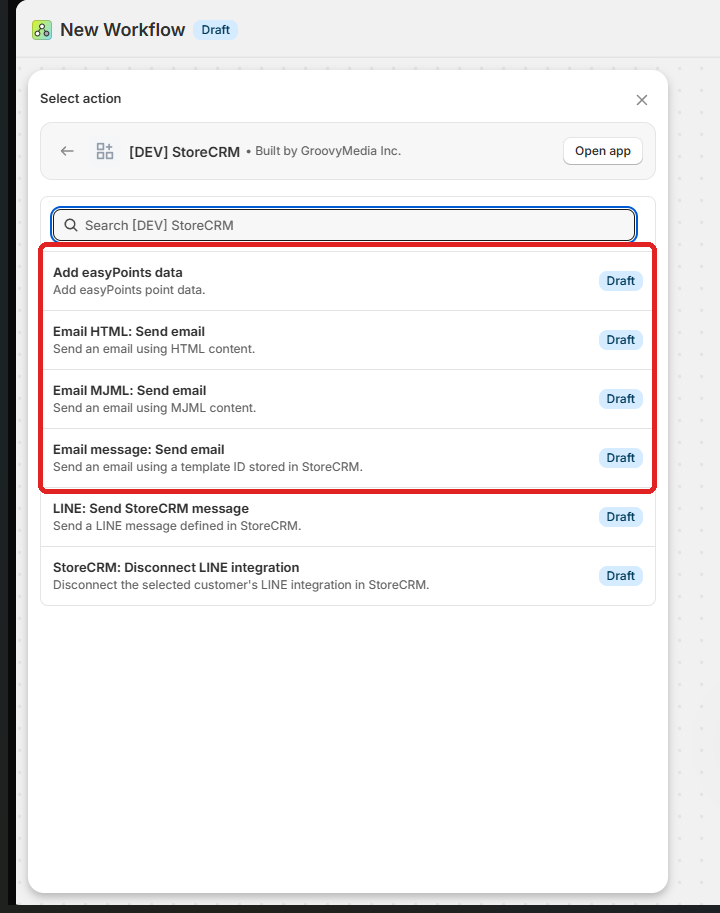
After selecting the trigger, select an action. Choose StoreCRM and continue to the action selection.
Email HTML: Send Email (send an HTML email)to send an email
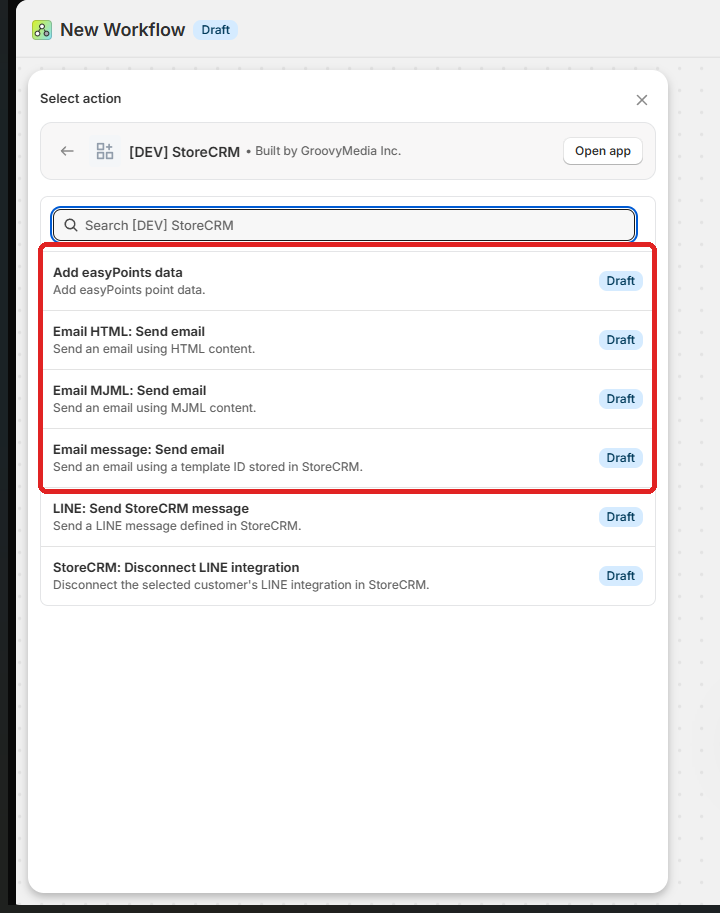
Select [Email HTML: Send Email] from the StoreCRM actions.
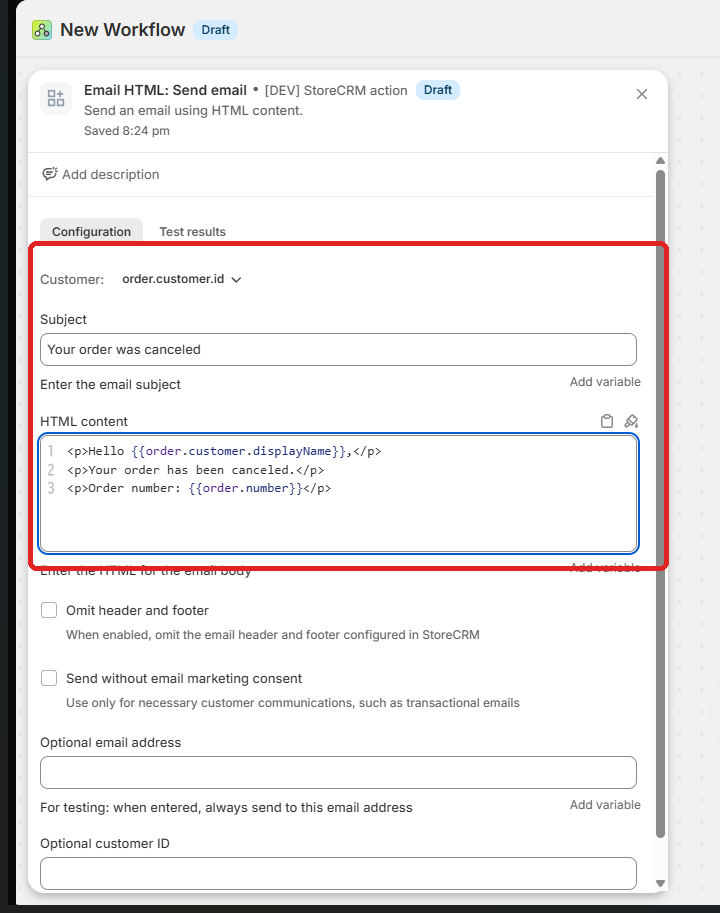
Configure the action. In this example, the subject is “Your order was canceled,” and the following minimal HTML is used for the body.
<p style="margin:0;font-size:16px;line-height:1.6;color:#111;">
  Hello {{order.customer.displayName}},
</p>

<p style="margin:12px 0 0;font-size:16px;line-height:1.6;color:#111;">
  Your order has been canceled.
</p>

<p style="margin:12px 0 0;font-size:14px;line-height:1.6;color:#111;">
  Order number: {{order.number}}
</p>

<p style="margin:12px 0 0;font-size:14px;line-height:1.6;color:#111;">
  If you have any questions, reply to this email.
</p>
Create and then cancel an order to test the workflow. If the email is delivered correctly, the setup is complete.
Email MJML: Send Email (send an MJML email)to send an email
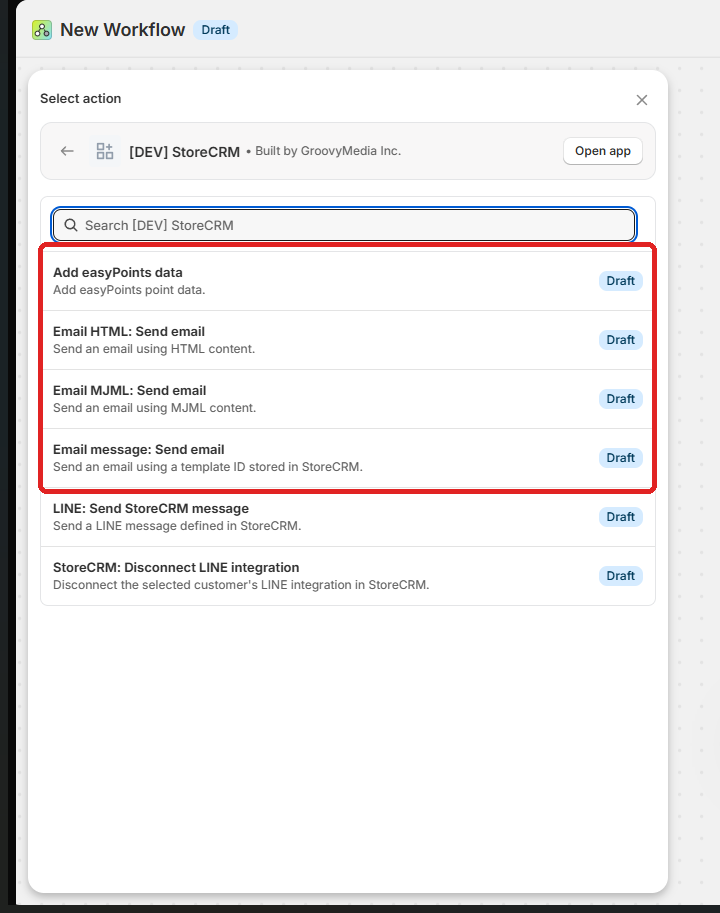
Select [Email MJML: Send Email] from the StoreCRM actions.
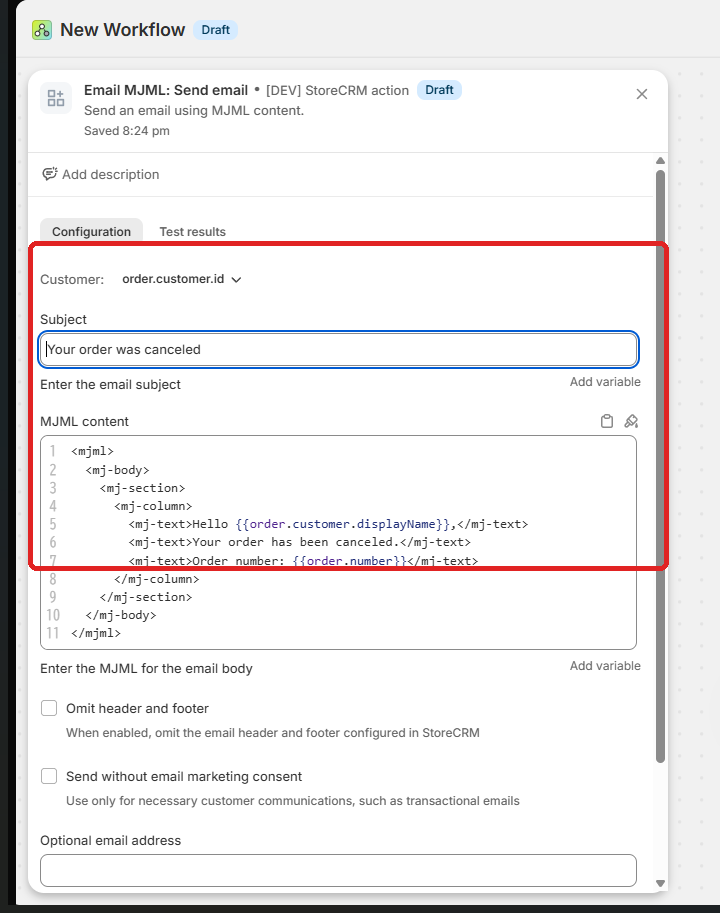
Configure the action. In this example, the subject is “Your order was canceled,” and the following minimal MJML is used for the body.
Hello {{order.customer.displayName}}, Your order has been canceled. Order number: {{order.number}} If you have any questions, reply to this email.
Create and then cancel an order to test the workflow. If the email is delivered correctly, the setup is complete.
Email Message: Send Email (send an email template)to send an email
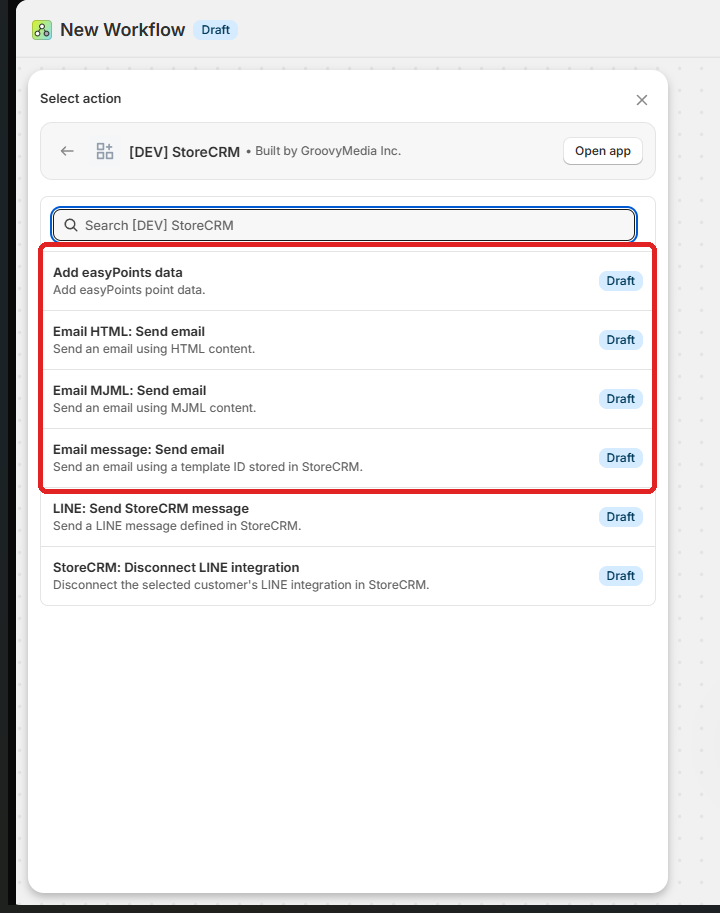
Select [Email Message: Send Email] from the StoreCRM actions.
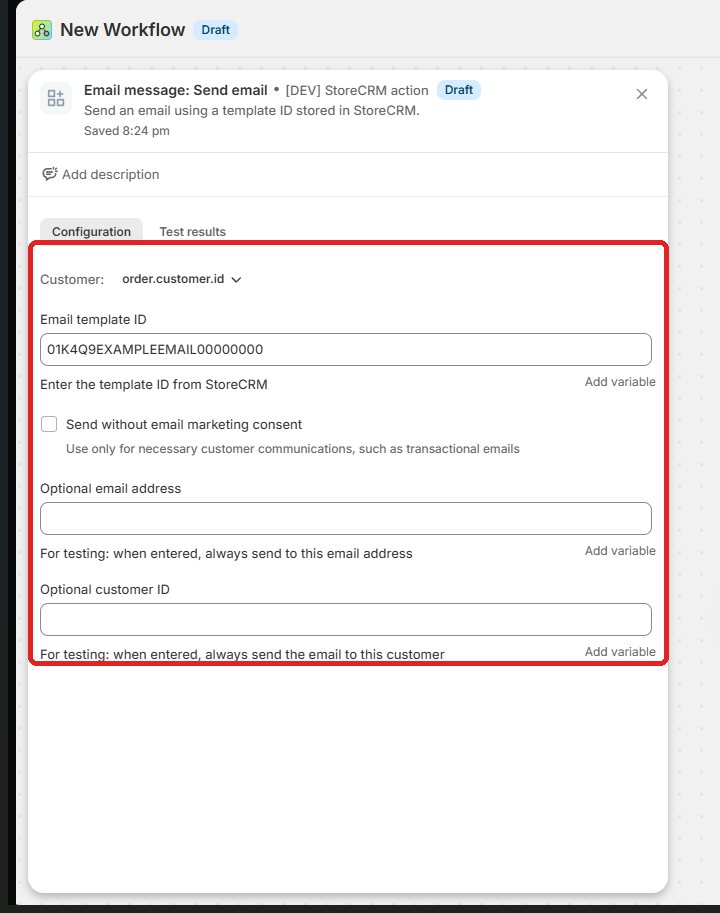
Configure the action. The email template ID is the ID of an email created in StoreCRM. Find it using the following steps.
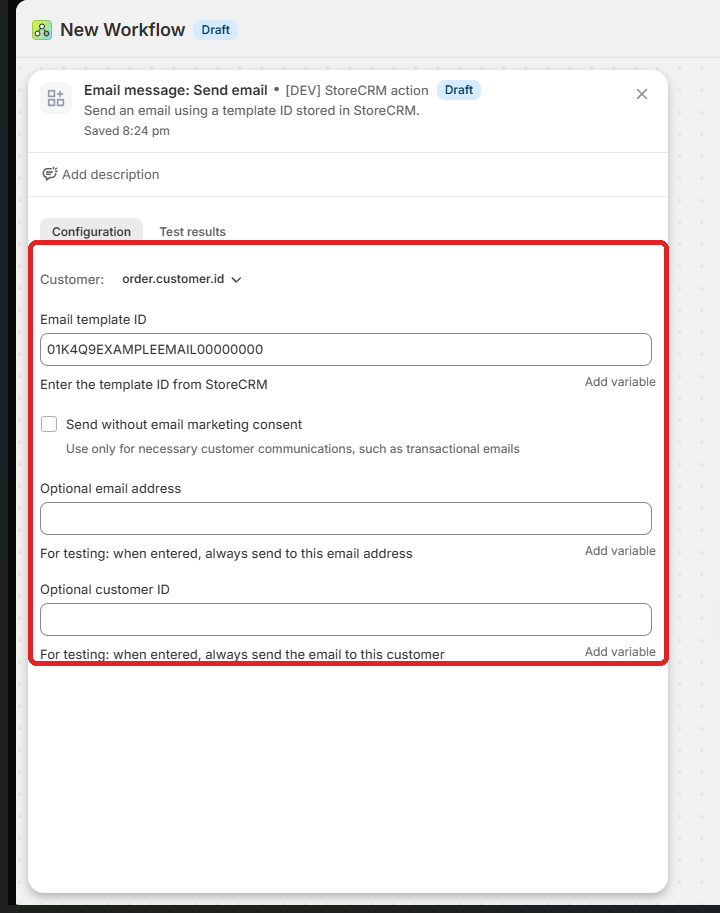
Open StoreCRM, go to [Messages] > [Email List], and select any email to open its details. The string at the end of the URL is the email template ID. Copy and paste it into the action settings.
Create and then cancel an order to test the workflow. If the email is delivered correctly, the setup is complete.
 English
  Japanese