

- The welcome email is the first email sent to customers who have registered their email address with the store.
- Possible times to register an e-mail address include membership registration at the time of purchase, newsletter registration, etc.
- It is the first communication with the customer and greatly affects the first impression of the company or brand.
- A welcome e-mail should be sent as soon as possible after a customer registers his/her e-mail address to make a good impression.
- StoreCRM can automatically send a welcome email one minute after an email address is registered.
- To send a welcome email, you can use StoreCRM'sStandard planYou must subscribe to at least
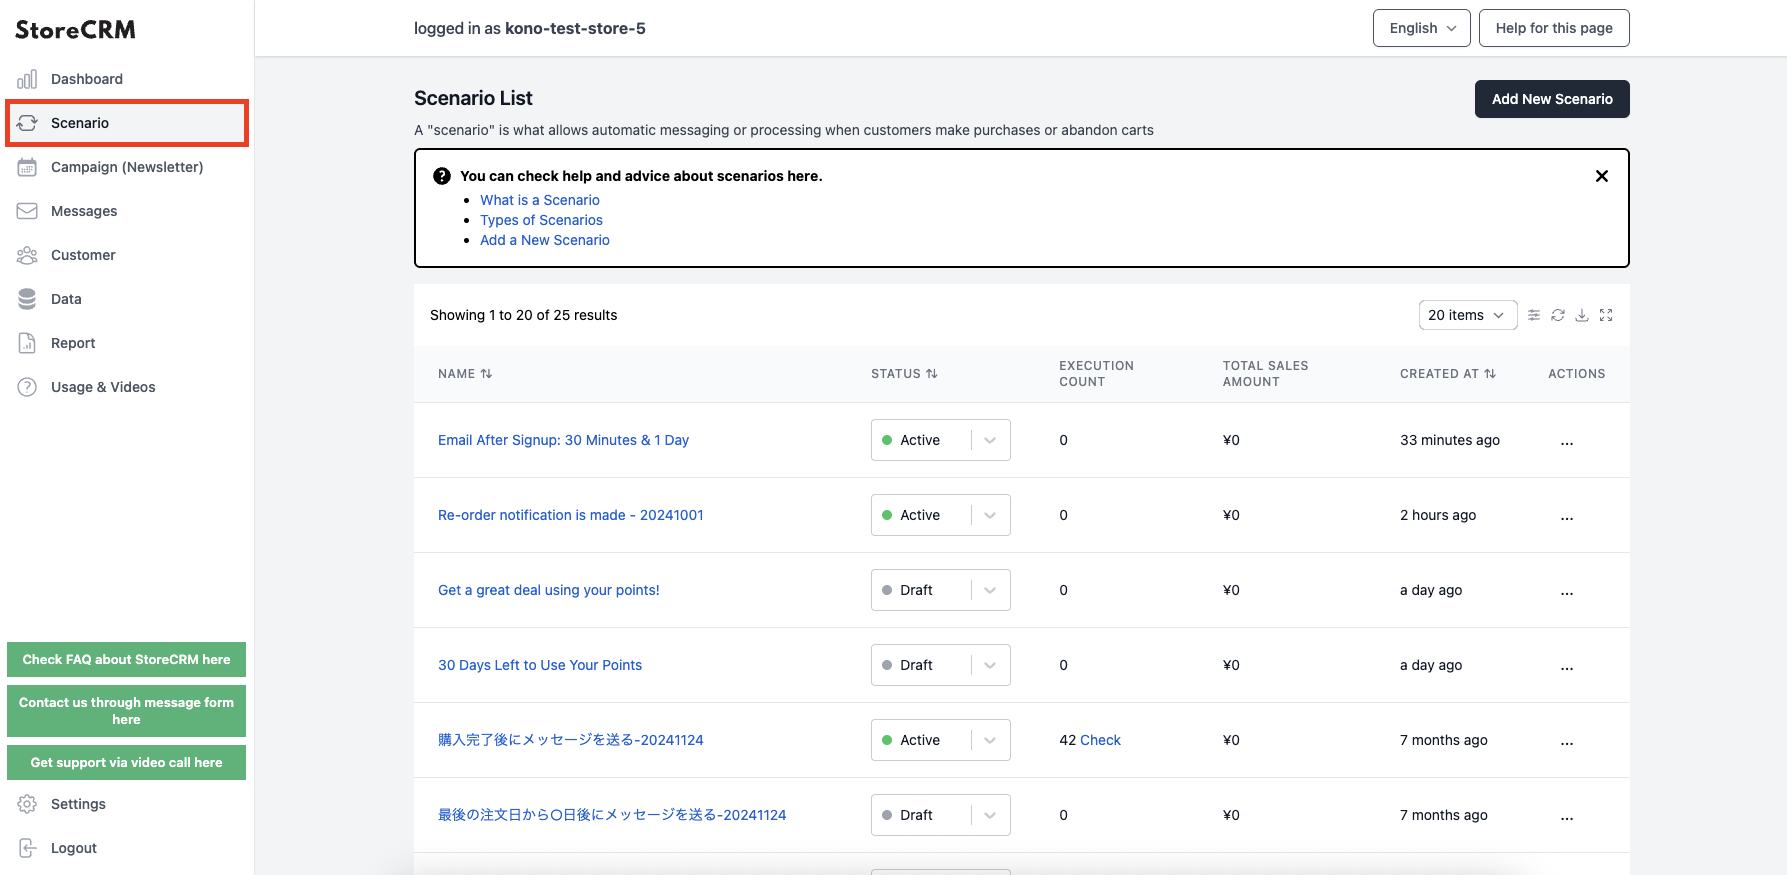
Click on "Scenario.
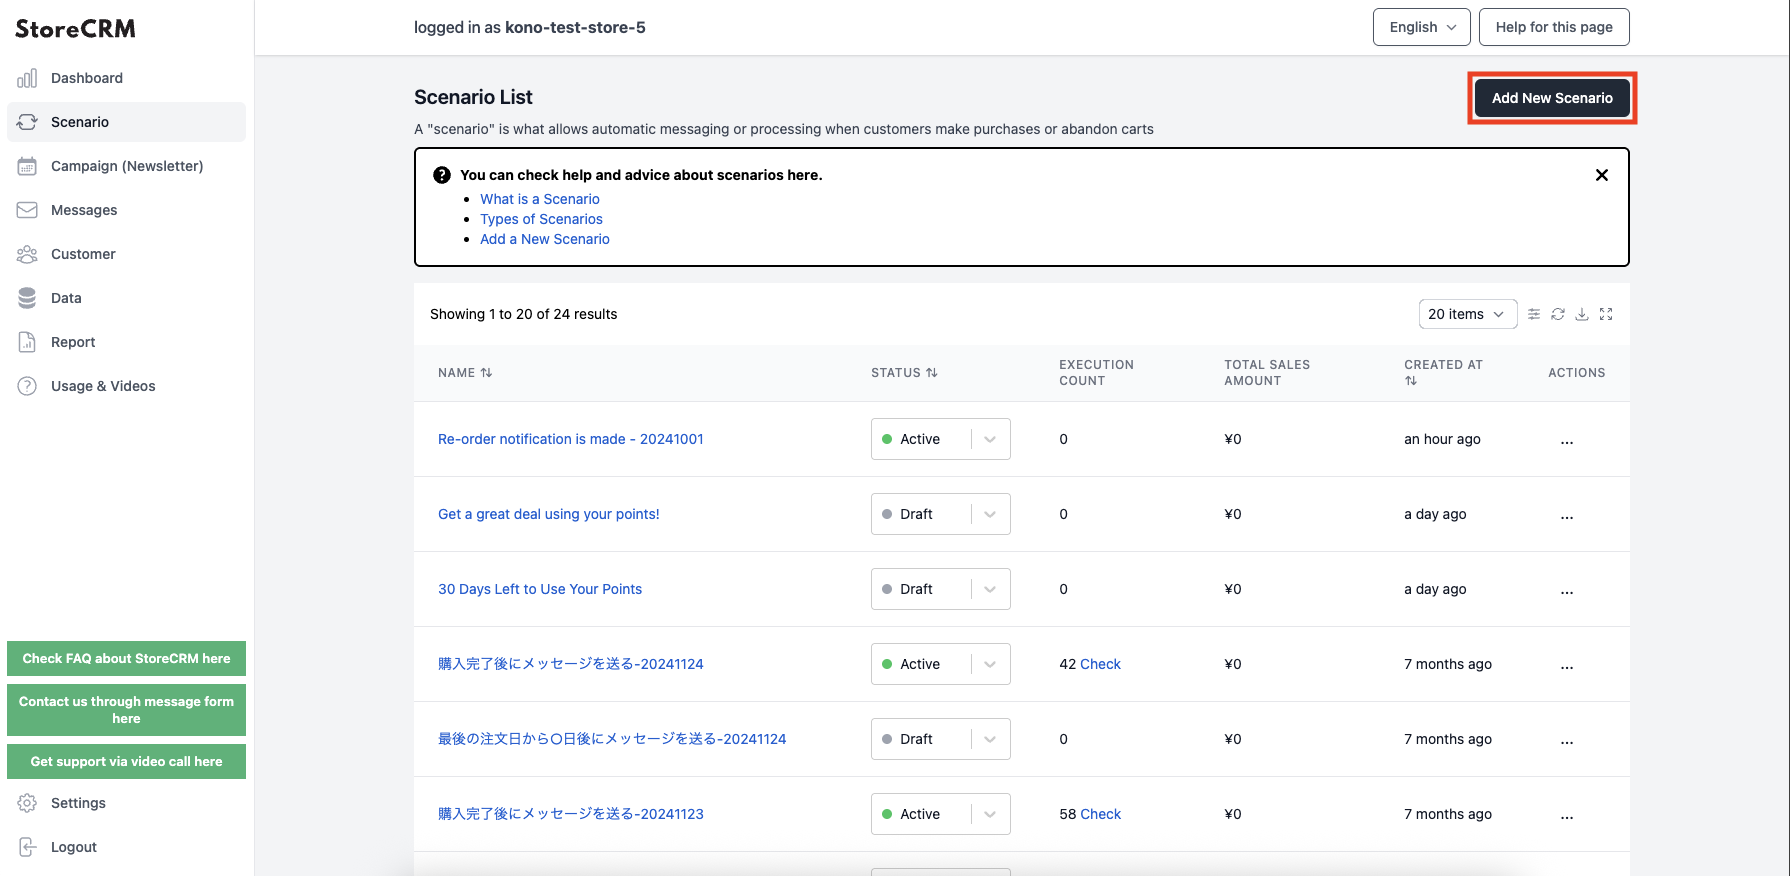
Click on "Add new scenario.
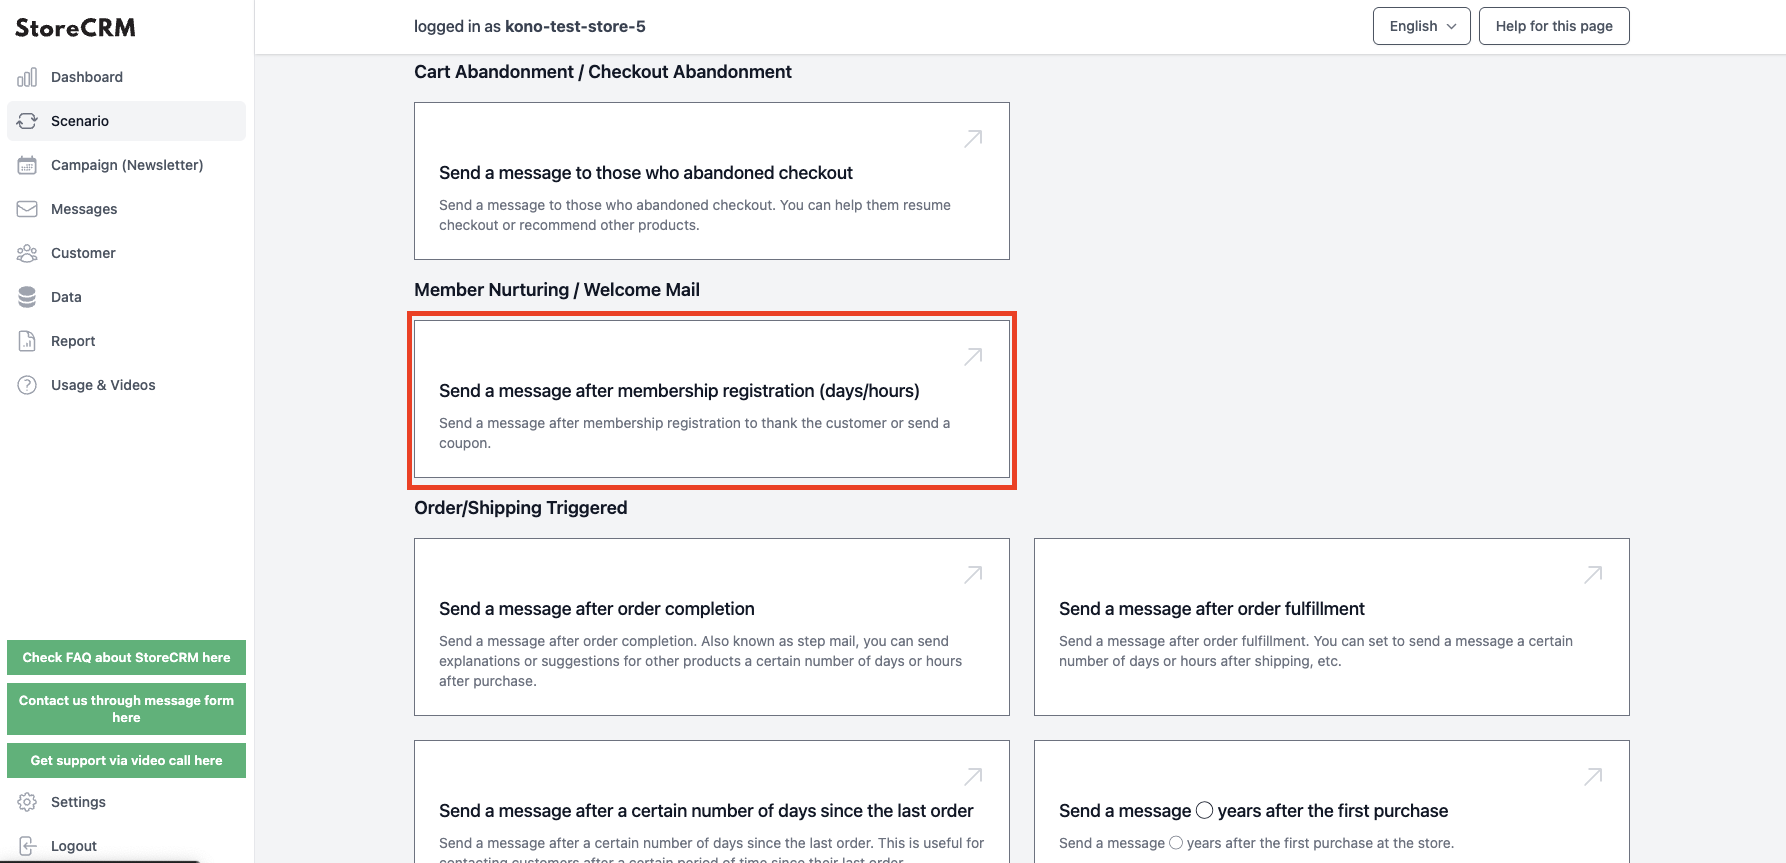
3. click [Send message after 0 days (hours) of membership registration].
Enter a scenario name.
- As an example, "Send a message after 0 days (hours) of membership registration - 20250211".
- For clarity, we recommend that the name be unique, with dates, etc.
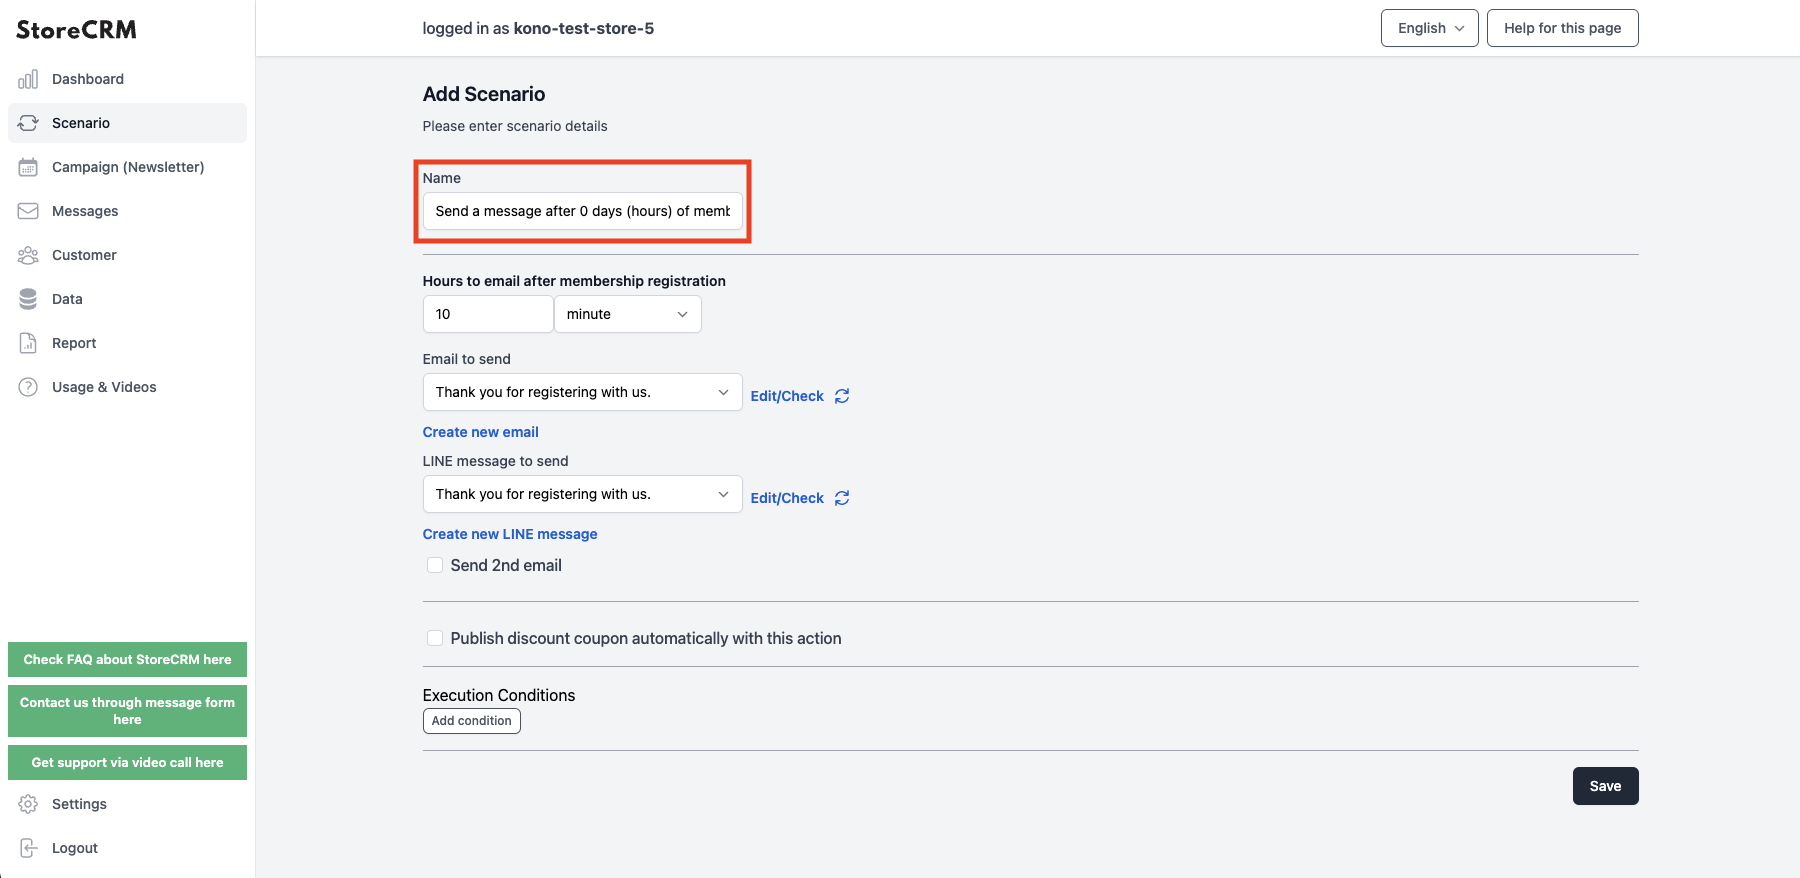
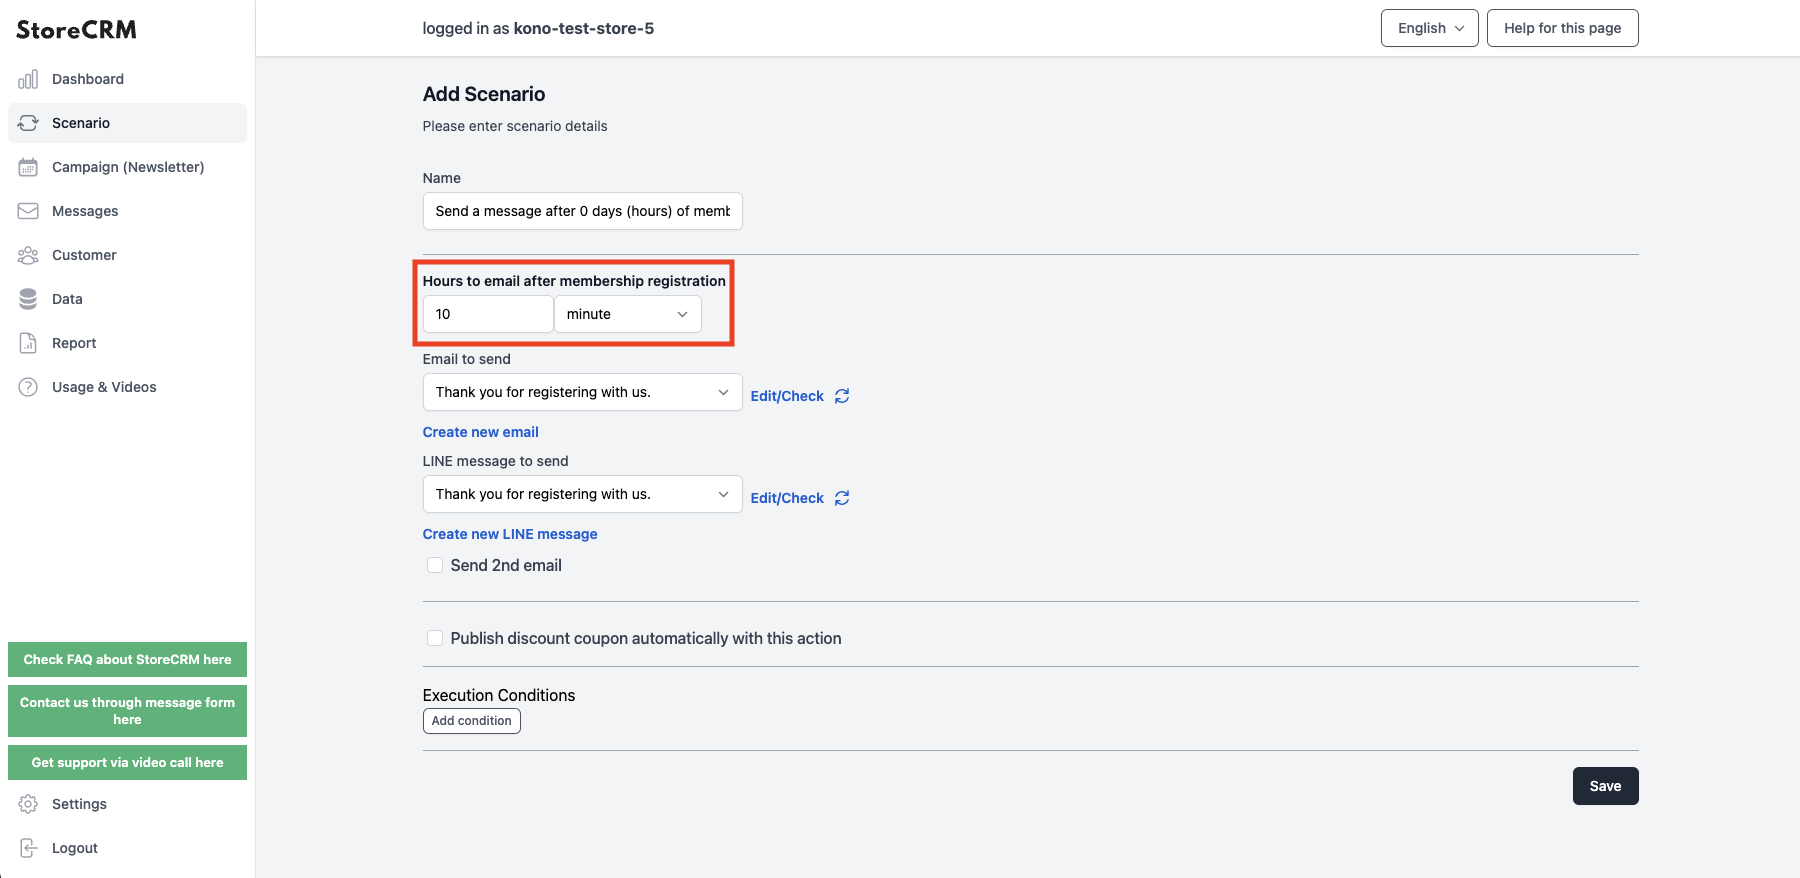
5. set the time between membership registration and sending a message.
- As an example, "10 minutes" was used.
- Units can be selected from minutes, hours, and days.
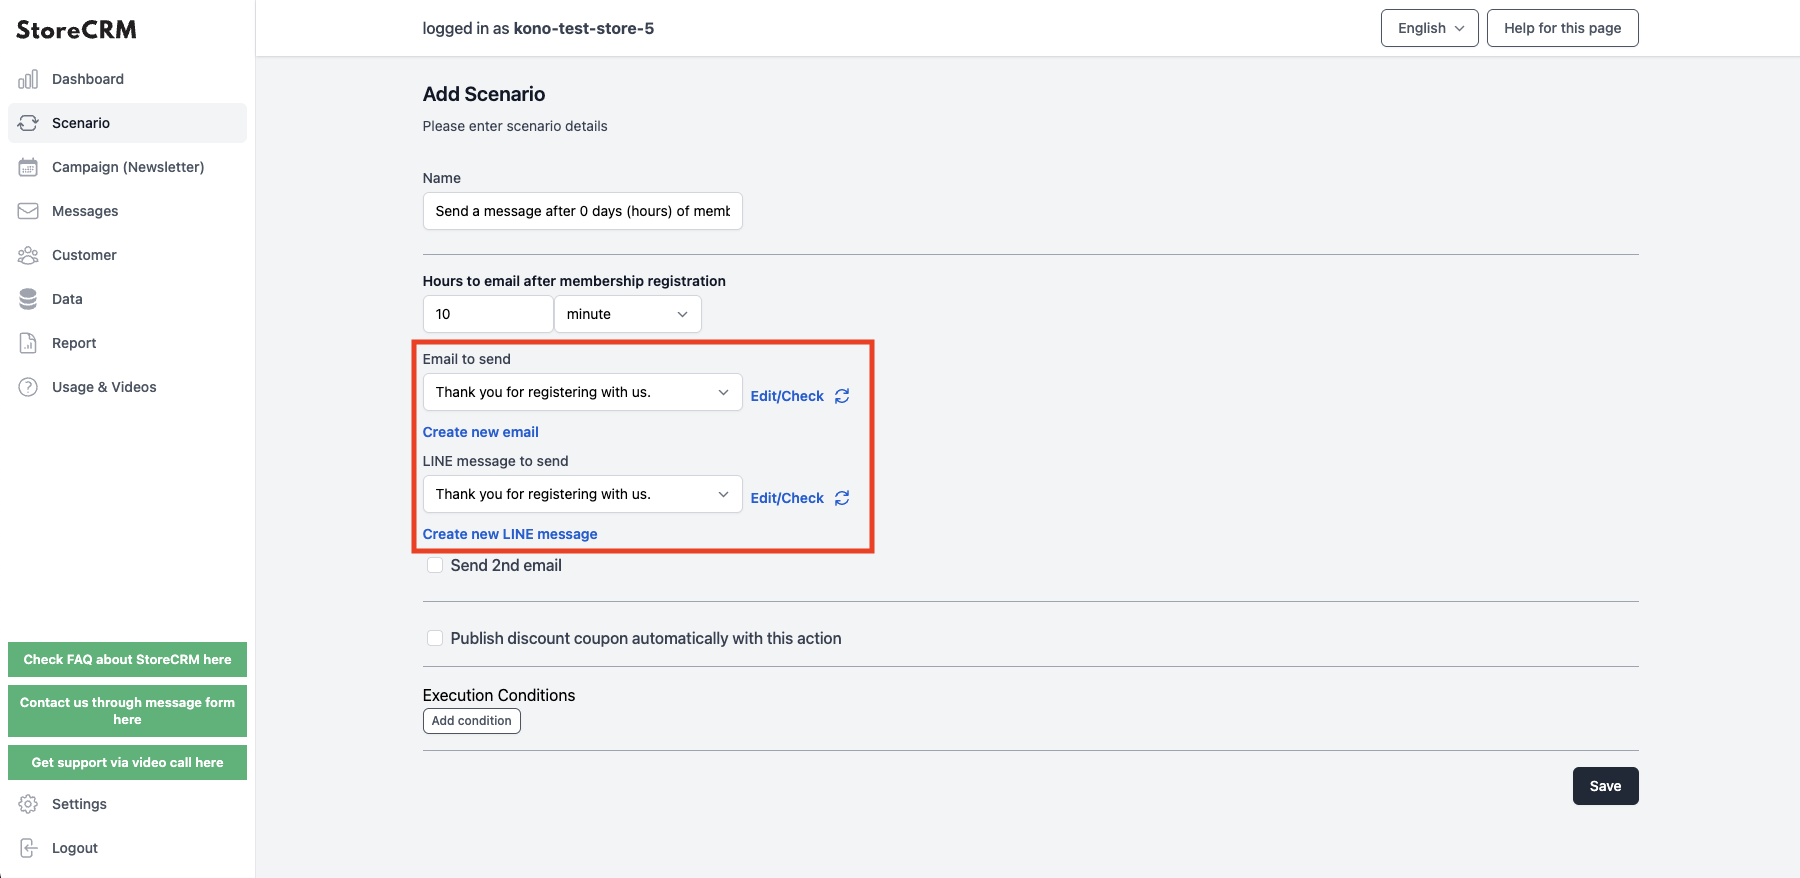
6. select the e-mail and LINE message to be sent.
- LINE messages can be sent at the same time.
- To create a new email, click on the [.MessageThis is done from [Mail List] → [Mail List].
- You can send an email using a template, or you can create your own original email.
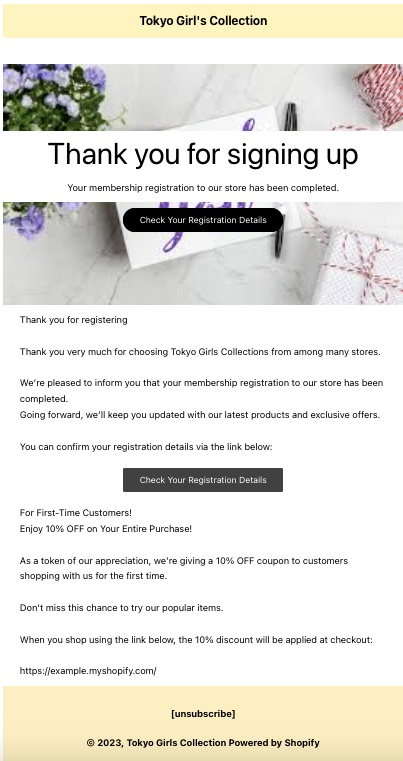
Example of a welcome email
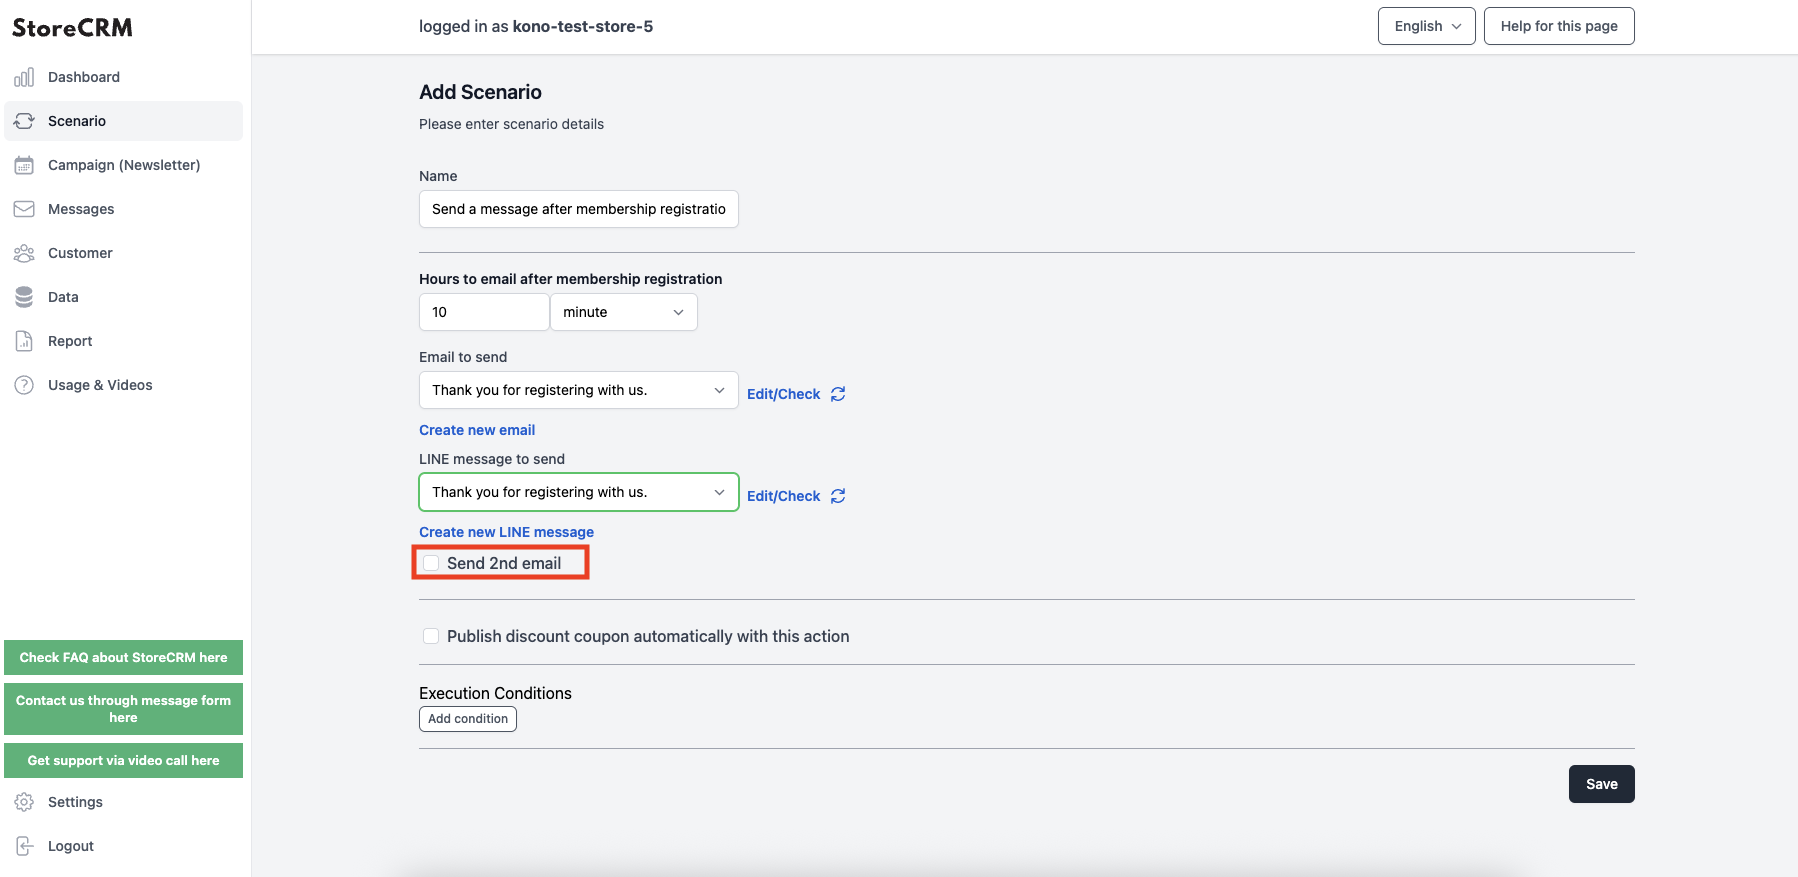
7. if necessary, check the "Send a second email" checkbox.
- Follow the same procedure as the first e-mail to set up the e-mail to be sent.
- Send different content in the first and subsequent emails to increase conversion rates.
- Sending a coupon in the second email and a recommended product in the third email will help increase sales.
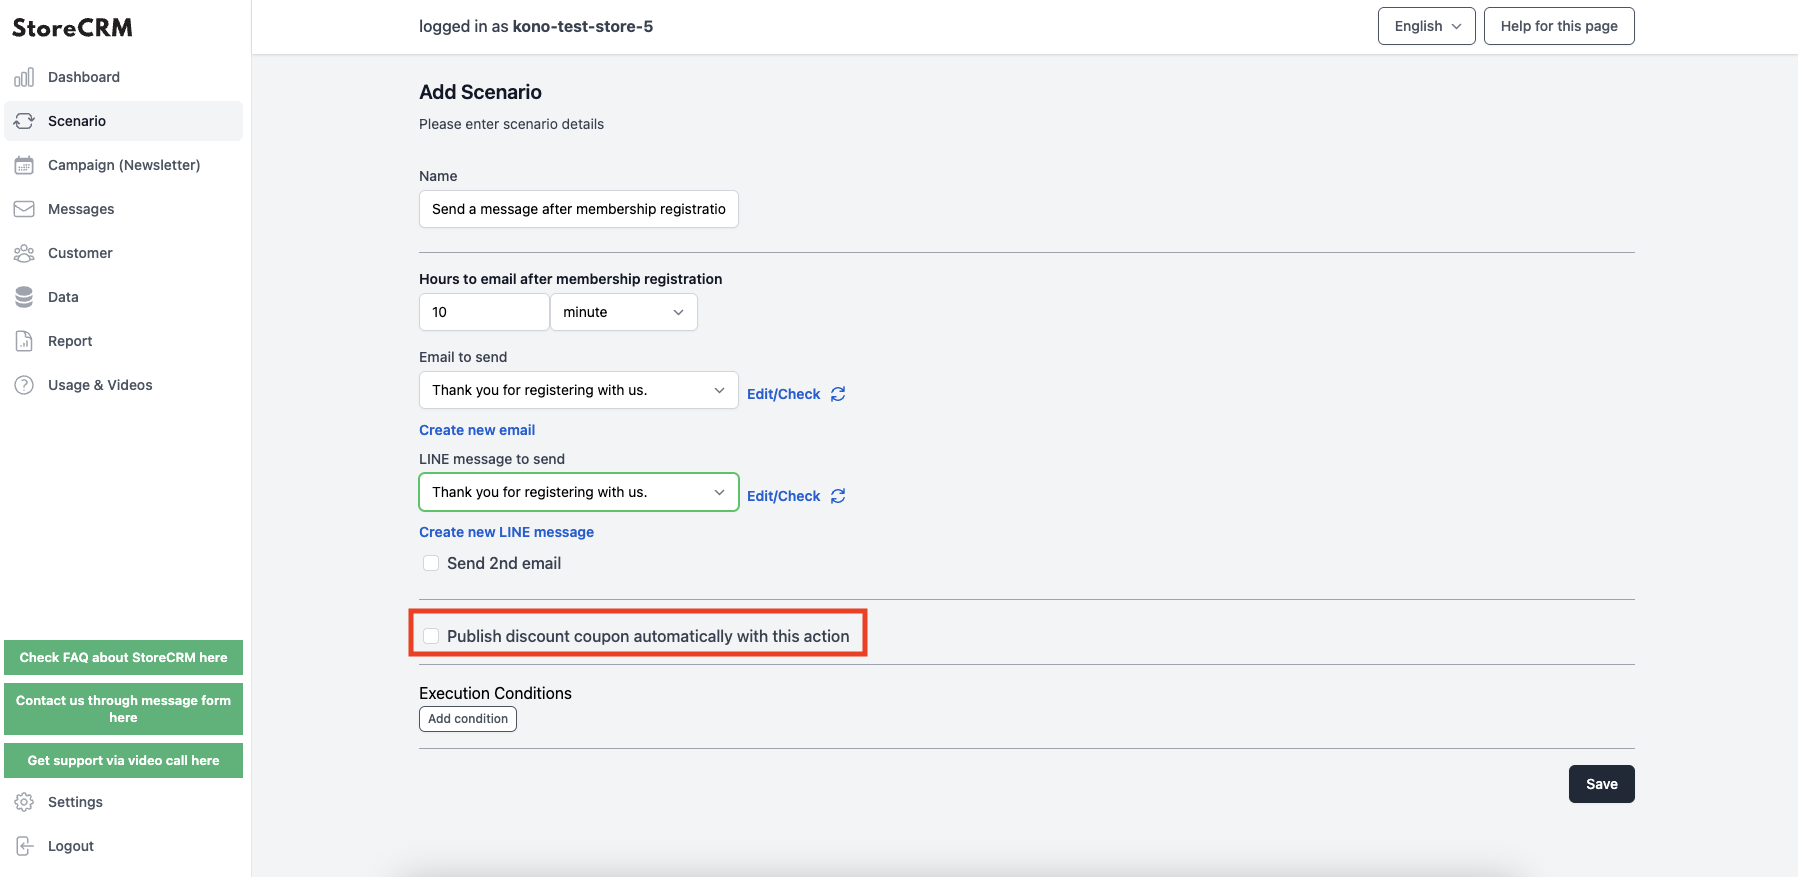
8. if you want to add a coupon to the email, check the "Automatically issue a discount coupon in this scenario" checkbox.
For information on how to add a coupon,here for more information.
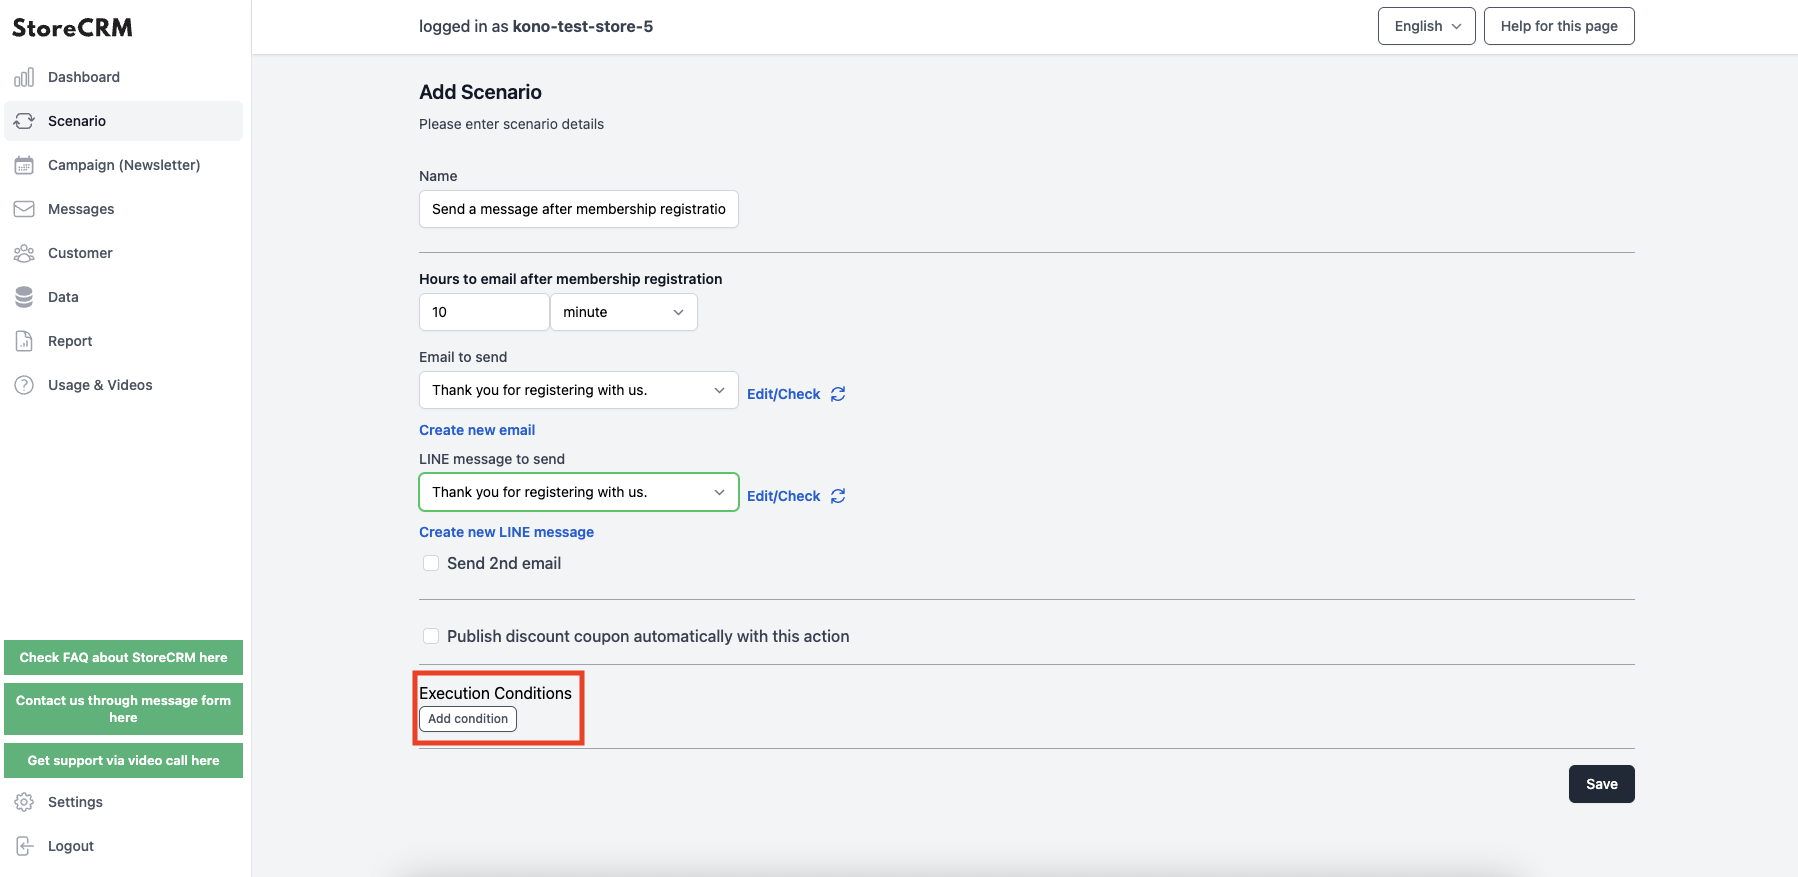
9. if you want to send emails only to specific products, specific customers, subscriber products, etc., you can specify the conditions in [Execution Conditions].
For execution conditions,here for more information.
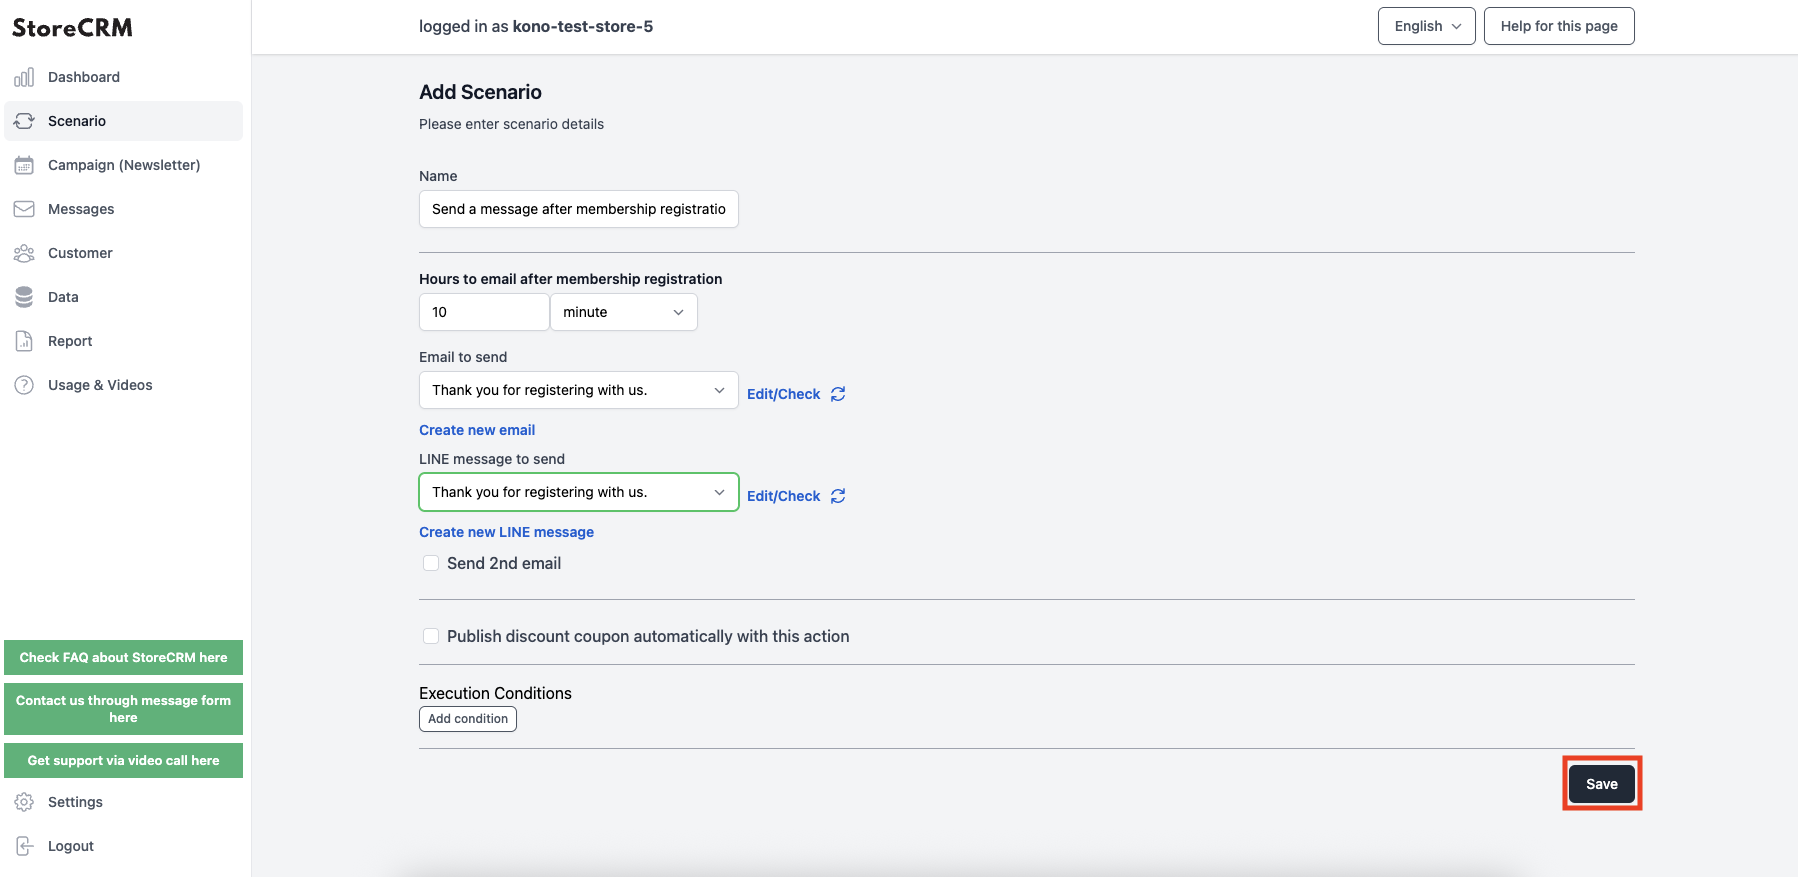
When settings are complete, click "Save".
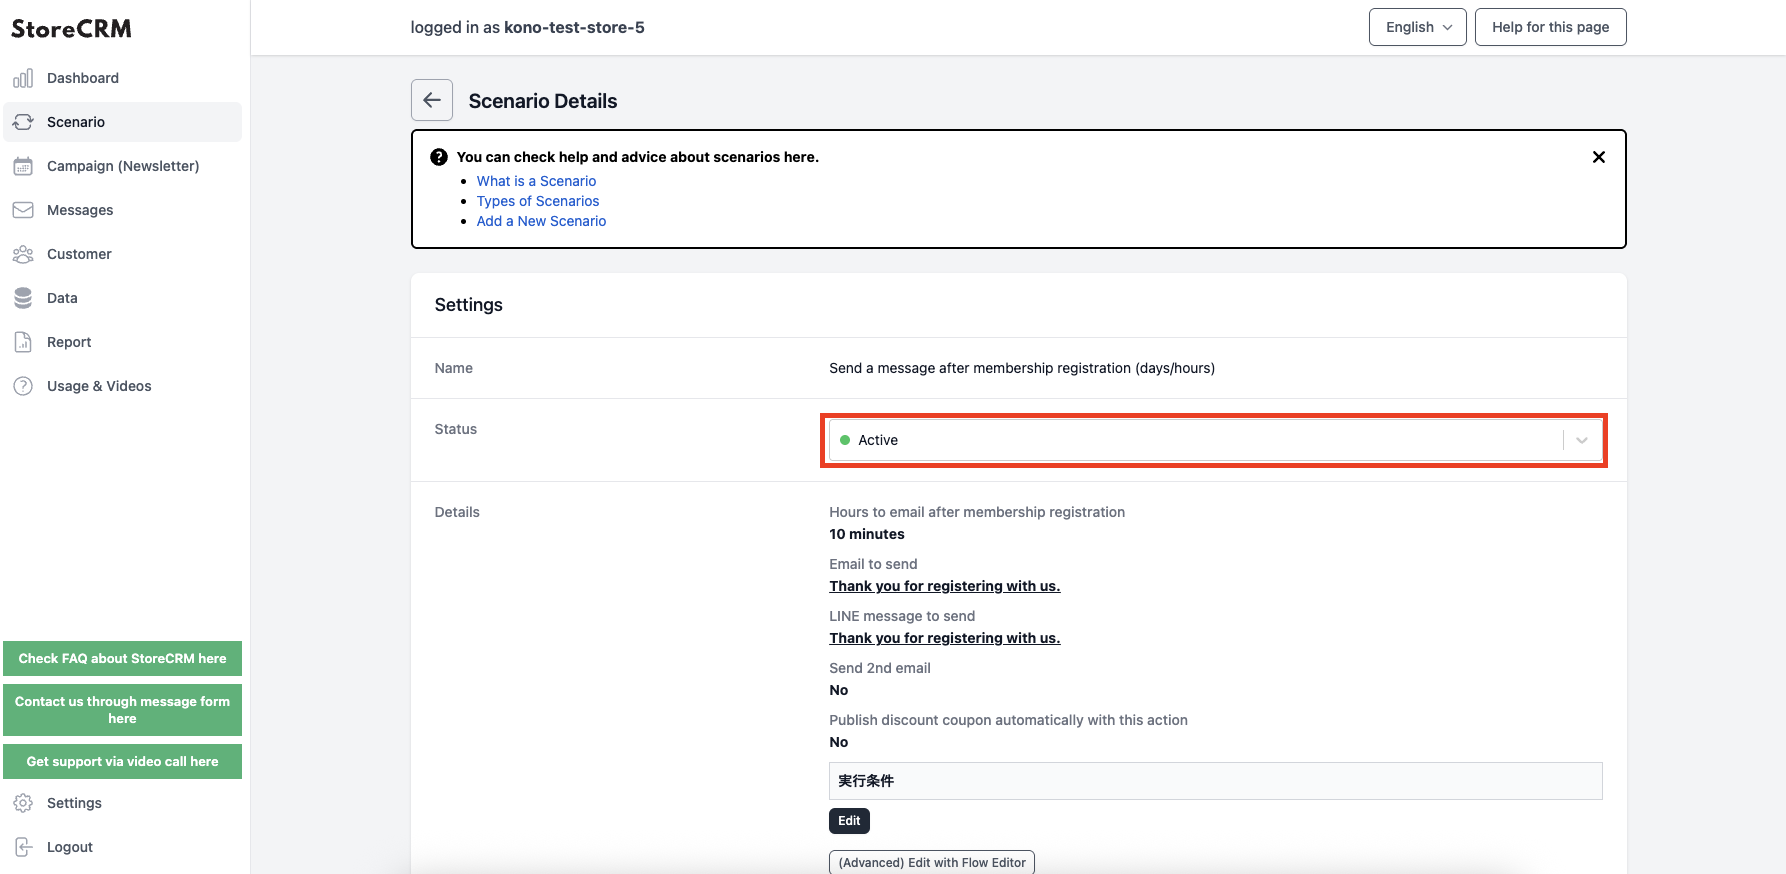
Set the status to "Enabled".
The welcome message scenario is now enabled.
Related pages
 English
  Japanese