- StoreCRMでは、Shopify Flowを活用することで、ShopifyアプリVIPのランクが上がったタイミングや、ランクが下がったタイミングをトリガーとして、LINEまたはメールを送ることができます。
- ここでは例として、VIPの会員ランクが上がったタイミングで、LINE(Flex Message)とメール(HTMLメール)を送信する方法について解説します。
Examples of measures that can be implemented
- Send out a LINE notifying you of special offers and other information when you increase your rank.
- ランクアップ時に、特典情報などをお知らせするメールを配信する
- 同じFlow内で、LINEとメールを両方配信する
Send a line from StoreCRM at the timing of the rank increase.
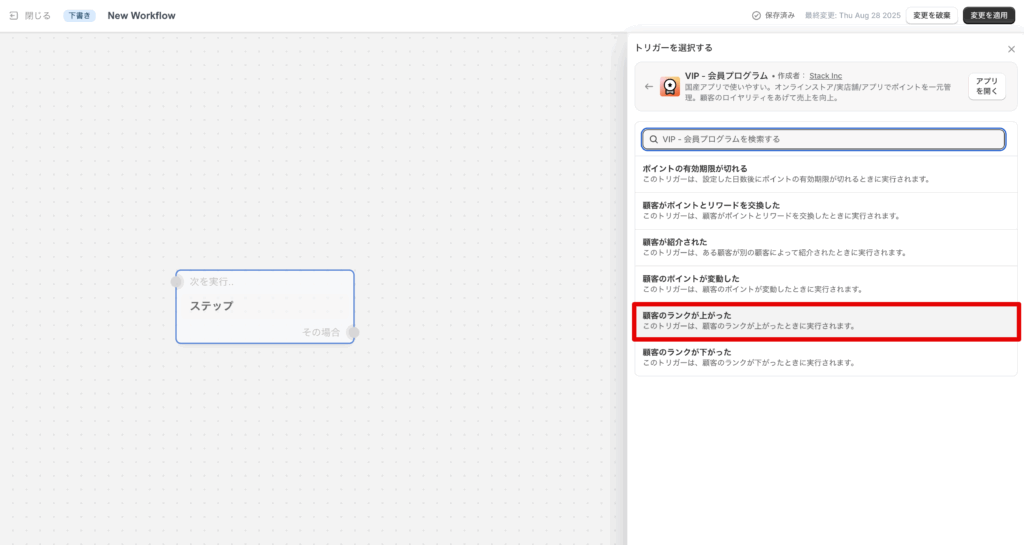
Create a Flow in Shopify Flow starting with the trigger "Customer rank increased" when the VIP's points change.
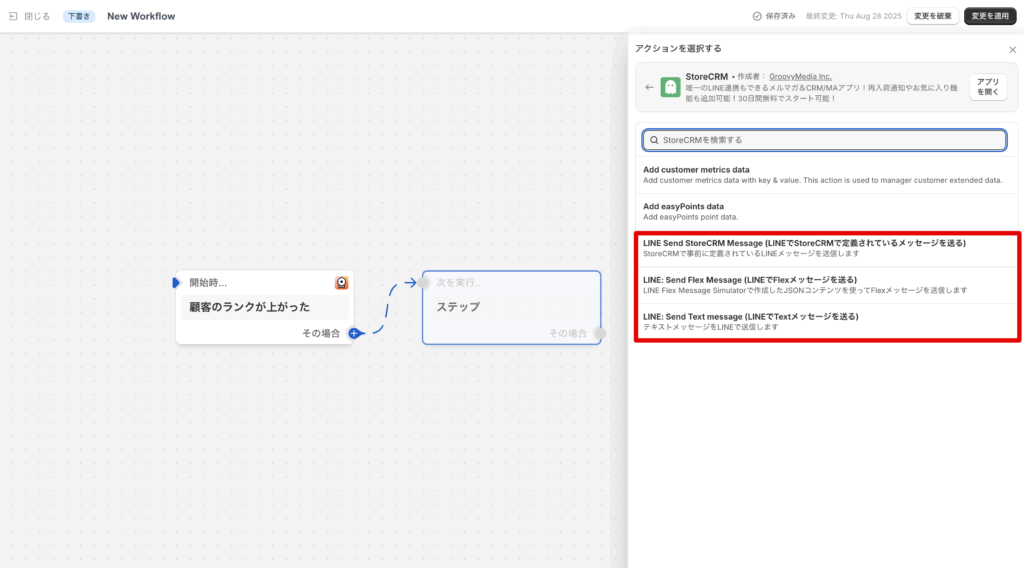
次にStoreCRMのアクションを選択します。StoreCRMのLINEを送信できるアクションは以下の3つが用意されています。
LINE Send StoreCRM Message (LINEでStoreCRMで定義されているメッセージを送る)LINE: Send Flex Message (LINEでFlexメッセージを送る)LINE: Send Text message (LINEでTextメッセージを送る)
今回は、LINEのメッセージ内でVIPの「顧客のポイントが変動した」トリガーから与えられる、変数を活用したいため、「LINE: Send Flex Message (LINEでFlexメッセージを送る)」を利用して説明を進めます。
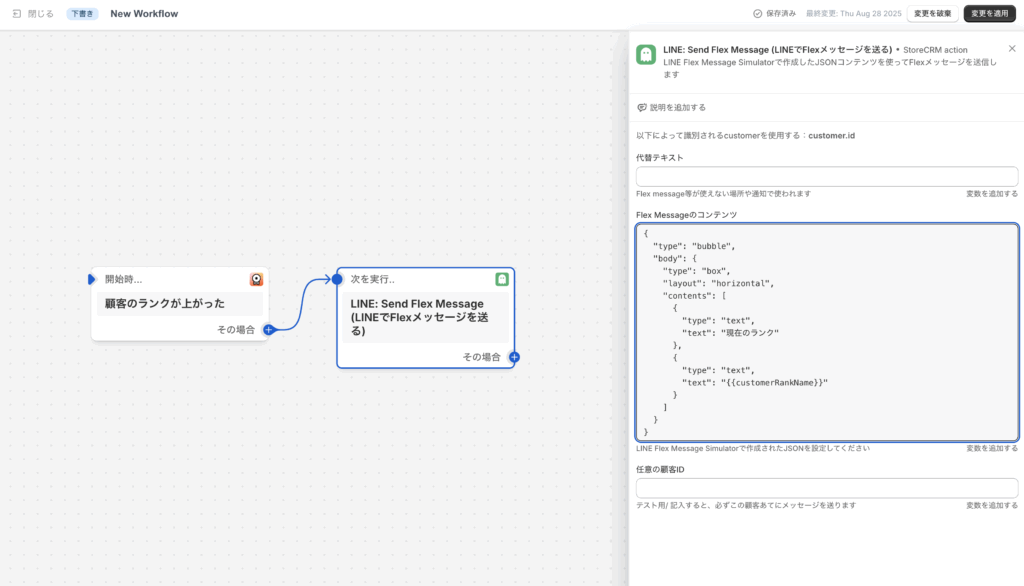
Of the three setting items in the "LINE: Send Flex Message" action, the alternative text and the Flex Message content are required fields.
The content of Flex Message must be entered in json format. json format code generated by Flex Message Simulator, for example, can contain variables given by the "Customer points changed" trigger, so that instead of text, the current The json format code generated by Flex Message Simulator or similar can be used to display the current number of points, etc., instead of the text.
{
  "type": "bubble", "body": {
  "body": {
    "type": "box", "layout": "horizontal", "body": { "type": "bubble", "body": {
    "layout": "horizontal", { "contents": ["text"]: ["text
    "contents": [
      {
        "type": "text", "text": "current rank", "text": "current rank
        "text": "current rank"
      },.
      {
        "type": "text", "text".
        "text": "{{customerRankName}}"
      }
    ]
  }
}
The contents of the Flex Message described here are as above.
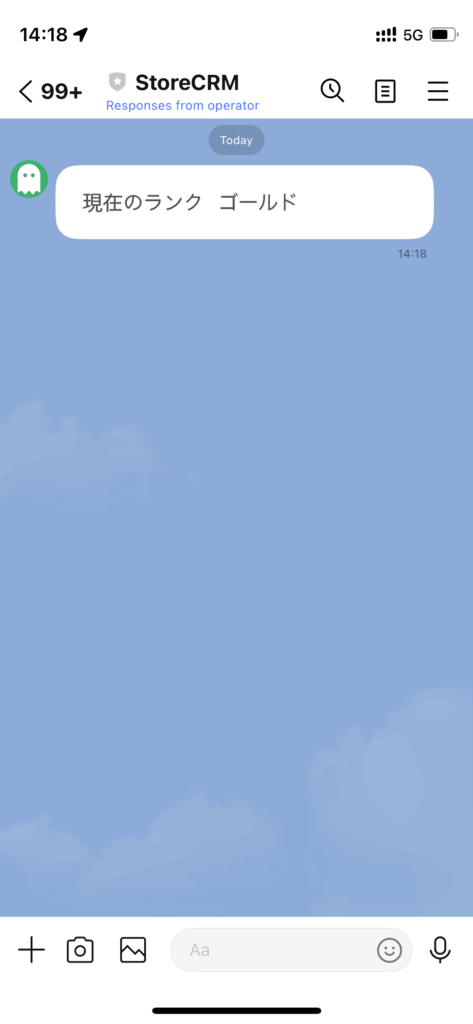
It is recommended to save the configured Flow and check the actual operation.
If the line is sent as shown in the image above, it is working fine.
ランクが上がったタイミングでStoreCRMからメールを送る
Create a Flow in Shopify Flow starting with the trigger "Customer rank increased" when the VIP's points change.
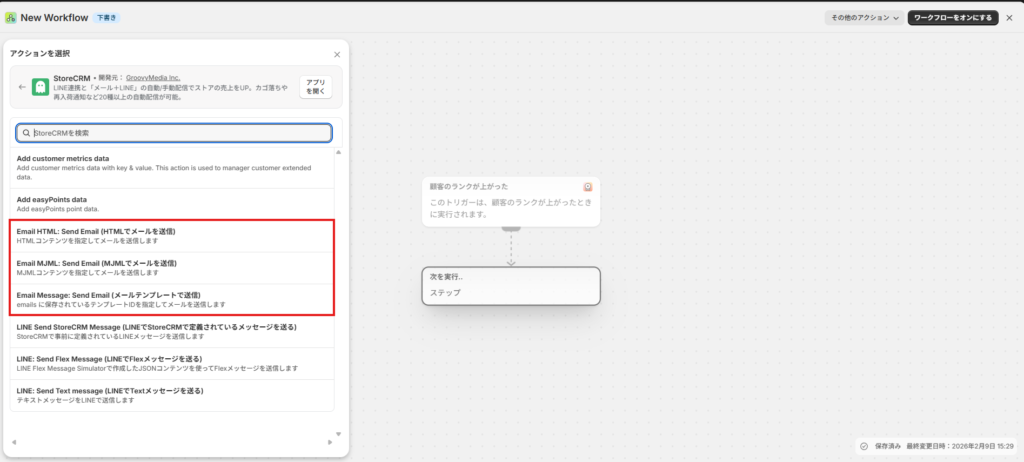
次にStoreCRMのアクションを選択します。
StoreCRMで利用できるメール送信アクションは以下です。
- Email Message: Send Email (StoreCRMで定義済みメールを送る)
- Email HTML: Send Email (HTMLメールを送る)
- Email MJML: Send Email (MJMLメールを送る)
今回は、トリガーから渡される変数を活用するため、 Email HTML: Send Email を使って説明します。
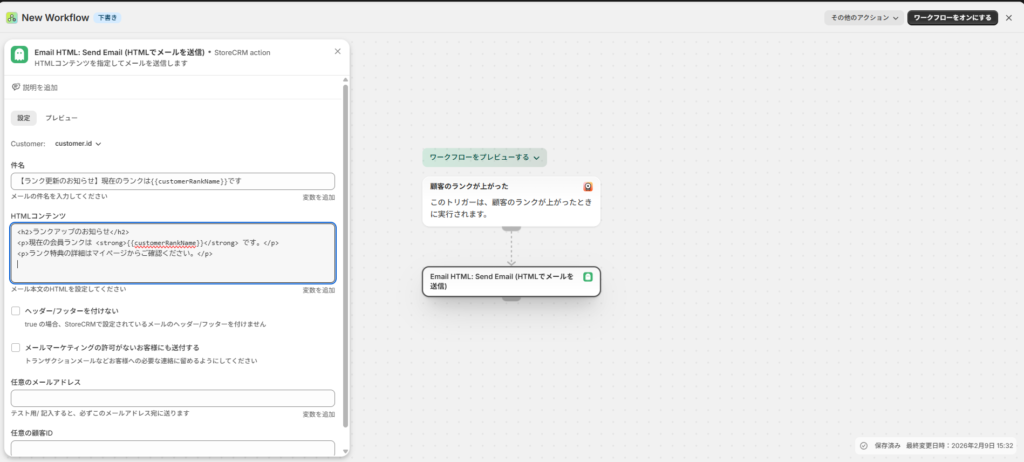
Email HTML: Send Email の設定
Email HTML: Send Email の設定項目のうち、必須は以下です。
- 件名(subject)
- HTML本文(html)
件名・本文には、LINEと同様にトリガー変数を埋め込めます。
例:
- 件名
【VIPランク更新のお知らせ】現在のランクは{{customerRankName}}です - HTML本文
<h2>ランクアップのお知らせ</h2>
<p>現在の会員ランクは <strong>{{customerRankName}}</strong> It is.</p>
<p>ランク特典の詳細はマイページからご確認ください。</p>
任意の設定項目としては以下の項目があります。
- ヘッダー・フッターをつけない・・・StoreCRM側で設定しているヘッダー・フッターをつけて送るかの設定項目
- メールマーケティングの許可がないお客様にも送付する・・・ONにすると、Shopifyでメールマーケティング未許諾の顧客にも送信します。宣伝目的では使用せず、重要なお知らせなど非宣伝の連絡にのみ利用してください。
- 任意のメールアドレス・・・テスト用です。メールアドレスを入れるとすべての通知が入力したメールアドレスに届きます。動作確認時に入力してください。
- 任意の顧客ID・・・テスト用です。メールアドレスを入れるとすべての通知が入力した顧客に紐づくメールアドレスに届きます。動作確認時に入力してください。
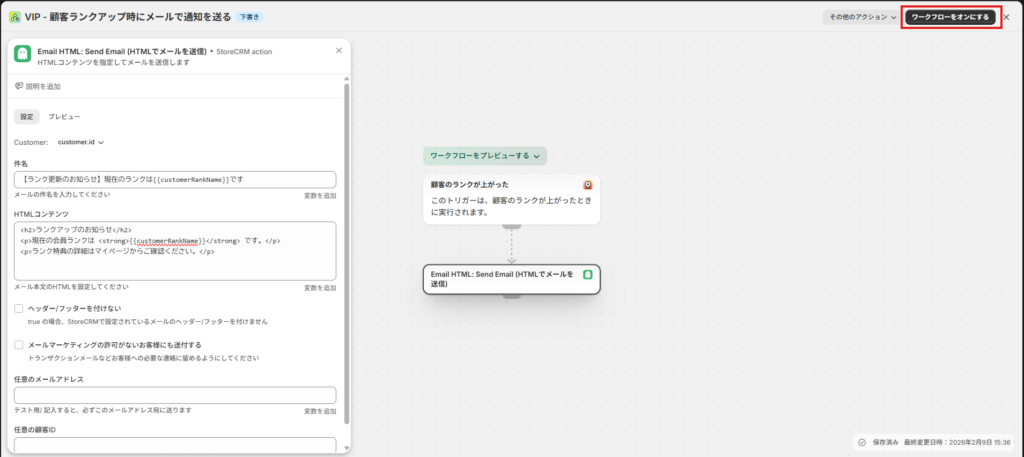
設定が完了次第、[ワークフローをオンにする]をクリックして保存します。
It is recommended to save the configured Flow and check the actual operation.
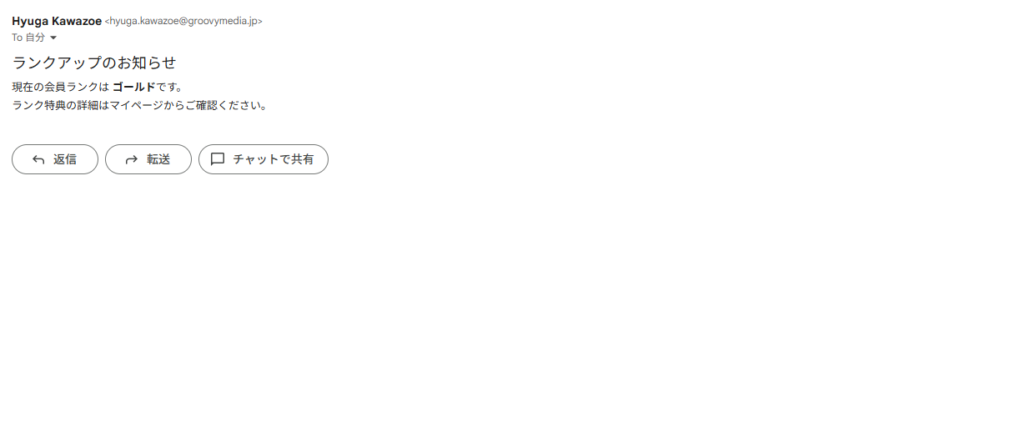
上の画像のようにメールが送信されていれば問題なく動作しています。