

- Video message types and requirements
- Use an existing Shopify video
- 1. Set the message type to Video
- 2. Open the Shopify video list
- 3. Select an available video
- 4. Check the filename and ready state
- 5. Check the thumbnail image
- 6. Save the video message
- 7. Check the saved message details
- 8. Reopen the body and verify the saved settings
- When additional file permission is required
- Upload a new video
- Create a Flex Message containing video
- Deletion, playback, and checks before delivery
Video message types and requirements
LINE messages support both regular video messages and Flex Messages containing video. They can be used in test sends, campaigns, and scenarios. Browser previews can differ from LINE device playback, so verify the message before live delivery.
New uploads must be MP4, no more than 200MB, and no longer than 10 minutes. For existing Shopify videos, eligibility depends on a LINE-compatible HTTPS MP4 delivery source of no more than 200MB, rather than the original file format. StoreCRM does not perform its own conversion or compression. Thumbnails must be public HTTPS JPEG or PNG images of no more than 1MB.
Use an existing Shopify video
1. Set the message type to Video
Location: LINE → LINE Message List → Create or edit the body
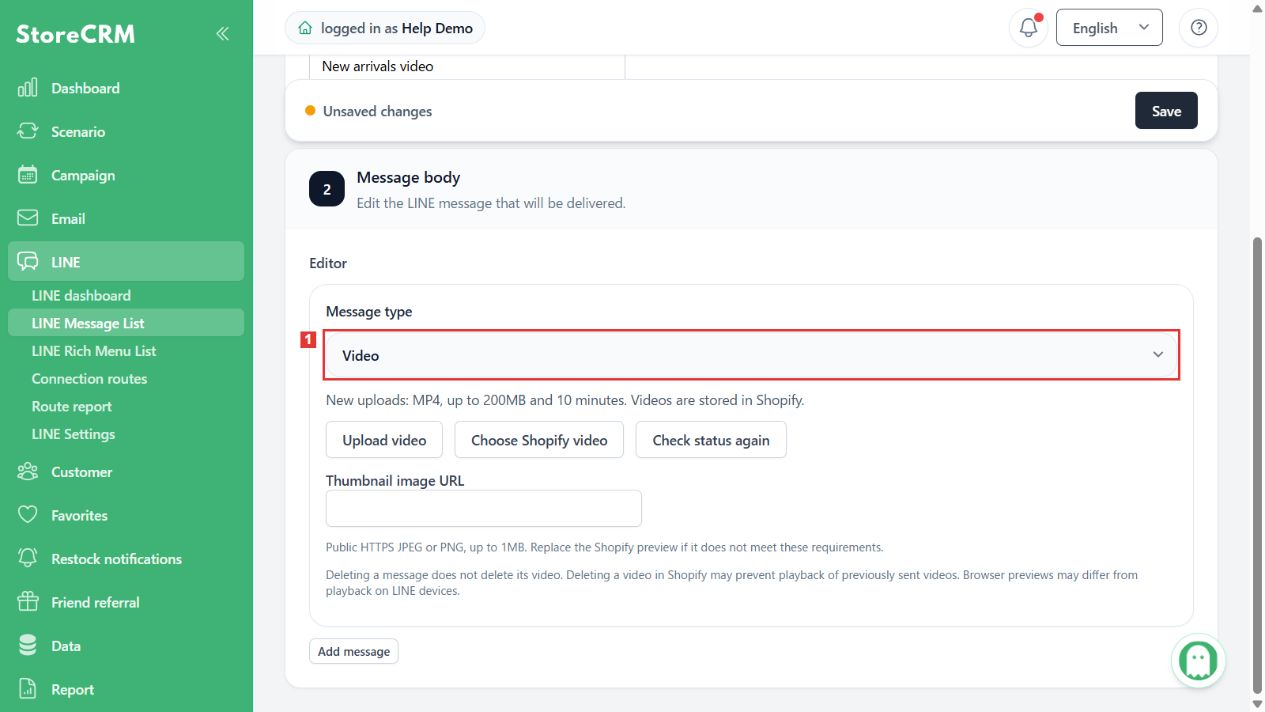
Set an internal name, then choose Video under Message type.
Check: The video selection, upload, and thumbnail controls appear.
2. Open the Shopify video list
Location: Choose Shopify video in the video editor
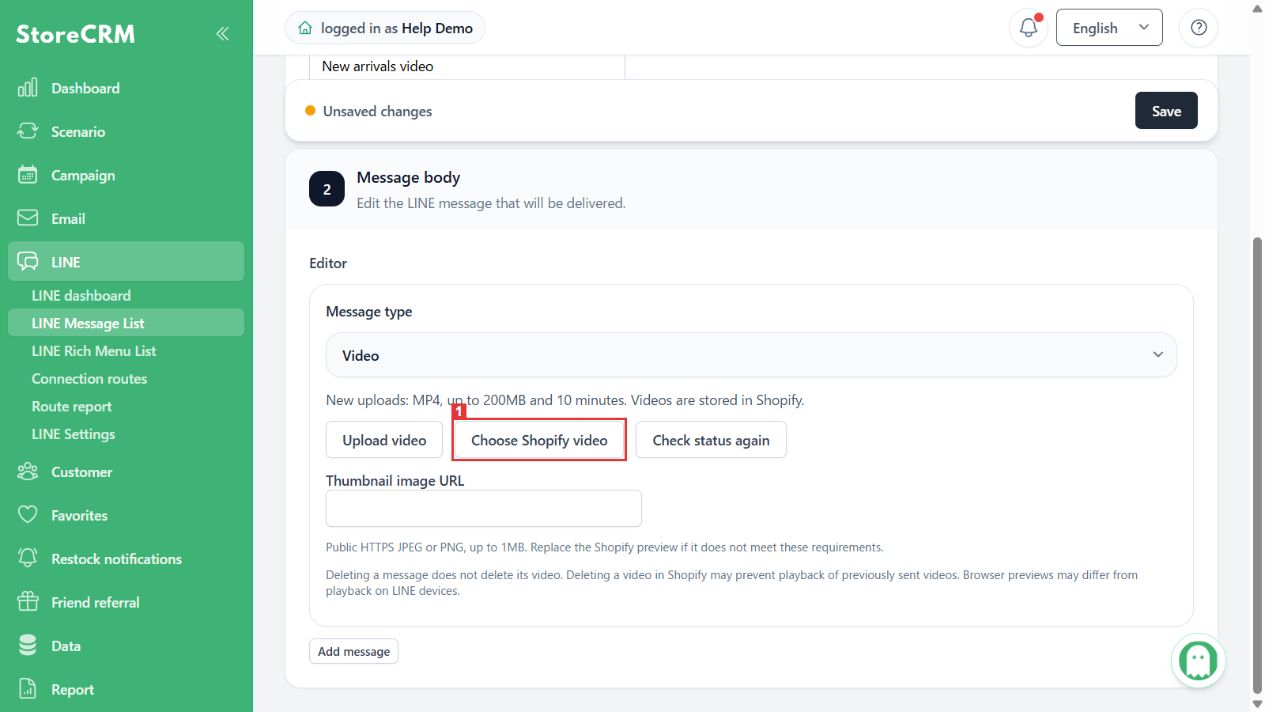
Click Choose Shopify video.
Check: The Shopify video file selector opens.
3. Select an available video
Location: The video file list
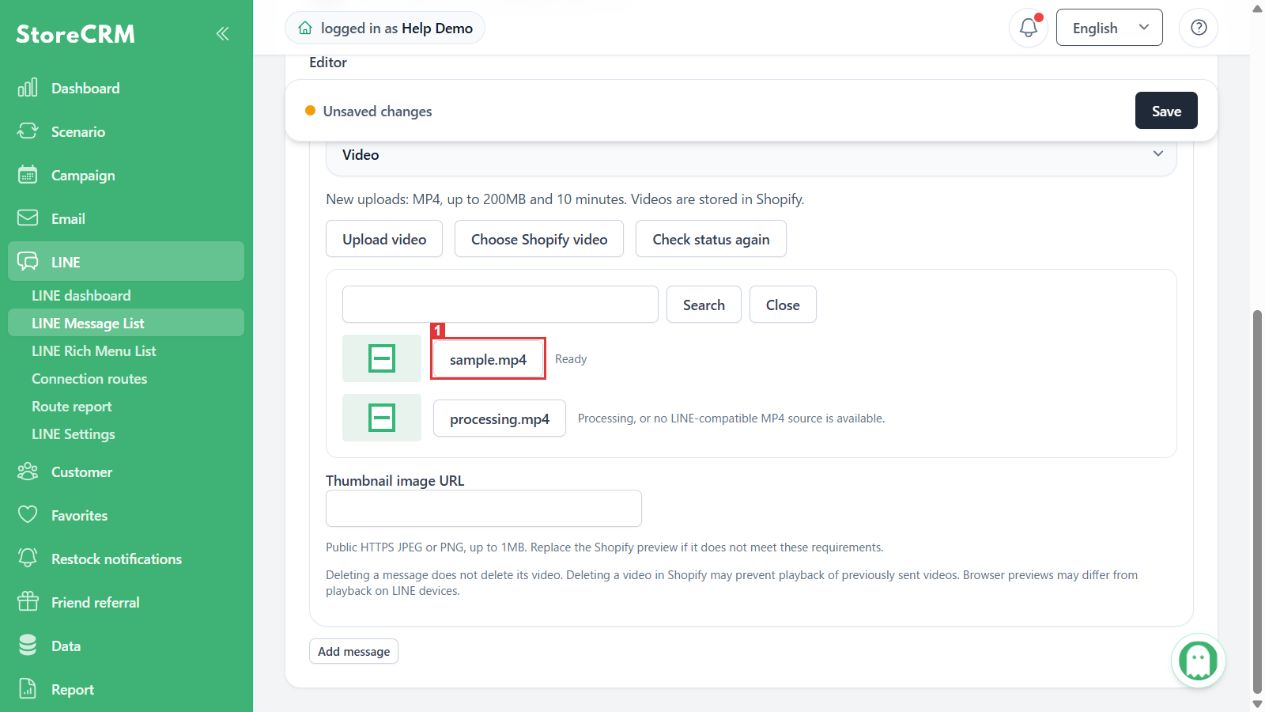
Check the filename and availability, then click an available video. You can filter by filename. Processing or unavailable videos cannot be selected.
Check: The selected video appears in the editor.
4. Check the filename and ready state
Location: The video editor after selection
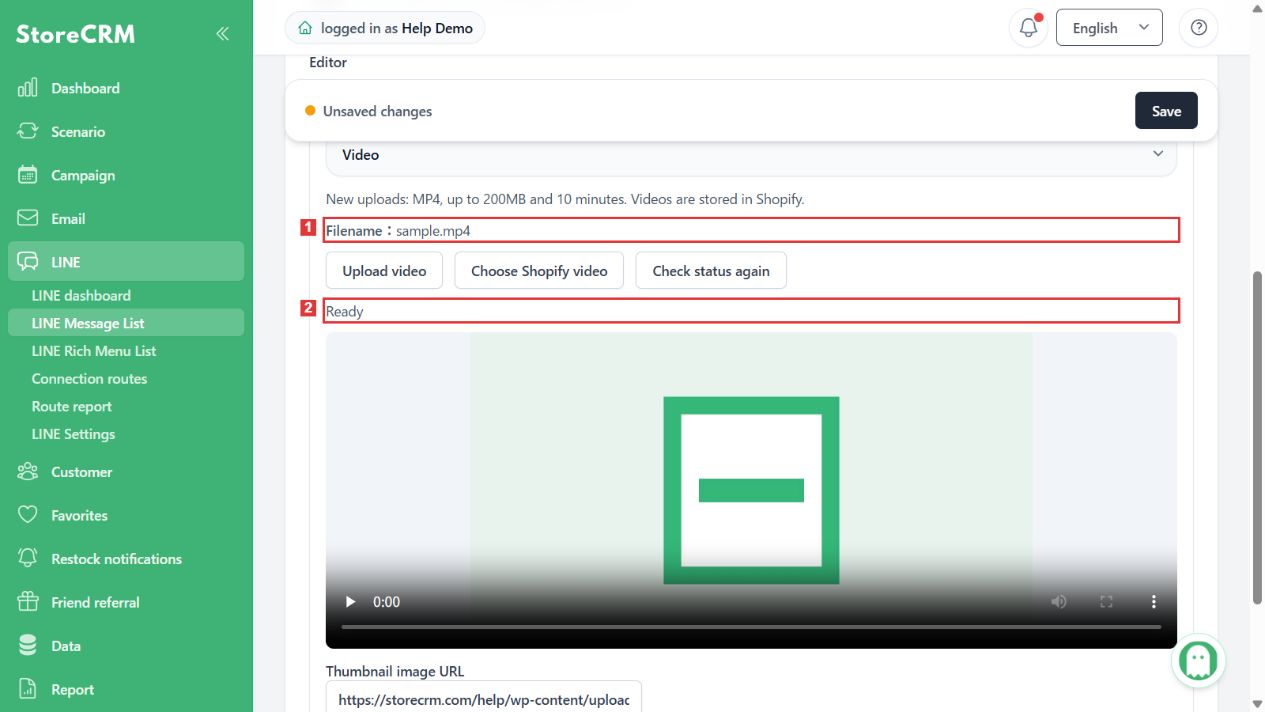
Check ① the filename and ② the Ready state. When replacing a video, select the replacement and verify its status too.
Check: Do not confuse processing or retrieval errors with readiness.
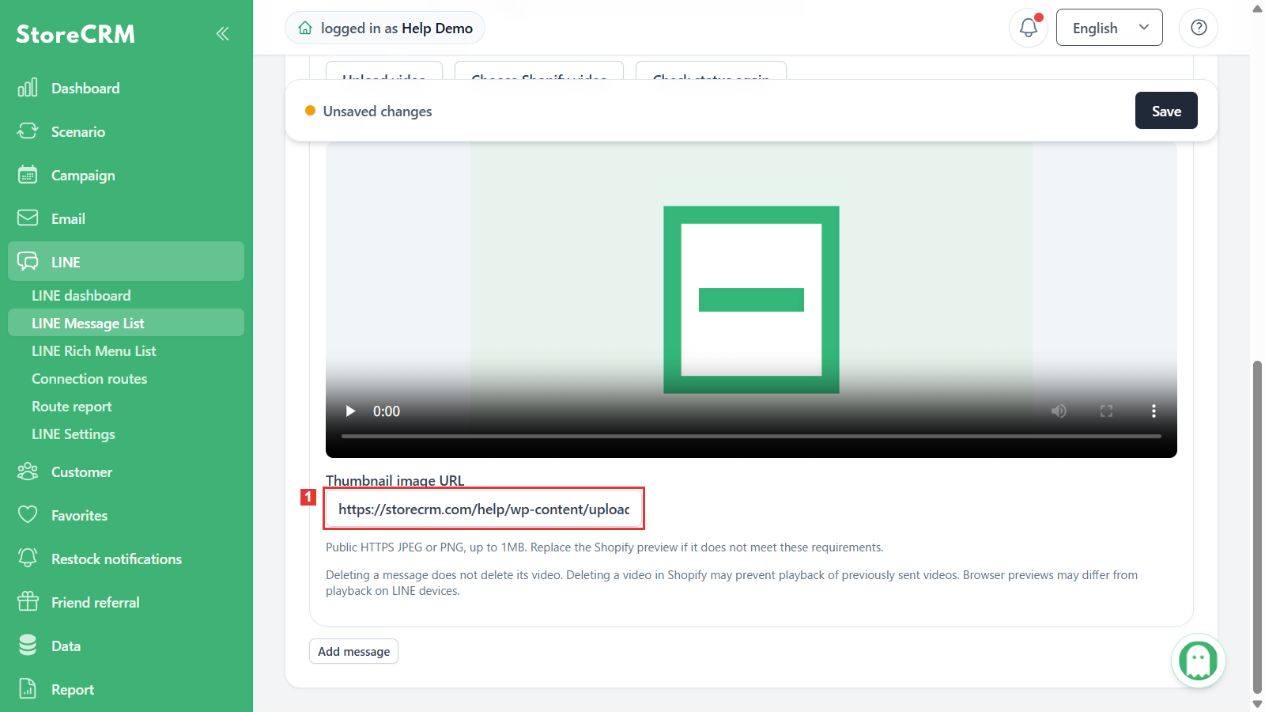
5. Check the thumbnail image
Location: Thumbnail image URL
The Shopify preview image is the initial value. To replace it, enter a public HTTPS URL for a JPEG or PNG of no more than 1MB.
Check: Verify the intended image is public and meets the format and size requirements.
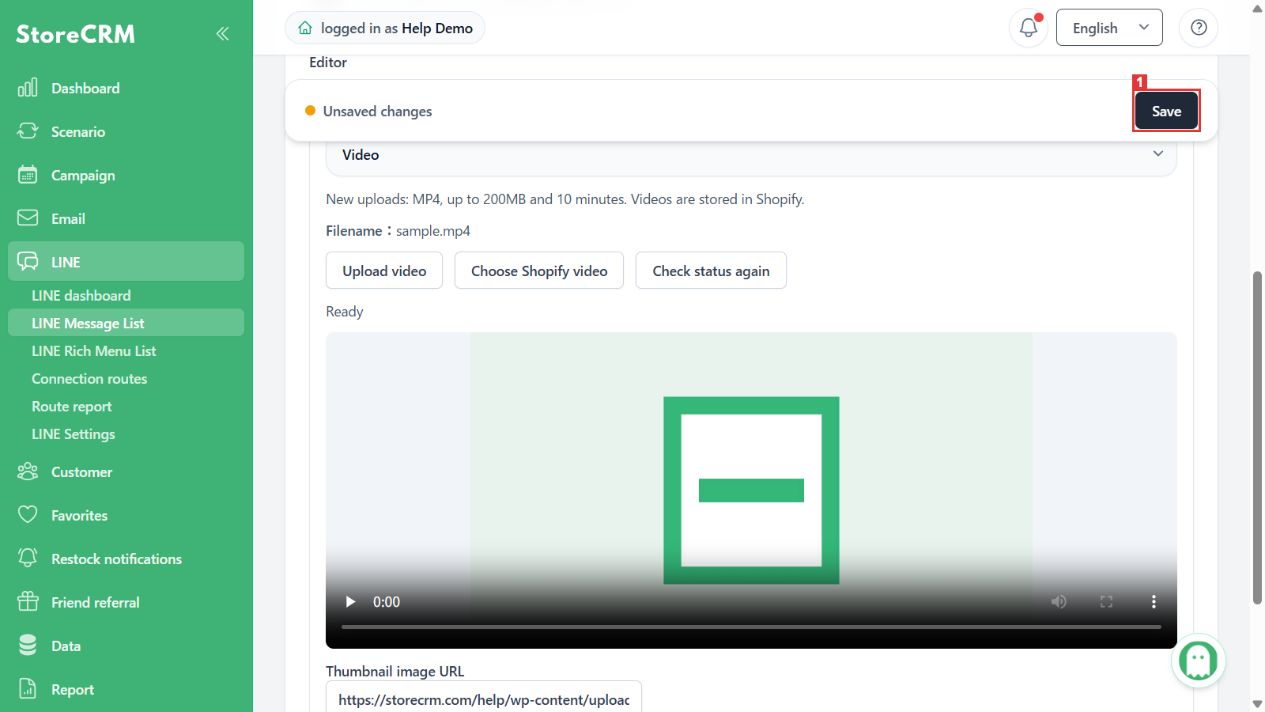
6. Save the video message
Location: Save at the top of the screen
Review the name, video, and thumbnail, then select Save.
Check: A successful save opens the message details. Missing video or thumbnail settings must be corrected.
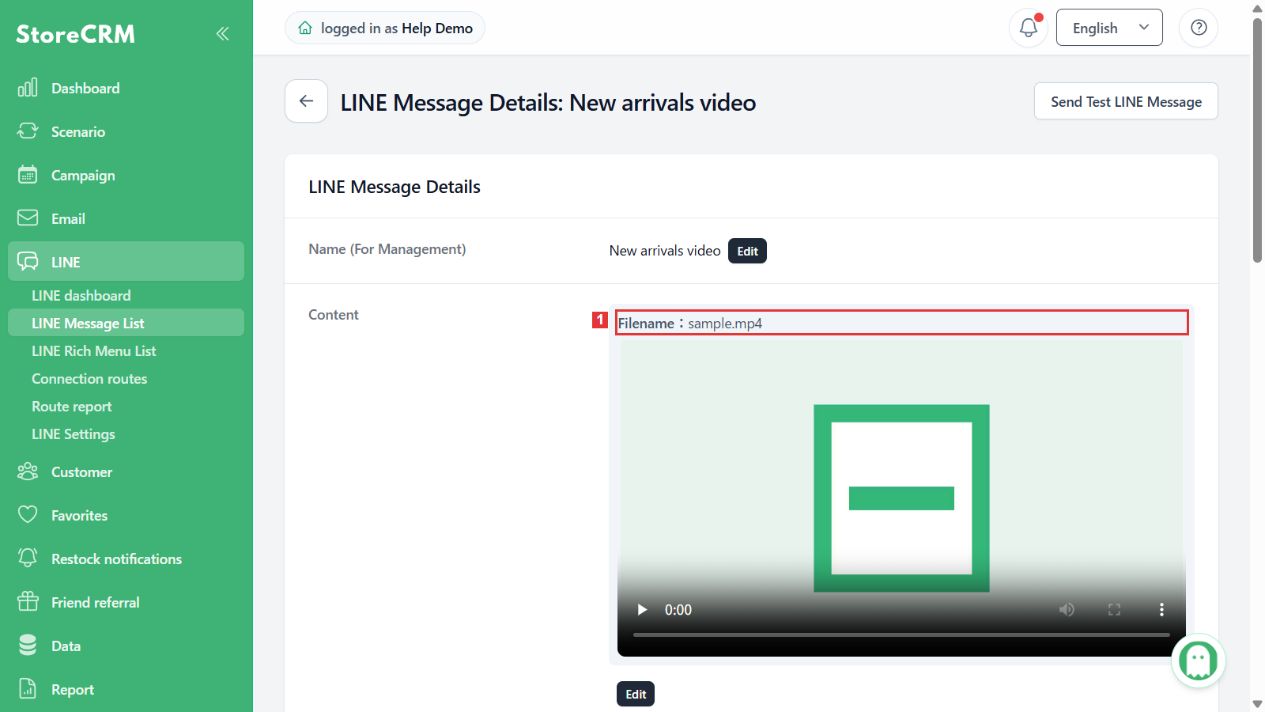
7. Check the saved message details
Location: Body in LINE Message Details
Check the saved filename and preview.
Check: Saving is separate from real LINE delivery and successful playback on a device.
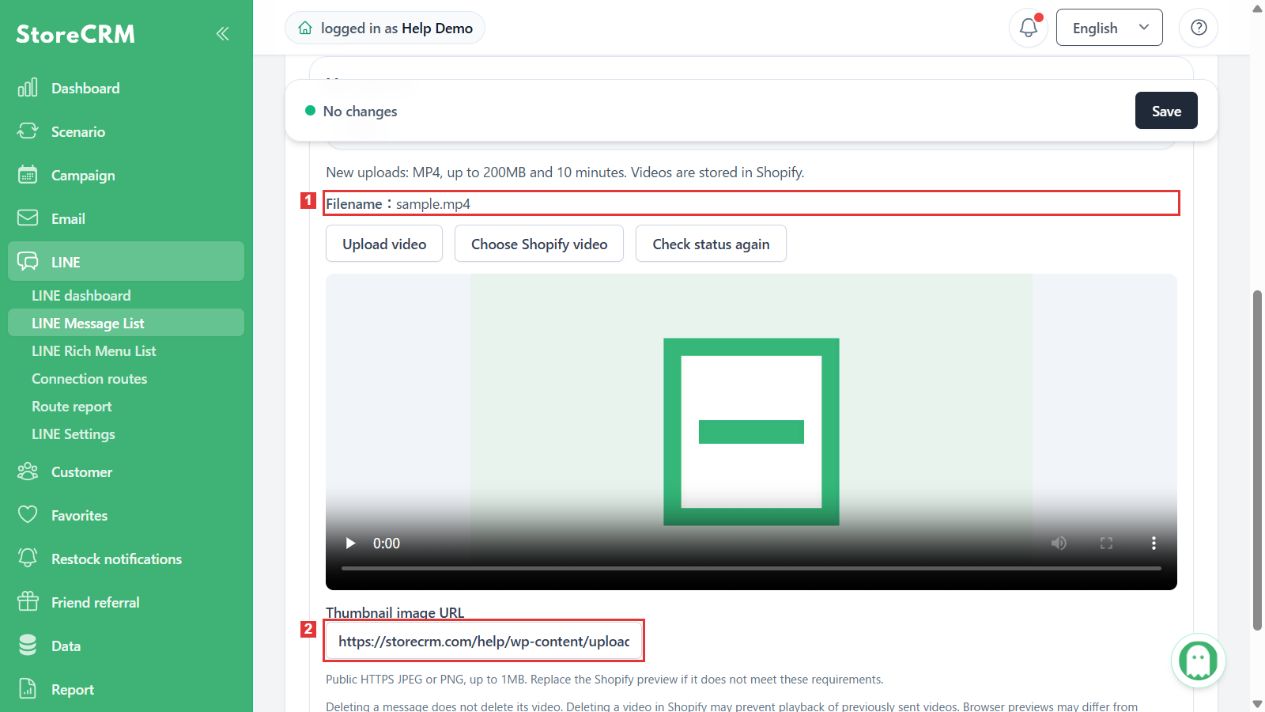
8. Reopen the body and verify the saved settings
Location: Body → Edit on the detail page (saved video)
Reopen the body using Edit and verify the filename, video, and thumbnail settings.
Check: The saved video remains available when editing again.
When additional file permission is required
Location: The video editor
If Grant Shopify file permissions appears, the staff responsible for store access should review the requested permissions and complete the authorization. Return to StoreCRM and reopen the video list before retrying the upload.
Check: Authorization, uploading a video, and saving a message are separate actions. Opening the permission page does not save a video.
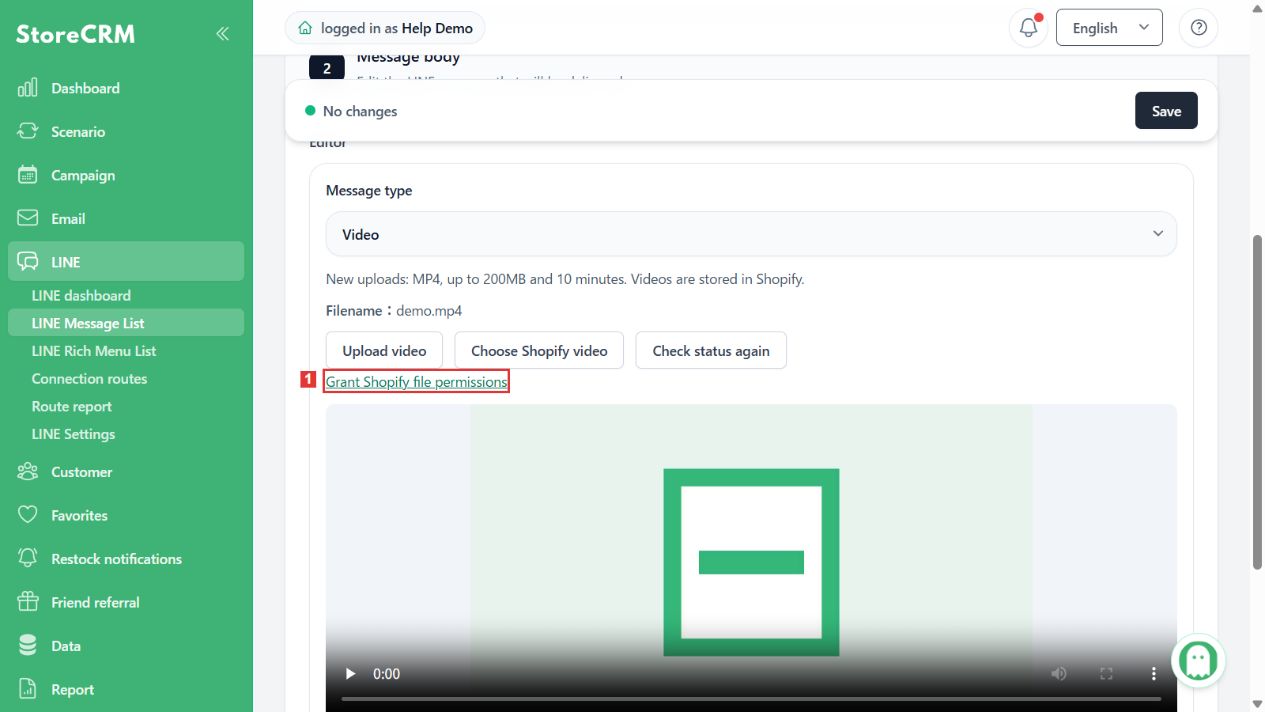
Upload a new video
Videos uploaded from this editor are stored in Shopify under Content → Files. Uploading is an alternative to selecting an existing video. Additional Shopify file permission may be required.
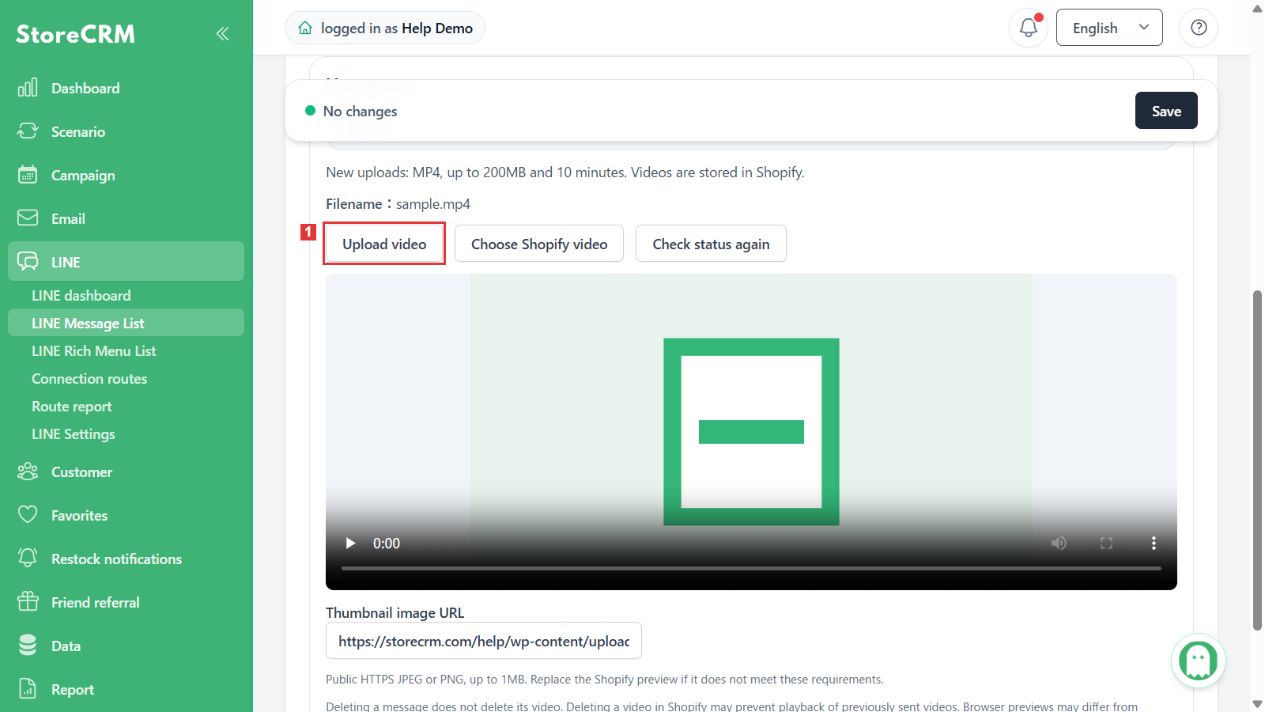
1. Choose a new MP4
Location: Upload video in the video editor
Click Upload video and choose an MP4 of no more than 200MB and 10 minutes.
Check: Keep the screen open while the transfer is running.
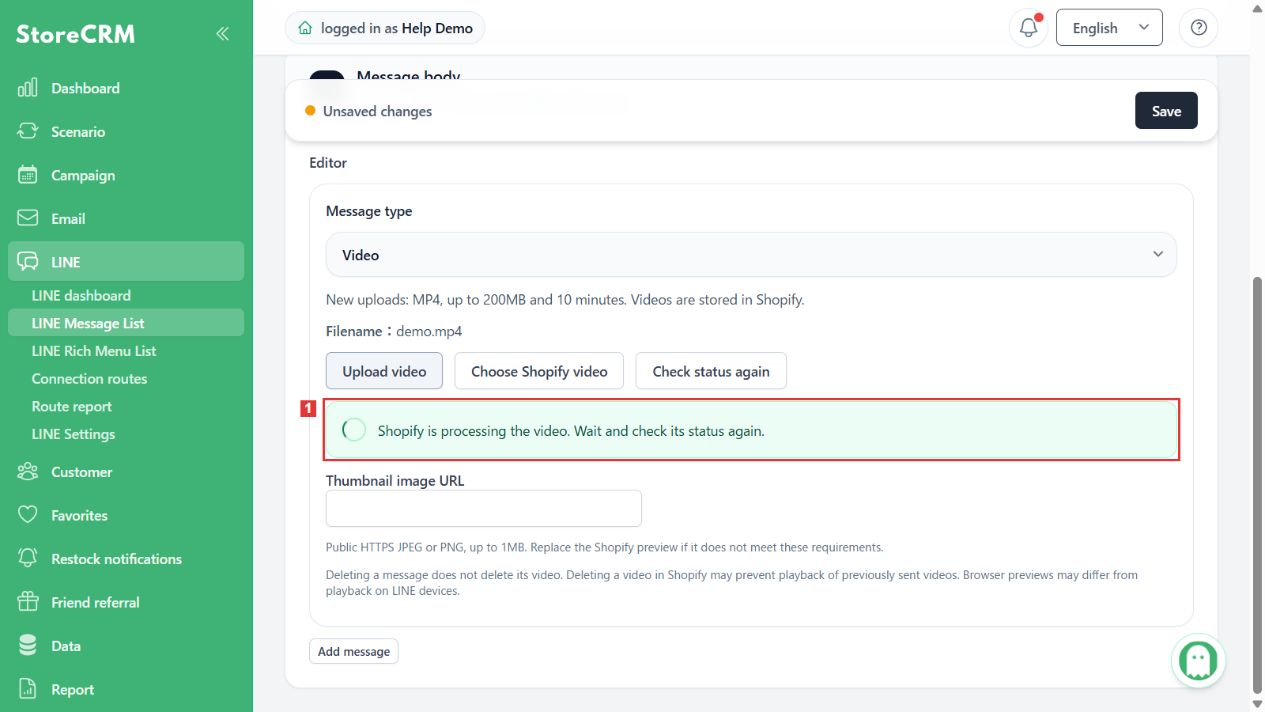
2. Recognize Shopify processing
Location: The status after upload
When the editor says Shopify is processing the video, wait for it to become ready.
Check: Processing does not mean the video is ready to use.
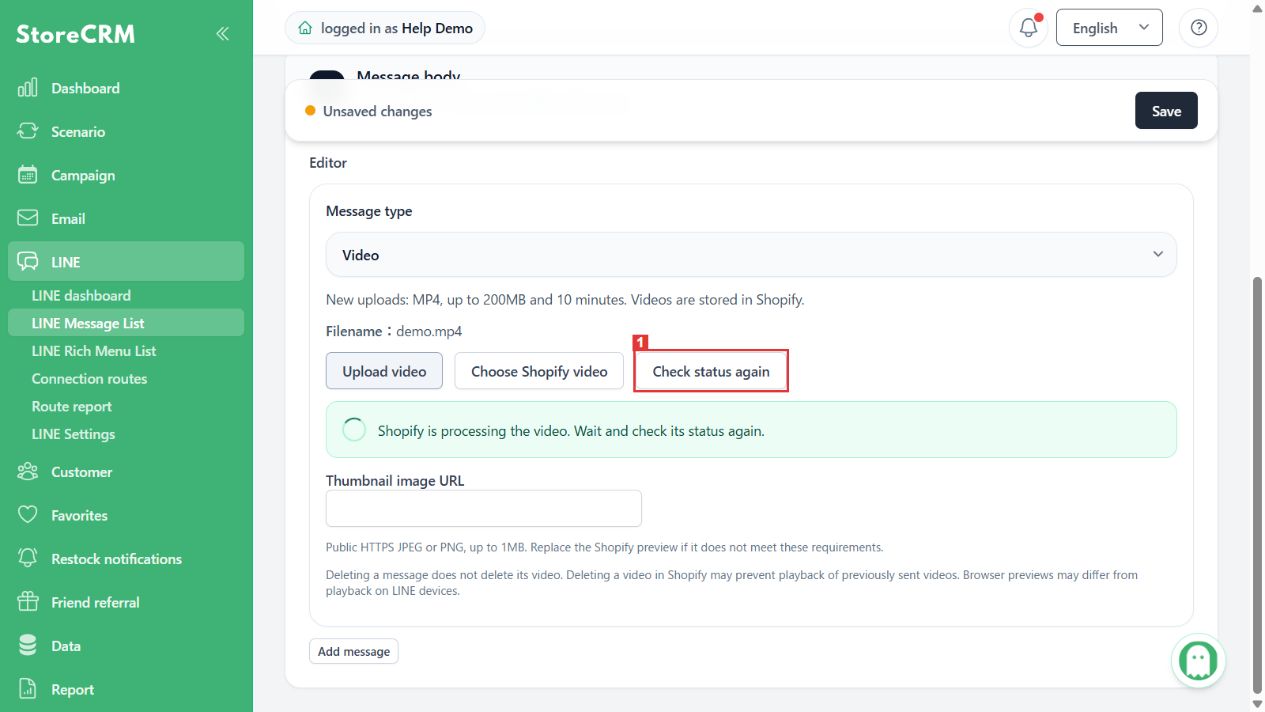
3. Check the status again
Location: Check status again
After waiting, select Check status again. If registration is still being confirmed, do not repeatedly upload the same file.
Check: The current processing result appears.
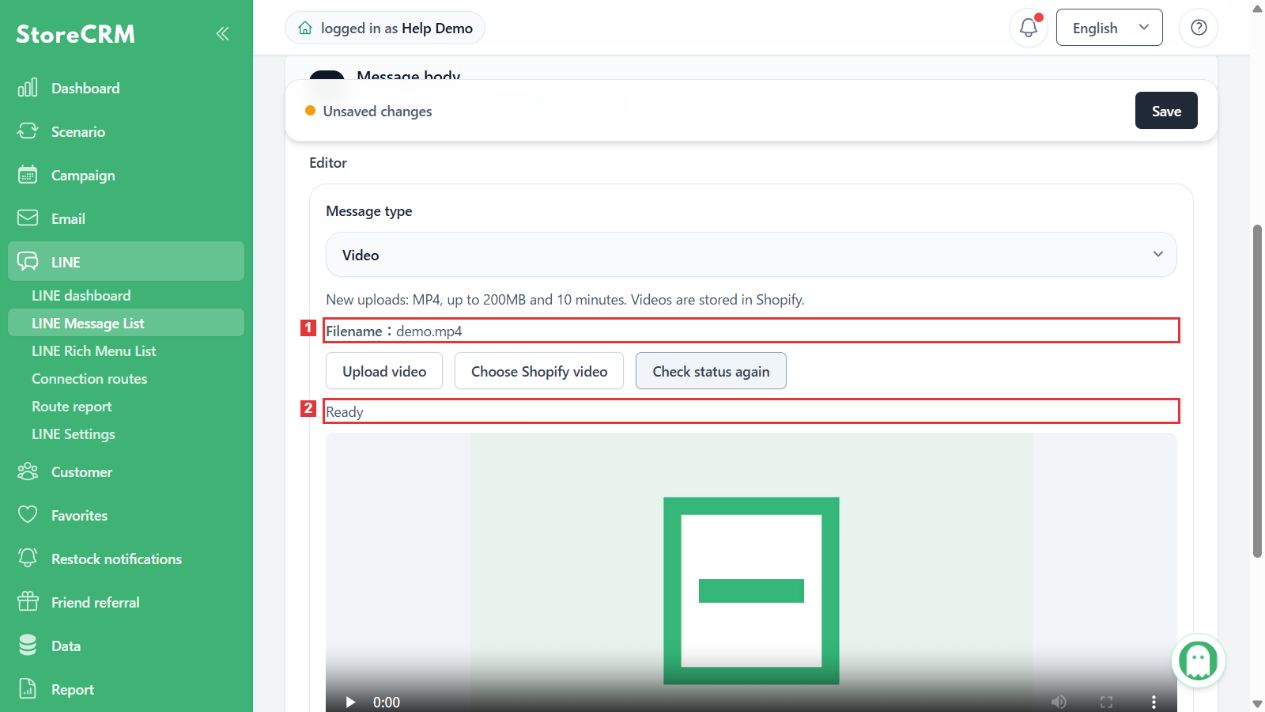
4. Confirm the upload is ready
Location: The filename and status
Check ① the uploaded filename and ② Ready. Verify the thumbnail as well.
Check: Do not treat a failed upload as ready to save.
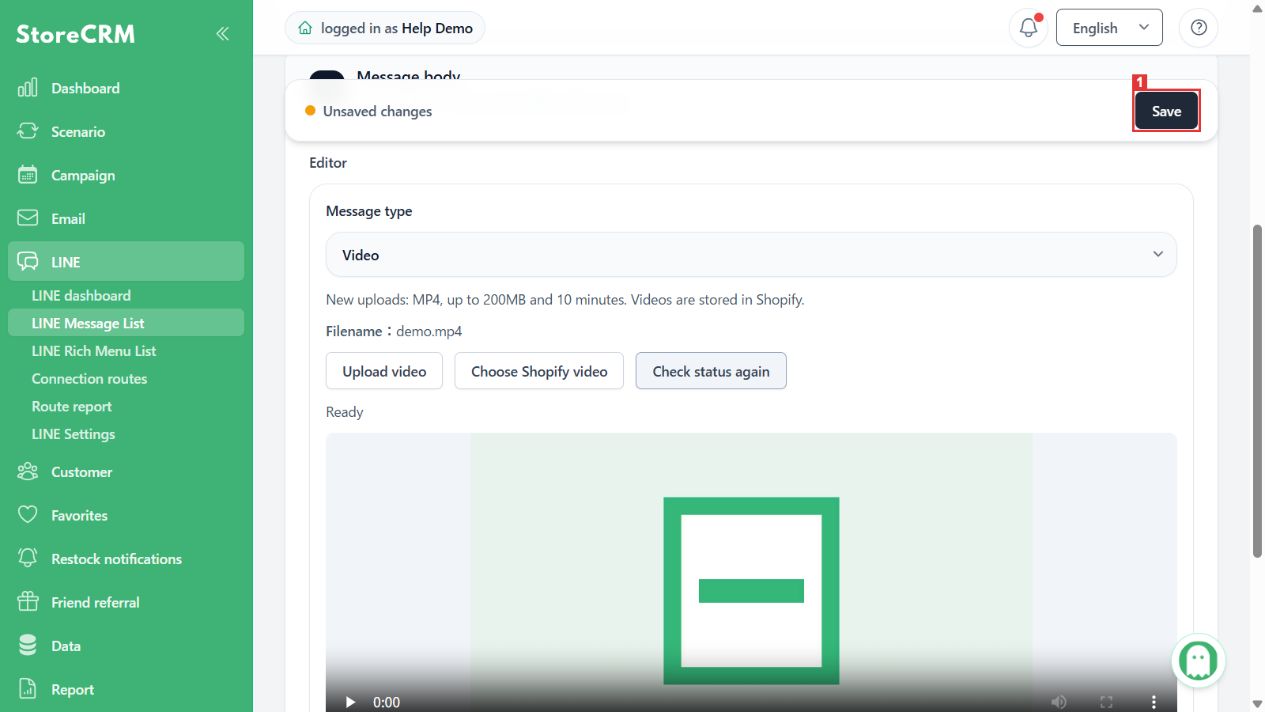
5. Save the video in the message
Location: The save bar at the top
Review the video and thumbnail, then select Save.
Check: Registering a video file and saving the message are separate actions.
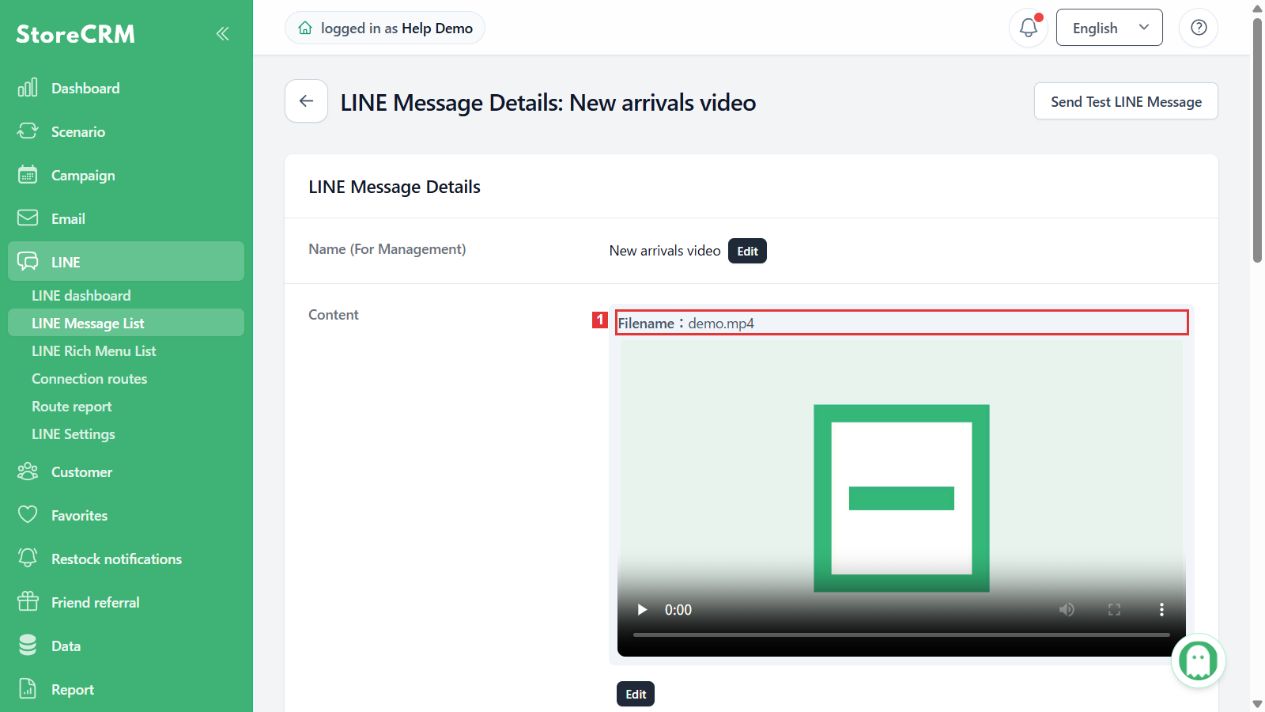
6. Verify the filename after saving
Location: Body in the message details
Verify that the uploaded video’s filename appears.
Check: The saved message contains the uploaded video.
Create a Flex Message containing video
1. Choose Flex Message (JSON)
Location: Message type in the LINE message body
Select Flex Message (JSON), then open the JSON tab.
Check: The Flex JSON editor appears.
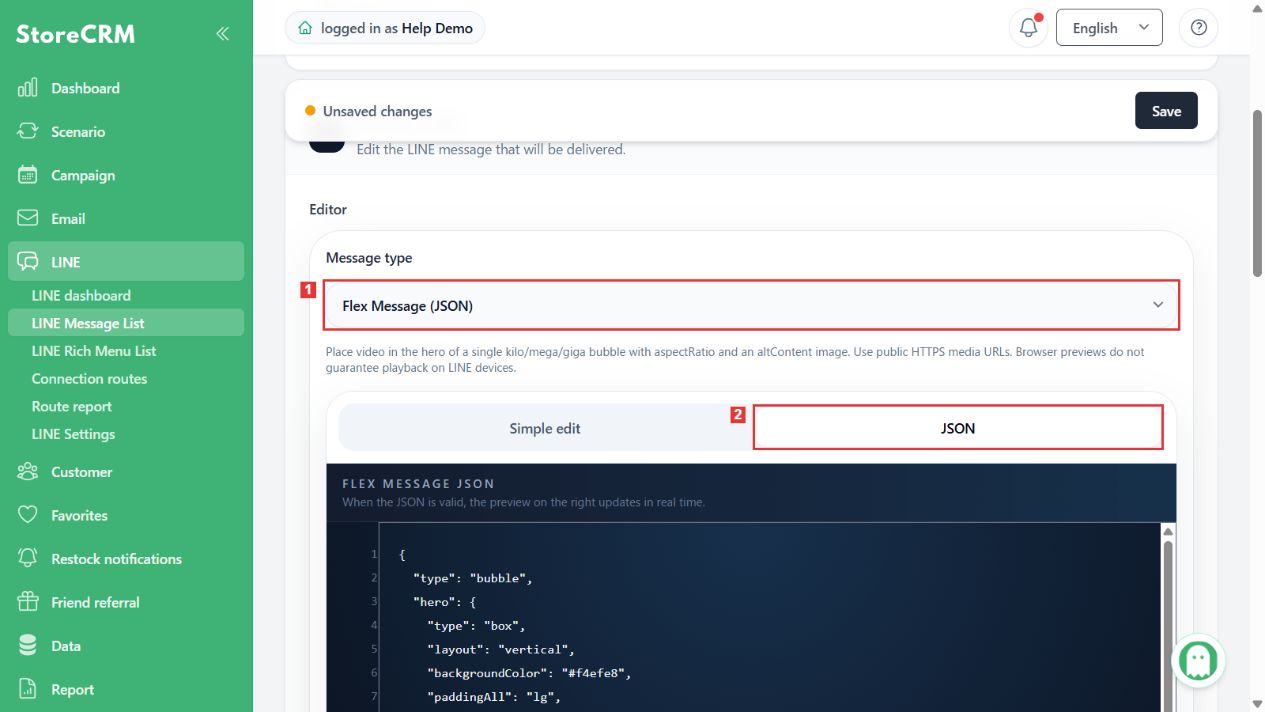
2. Put the video in the hero of one bubble
Location: Flex Message JSON
Use a single bubble with size kilo, mega, or giga and put a video element directly in hero. Set the video URL, previewUrl, aspectRatio, and altContent image. Do not place it inside a carousel.
Check: Use public HTTPS media URLs and review both the preview and JSON errors. External videos are not automatically copied to Shopify.
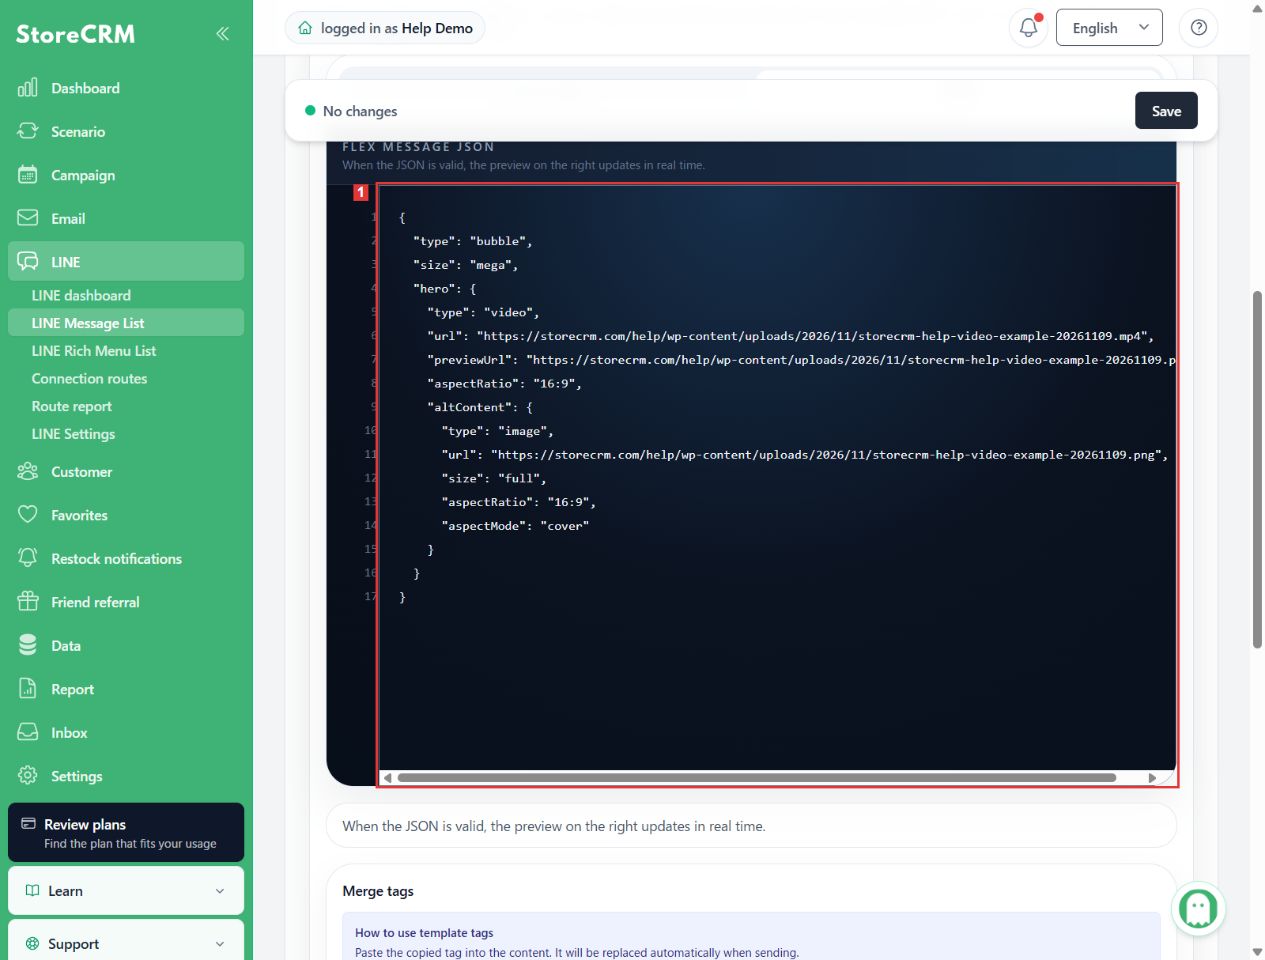
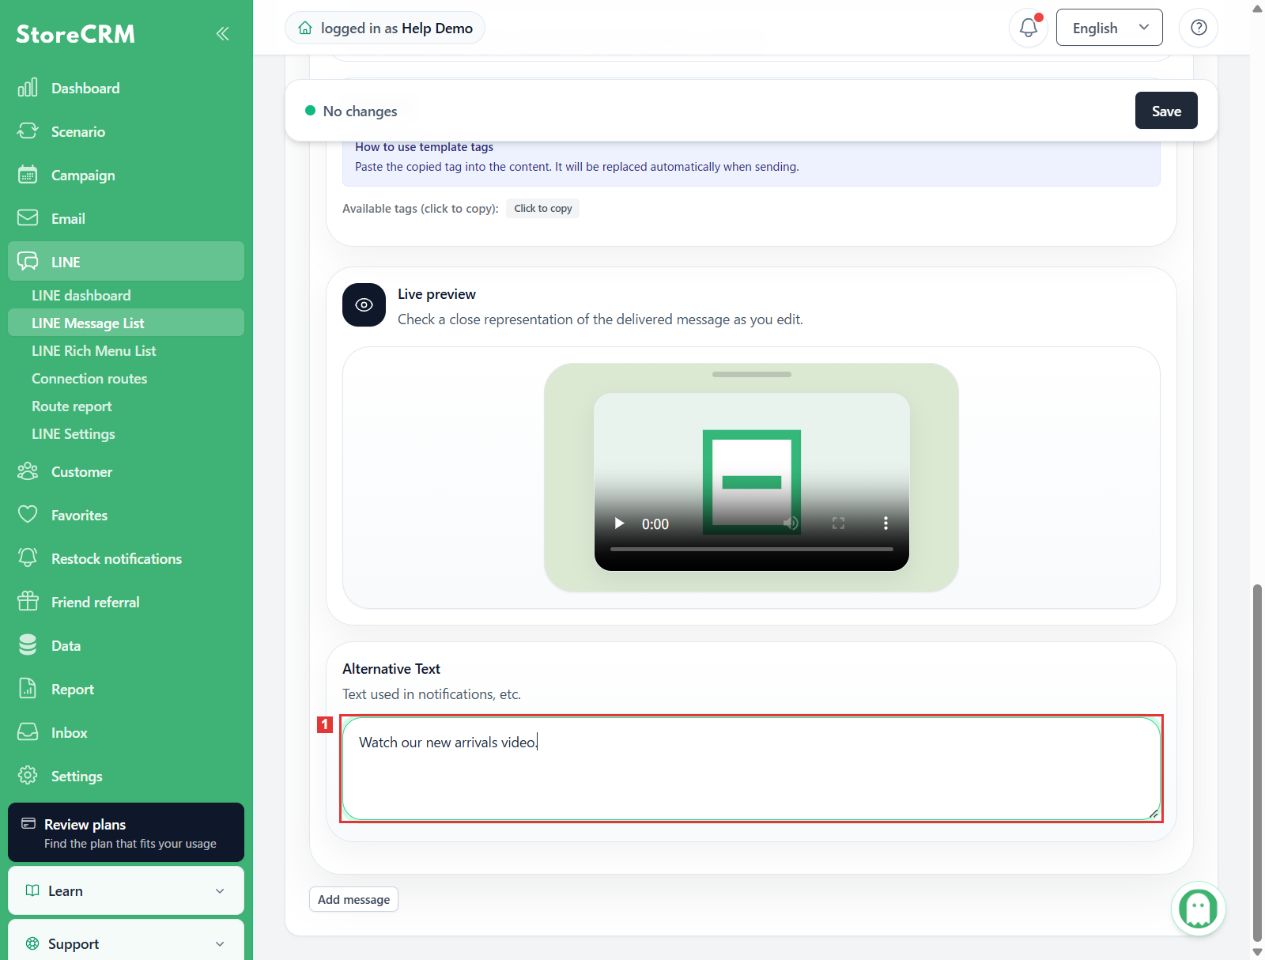
3. Enter alternative text
Location: Alternative Text
Enter a short description for notifications. This is separate from the altContent image inside the JSON.
Check: The message’s alternative text is set.
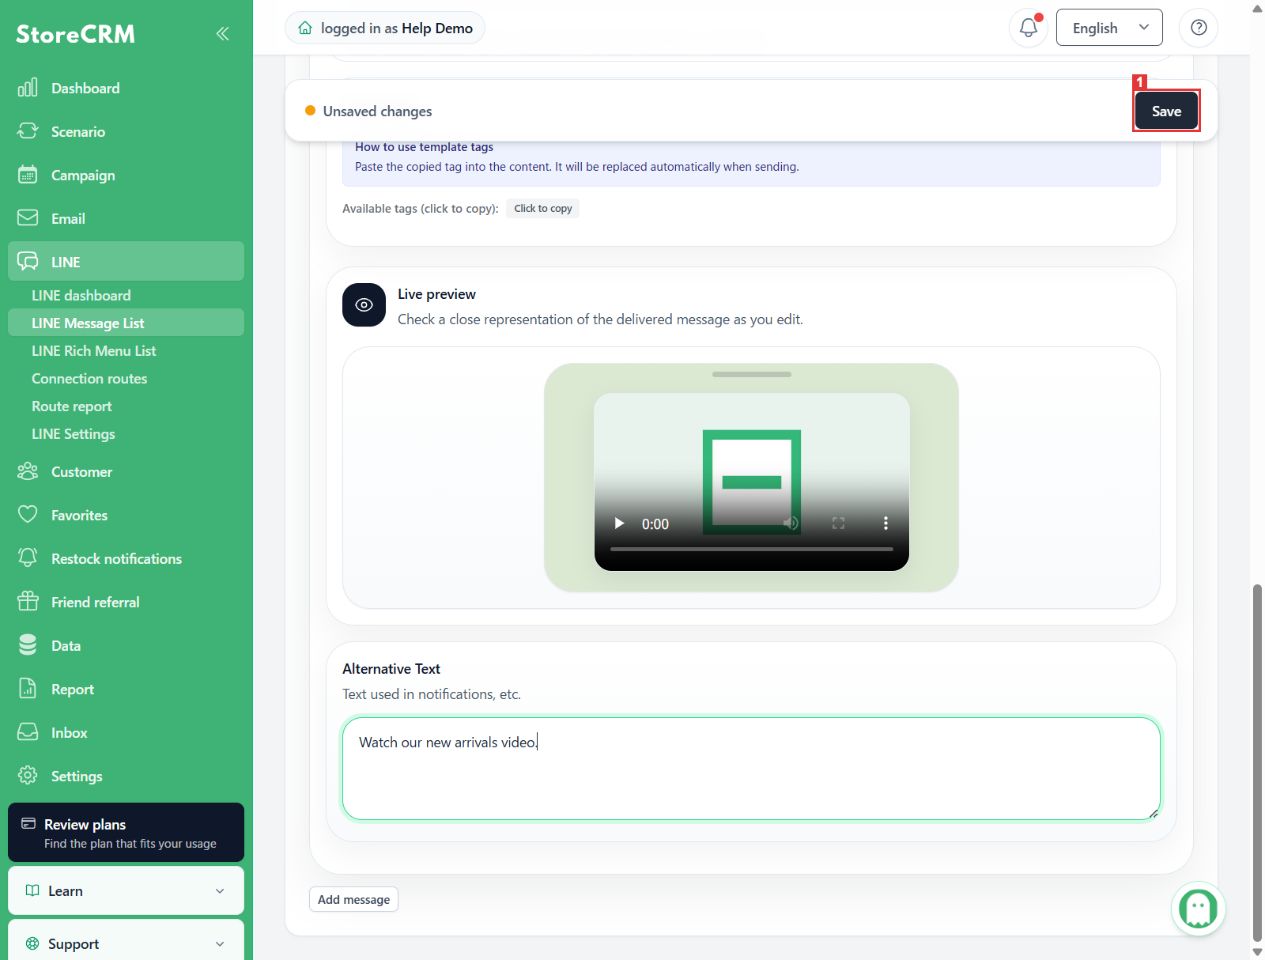
4. Save the Flex video
Location: At the top of the message editor
Review the JSON, alternative text, and preview, then select Save.
Check: Correct any structure or URL errors reported during saving.
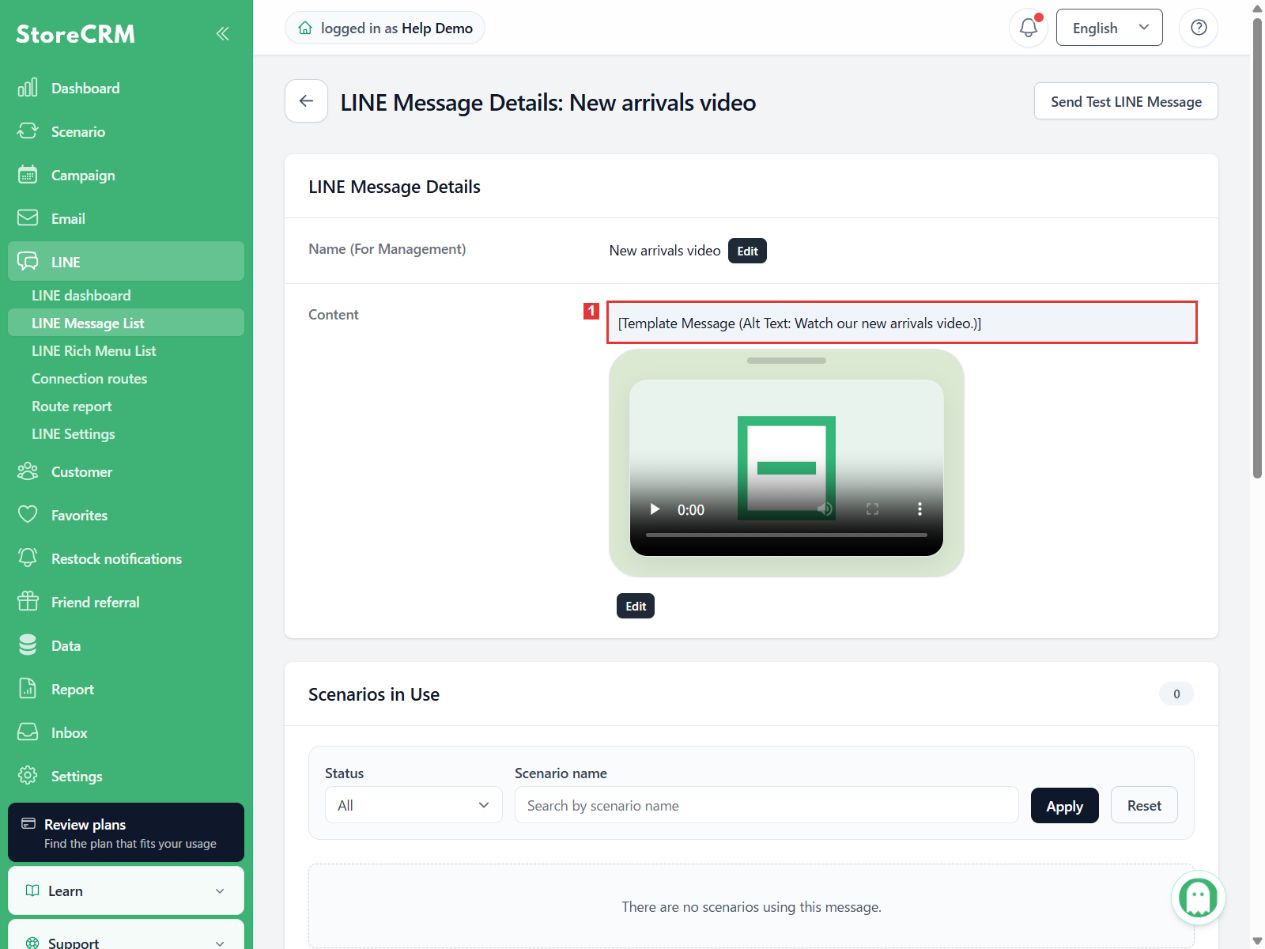
5. Check the saved body
Location: LINE Message Details
Check the saved Flex video and alternative text.
Check: Browser display does not guarantee playback on a LINE device.
Copyable JSON example
This example uses a public sample video. Replace the video and thumbnail URLs with your own. Set notification alternative text in the separate field outside the JSON.
{
  "type": "bubble",
  "size": "mega",
  "hero": {
    "type": "video",
    "url": "https://storecrm.com/help/wp-content/uploads/2026/11/storecrm-help-video-example-20261109.mp4",
    "previewUrl": "https://storecrm.com/help/wp-content/uploads/2026/11/storecrm-help-video-example-20261109.png",
    "aspectRatio": "16:9",
    "altContent": {
      "type": "image",
      "url": "https://storecrm.com/help/wp-content/uploads/2026/11/storecrm-help-video-example-20261109.png",
      "size": "full",
      "aspectRatio": "16:9",
      "aspectMode": "cover"
    }
  }
}
Deletion, playback, and checks before delivery
Deleting a message does not automatically delete its Shopify video. Deleting a video in Shopify may also prevent playback of previously sent messages. StoreCRM does not impose its own storage expiry or automatic deletion. If a video is unavailable before delivery, the affected message is stopped rather than silently sent with the video removed.
For test recipient setup and sending instructions, see Test mode recipient settings. For saved Flex video checks, see Flex Message video validation.
 English
 Japanese