StoreCRM has the ability to create segments based on customer information. With this linkage, customer segments can be created based on easyPoints data linked to StoreCRM.
The segments created can also be used to distribute the newsletter.
Measures that can be implemented
- Create segments by rank and distribute coupon newsletters
- Create segments for each range of points held and distribute tailored customer training email newsletters to each segment.
How to set up in StoreCRM
Example setup: Create a segment of easyPoints gold rank customers and send out emails with special offers.
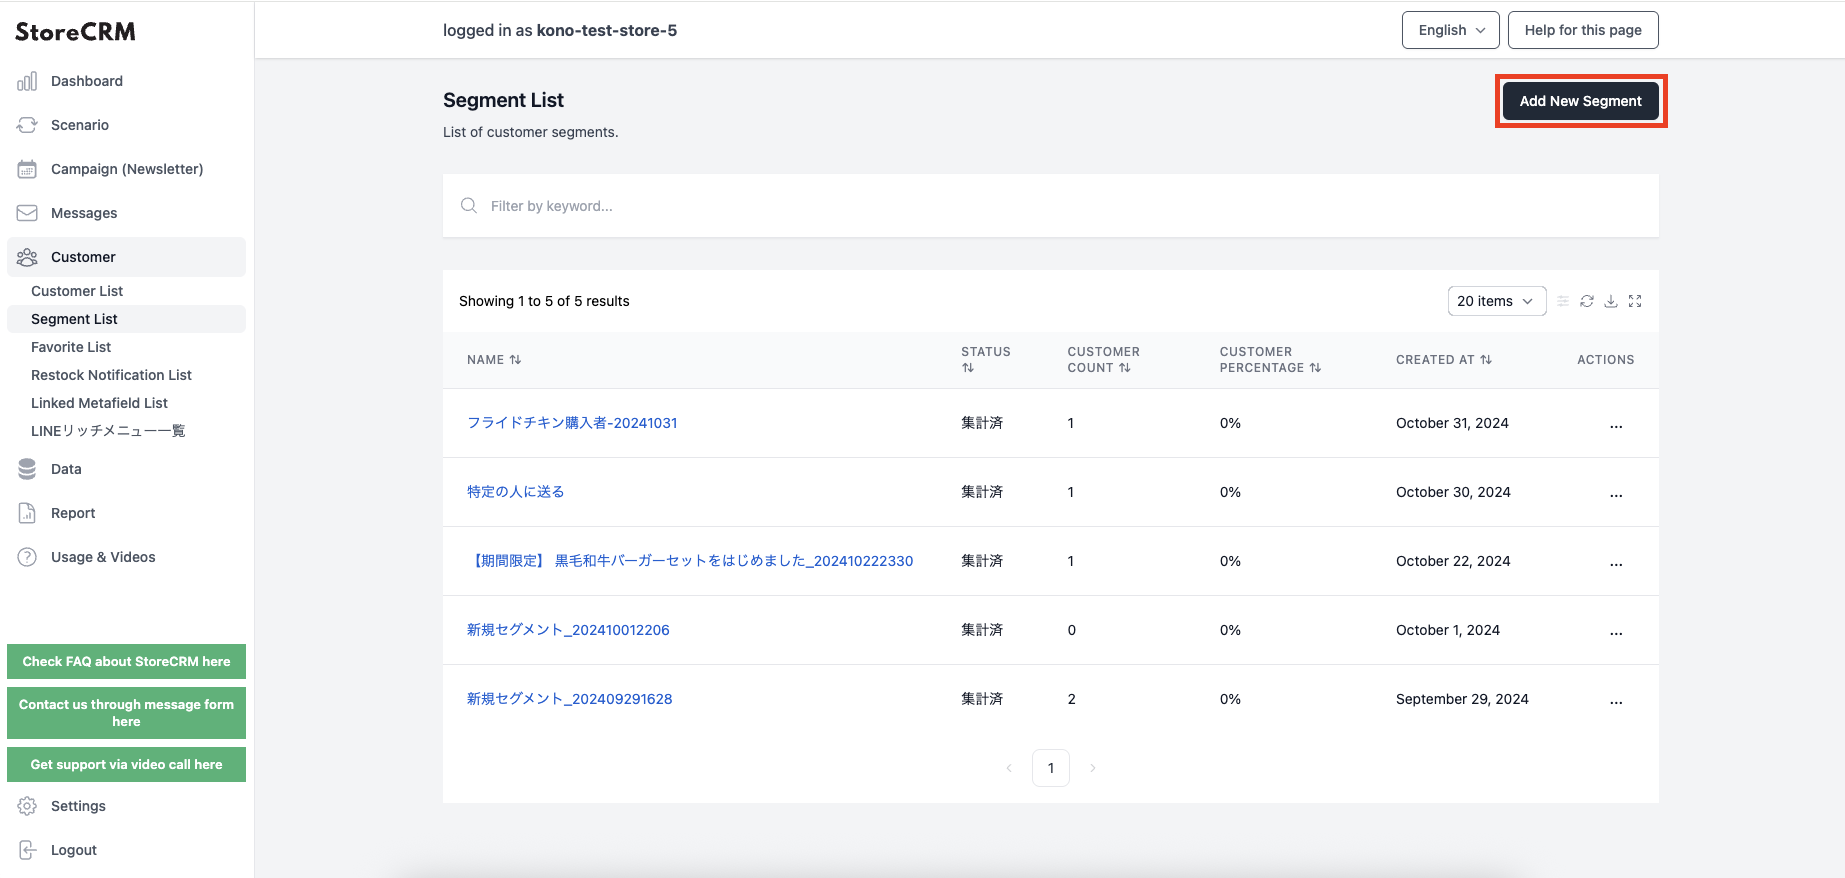
Click [Customers] > [Segment List] on the ①StoreCRM application screen.
[Select "Add new segment
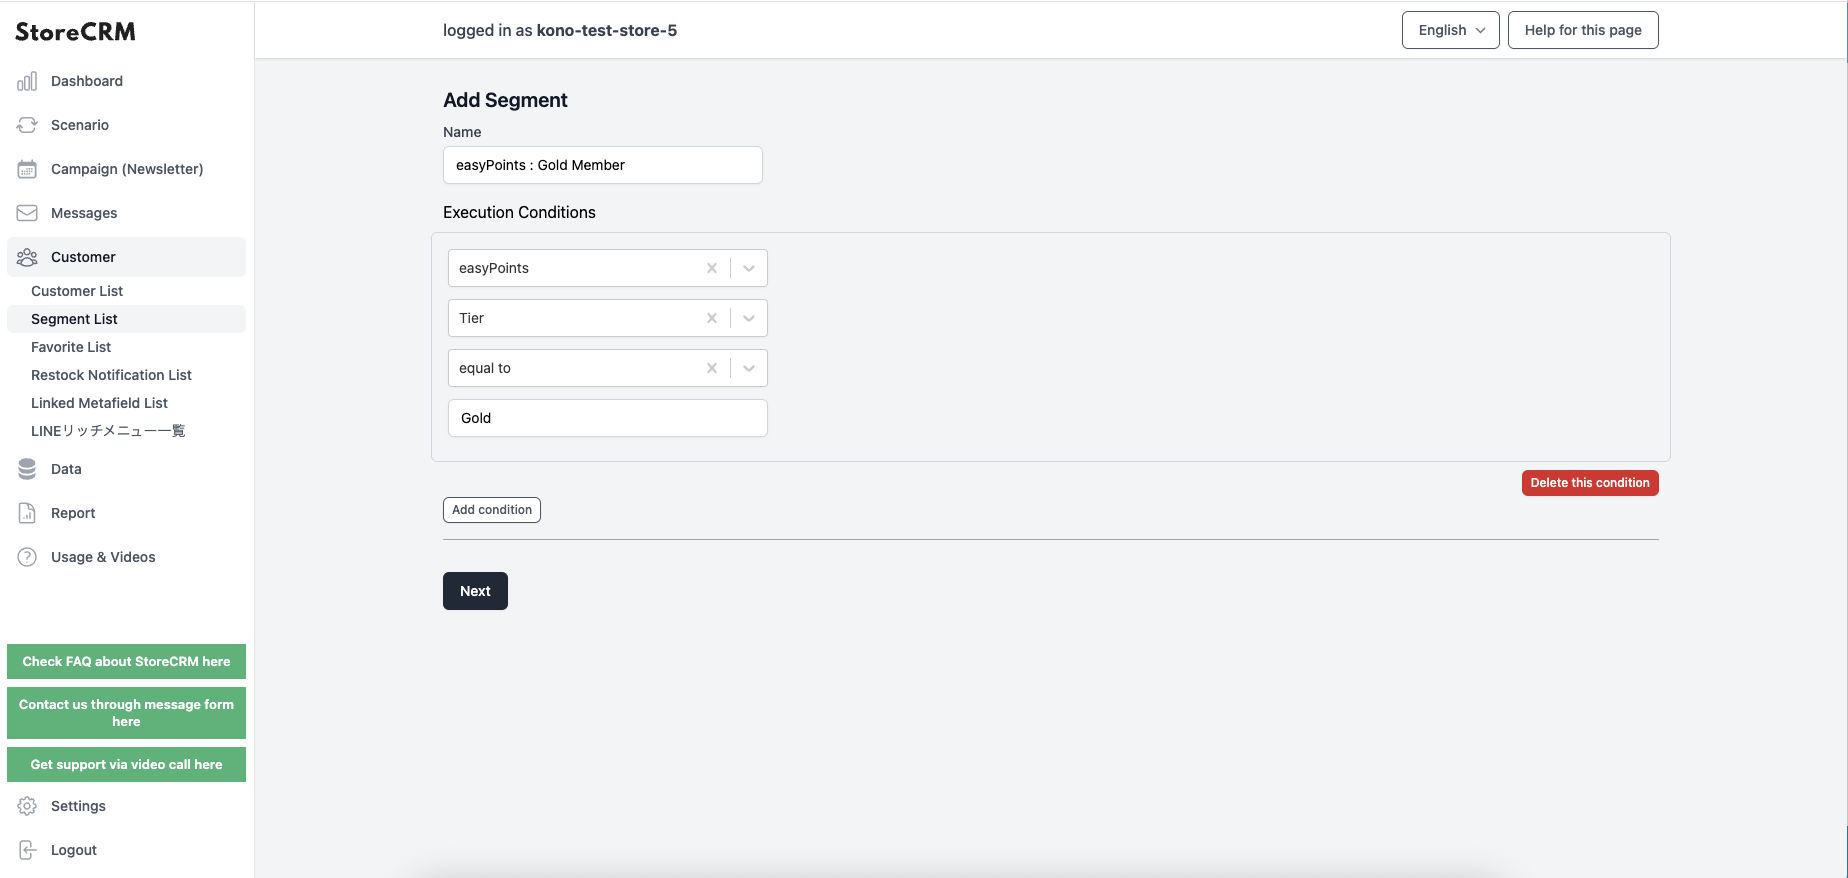
(2) Enter a segment name and set segment conditions.
The conditions under which easyPoints can be used are as follows
- Point Value
- Latest Point Type
- rank
- Point Expiration Date
- Latest point limit
In this issue.easyPoints(at sentence-end, falling tone) indicates a confident conclusiongold rankThe easyPoints rank must be Gold because it creates segments targeted to customers.
*For example, if you want to segment Silver rank or higher together, click "Add condition" and set the easyPoints rank to be equal to Silver in the And condition.
After setting the conditions, click the "Next" button to save the settings.
Once you are satisfied with the settings in the detail screen, click "Enable? to activate the scenario. Once activated, the scenario will be activated and the email or LINE will be sent to the corresponding customer.
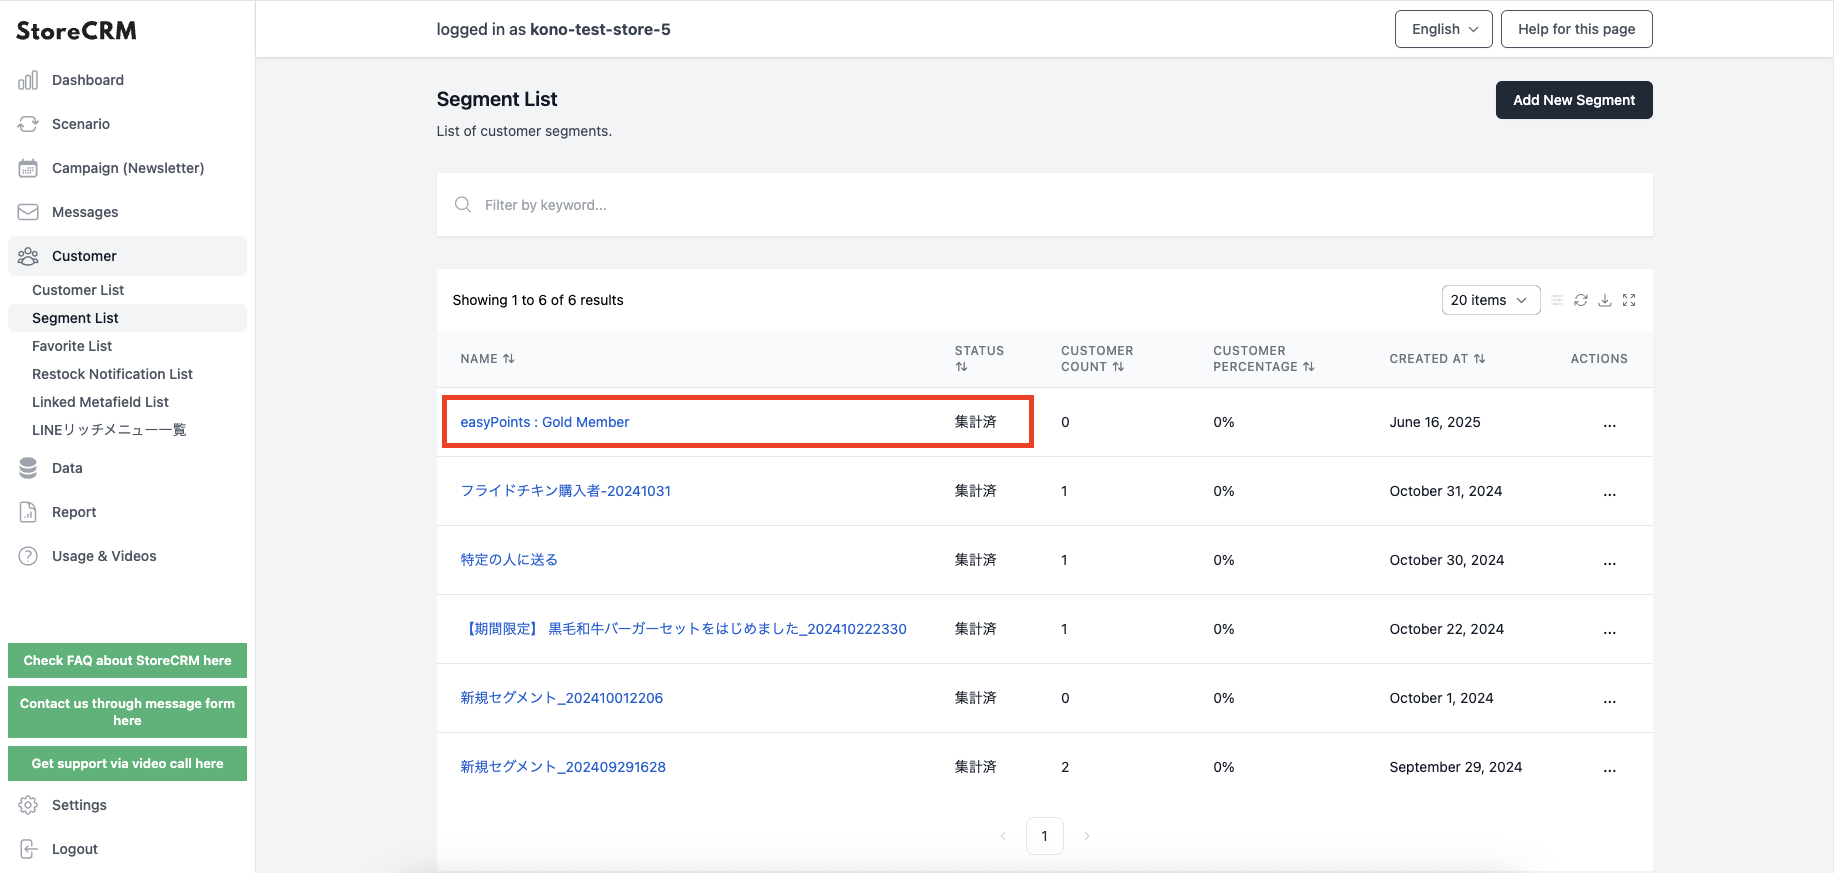
(iii) Creating a segment will start the aggregation of the corresponding customers.
Check the Segment List screen and wait until the status becomes [Aggregated].

Once the segments have been aggregated, actually send a mail magazine to the corresponding customer segment. Select "Campaigns (Mail Magazine)" from the application screen and select "Add New Campaign".
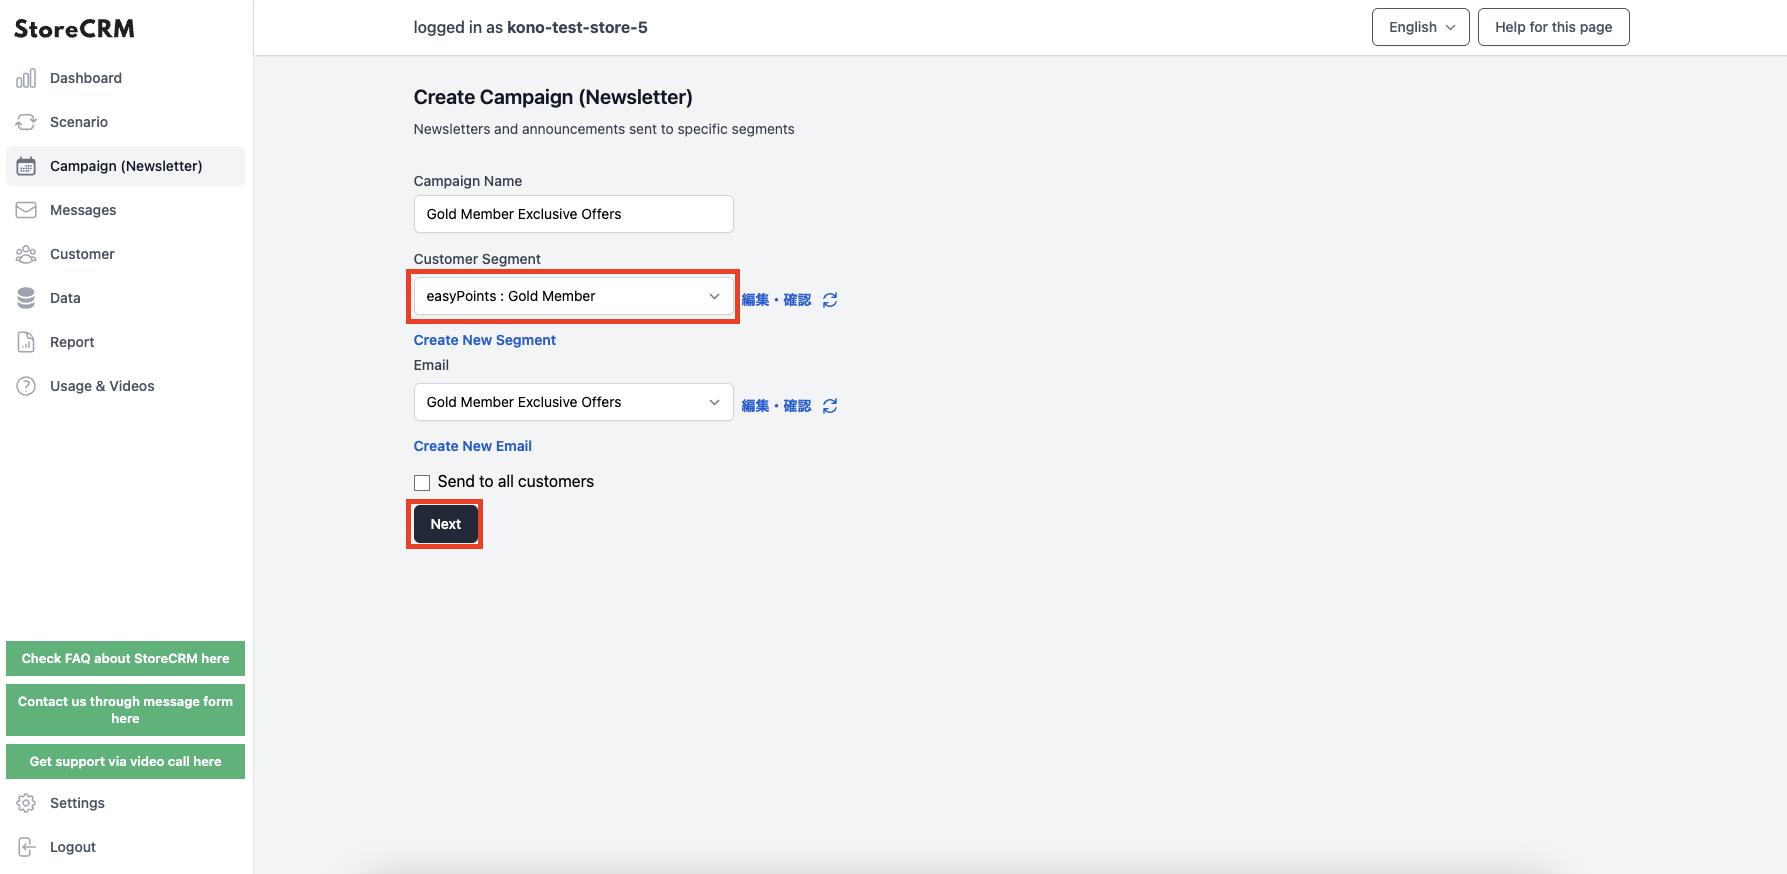
(5) Enter a campaign name, the segment you created, and the email you want to send.
When settings are complete, select "Next.
Use easyPoints data in your e-mail messages. You can check the available easyPoints data items in the "*" section.
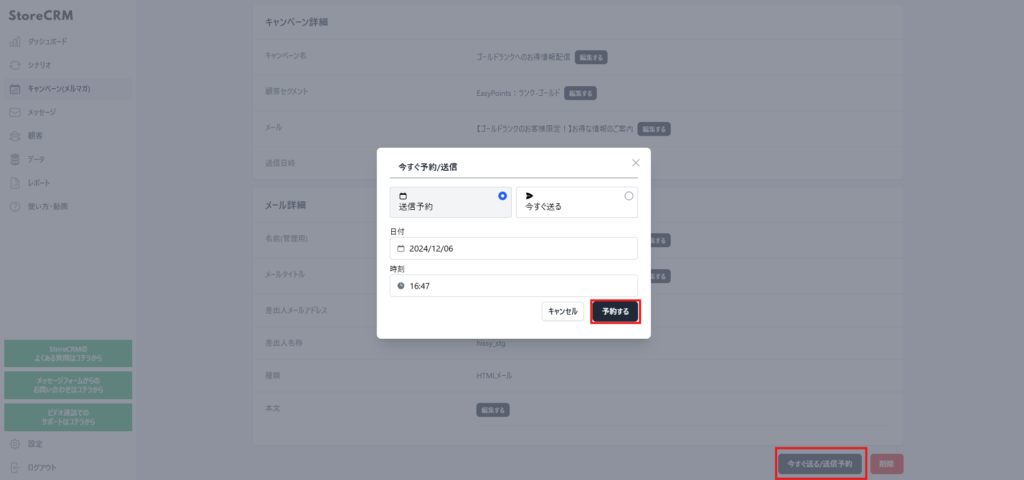
(6) If you are satisfied with the settings you have made, select "Send Now/Send Appointment".
If you want to deliver at a fixed time, set the date and time in "Schedule Send". If you want to deliver right now, select "Send Now" and then select "Schedule".
This completes the setup.
Segment delivery is executed at the set time.
Use easyPoints data in the wording of the email.
The data from the linked easyPoints can be displayed in the text of the emails and LINE messages to be sent out.
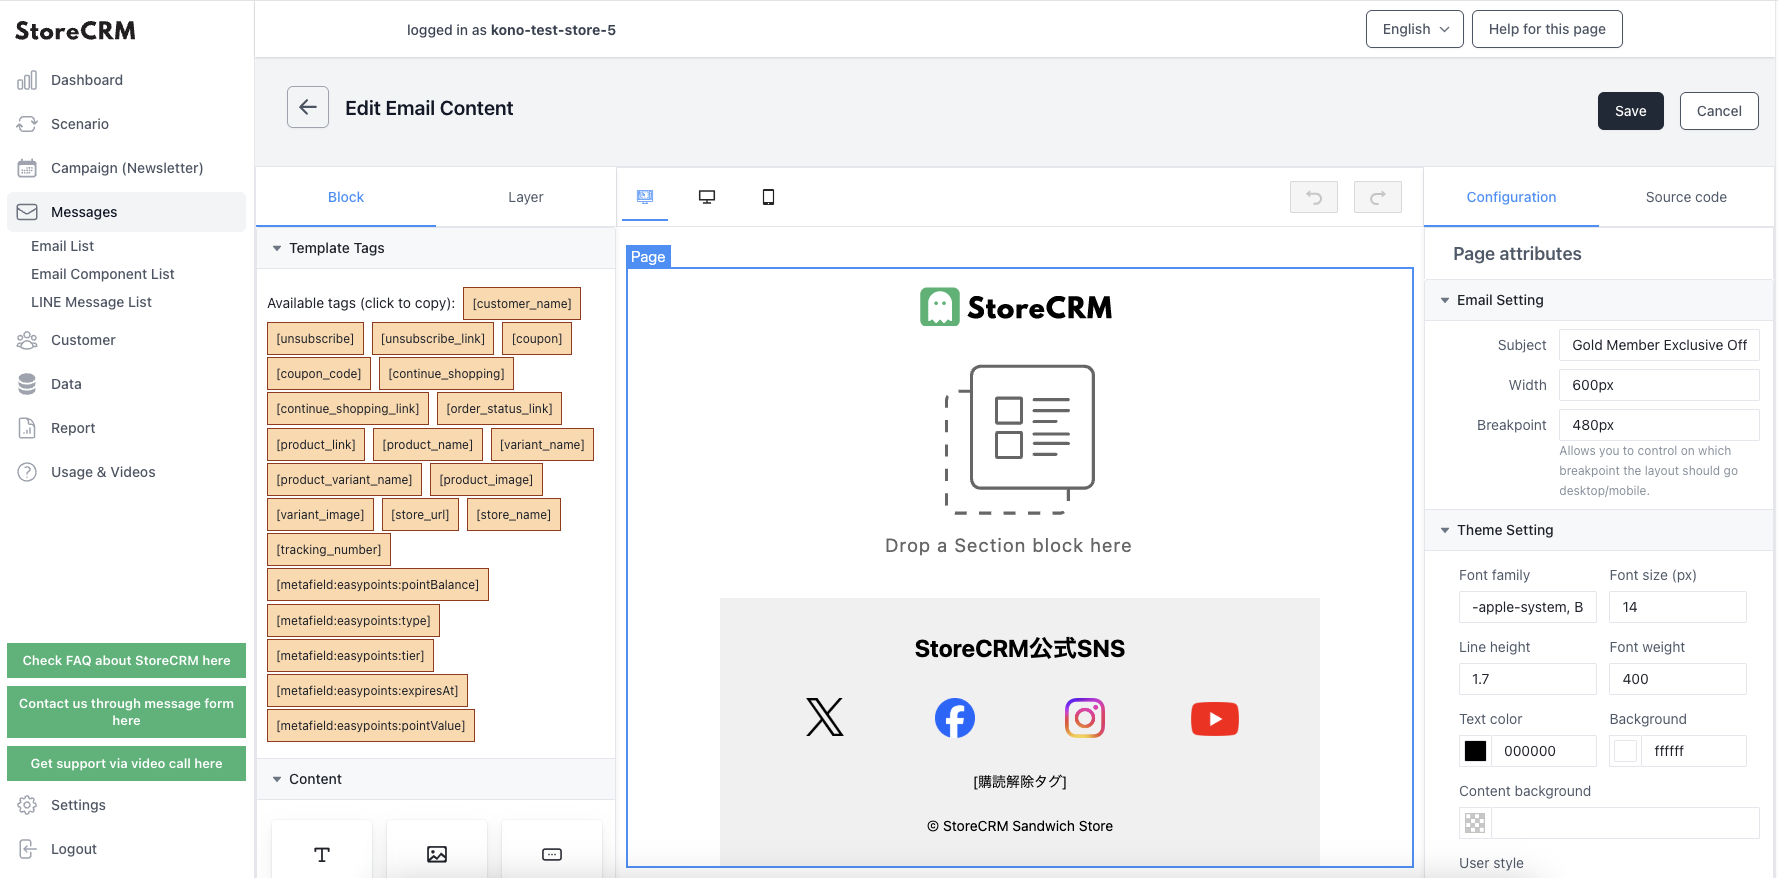
The data that can be displayed are as follows
- [metafield:easypoints:pointValue] ・・・ Value of point
- [metafield:easypoints:type] ・・・ Latest point type
- [metafield:easypoints:tier] ・・・ Rank
- [metafield:easypoints:expiresAt] ・・・ Expiration date of points
- [metafield:easypoints:pointBalance] ・・・ Latest point limit
easyPoints
StoreCRM