

Email templates let you search and preview StoreCRM templates, your store's templates, and scenario templates, then use one as the starting point for a new email. Brand settings apply a consistent logo, colors, company information, and social links to newly created emails.
Check before using
- You must have permission to view and edit emails.
- Changing your brand settings will not automatically overwrite the email you created.
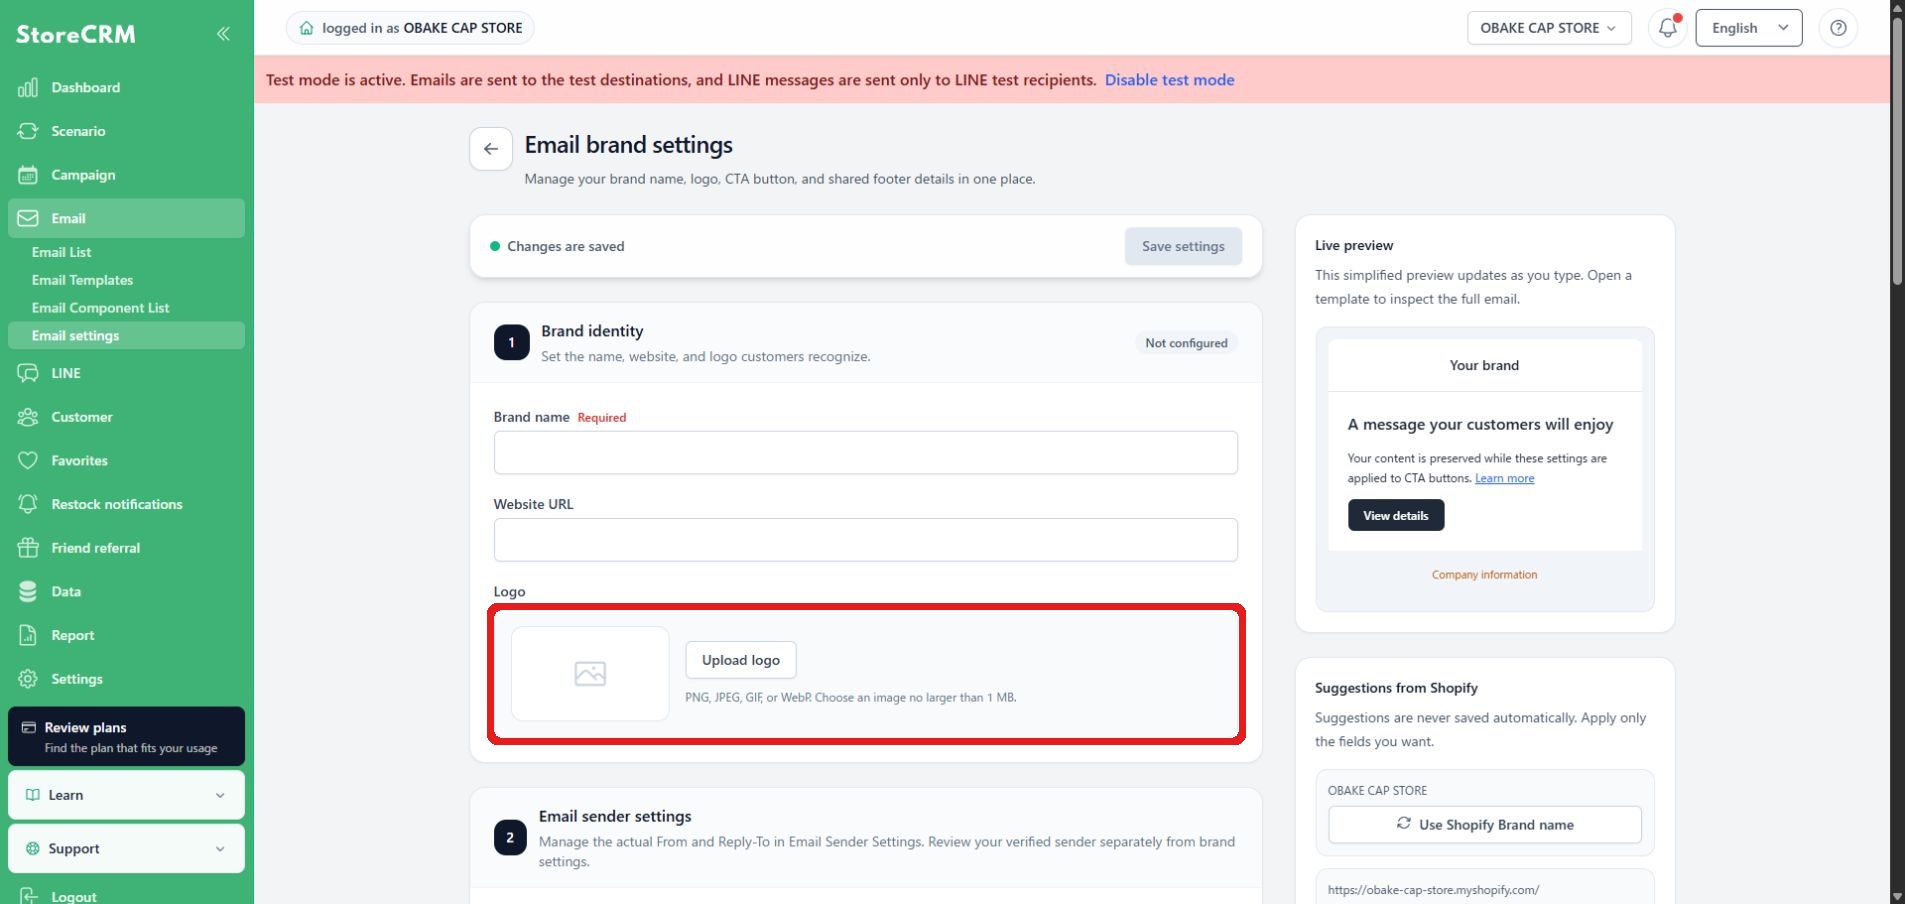
- Use a PNG, JPEG, GIF, or WebP logo no larger than 1 MB. Insufficient color contrast or an invalid URL causes an error when you save.
Find a template and create an email
1. Open the email template
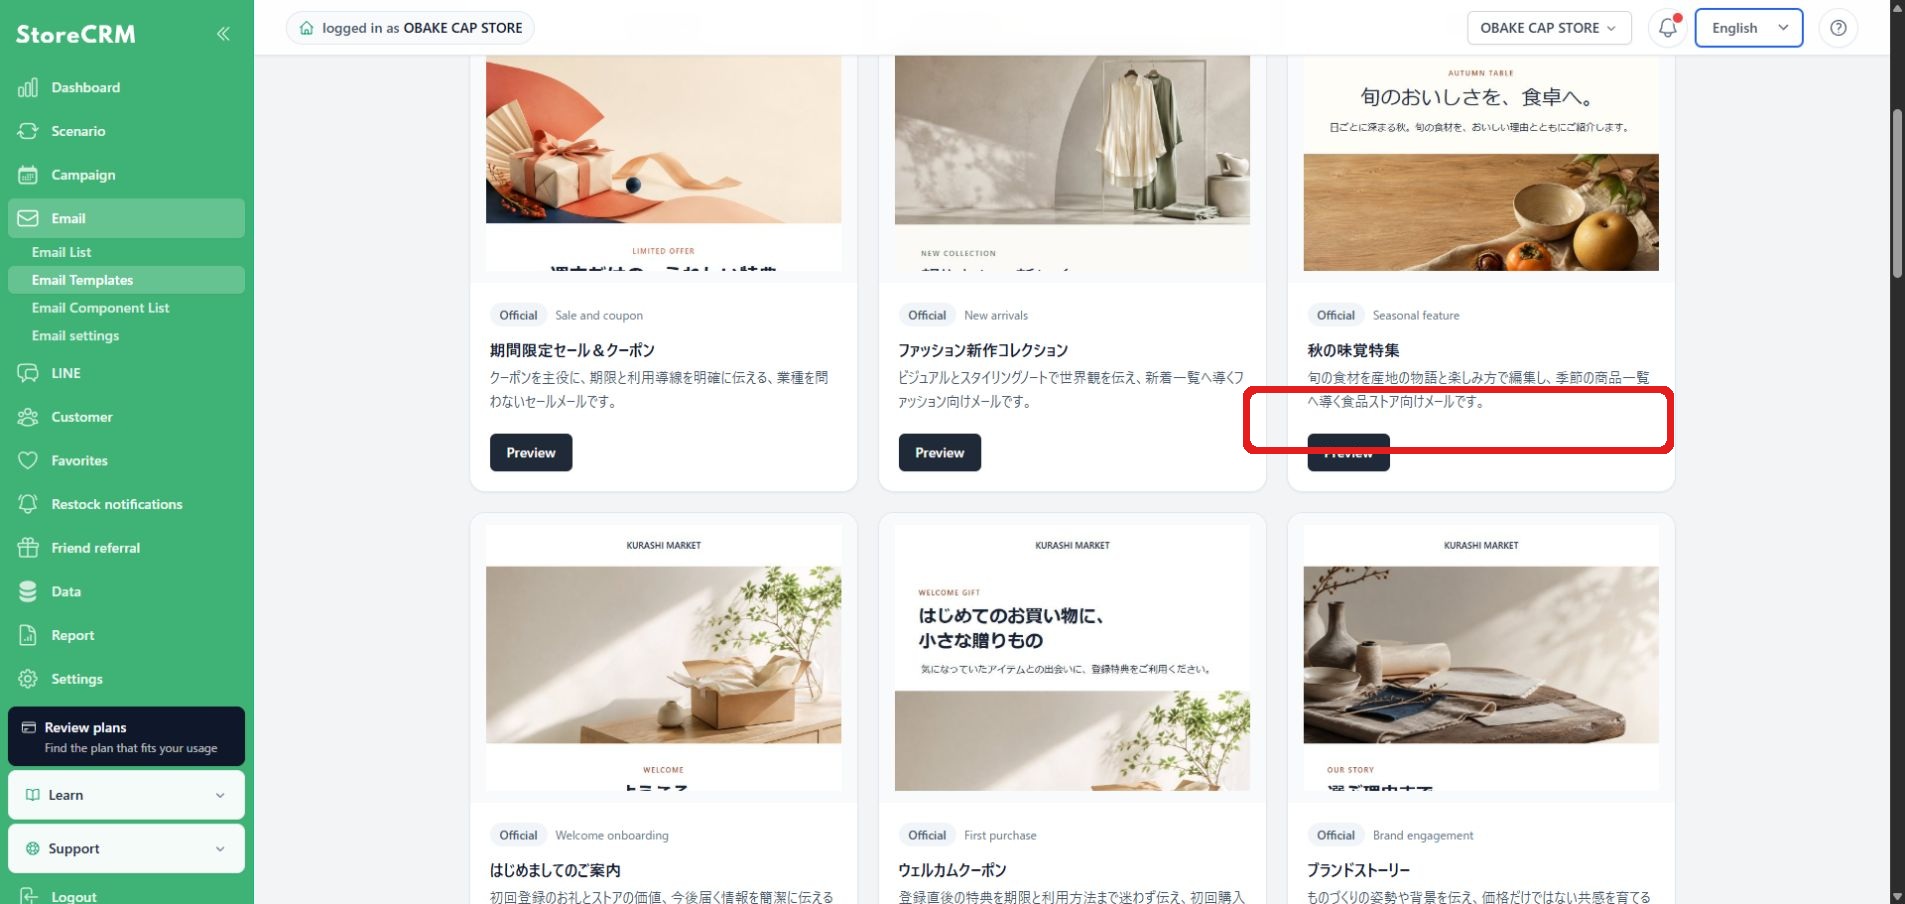
Open [Email]→ [Email Template] in the left menu. You can toggle between StoreCRM Official, My Templates, and Scenario Templates.
2. Search and refine
In addition to keyword searches, filter by purpose, season, industry, layout, and tone. If you specify more than one condition, only templates that match the condition will be displayed.
3. Check desktop/mobile view
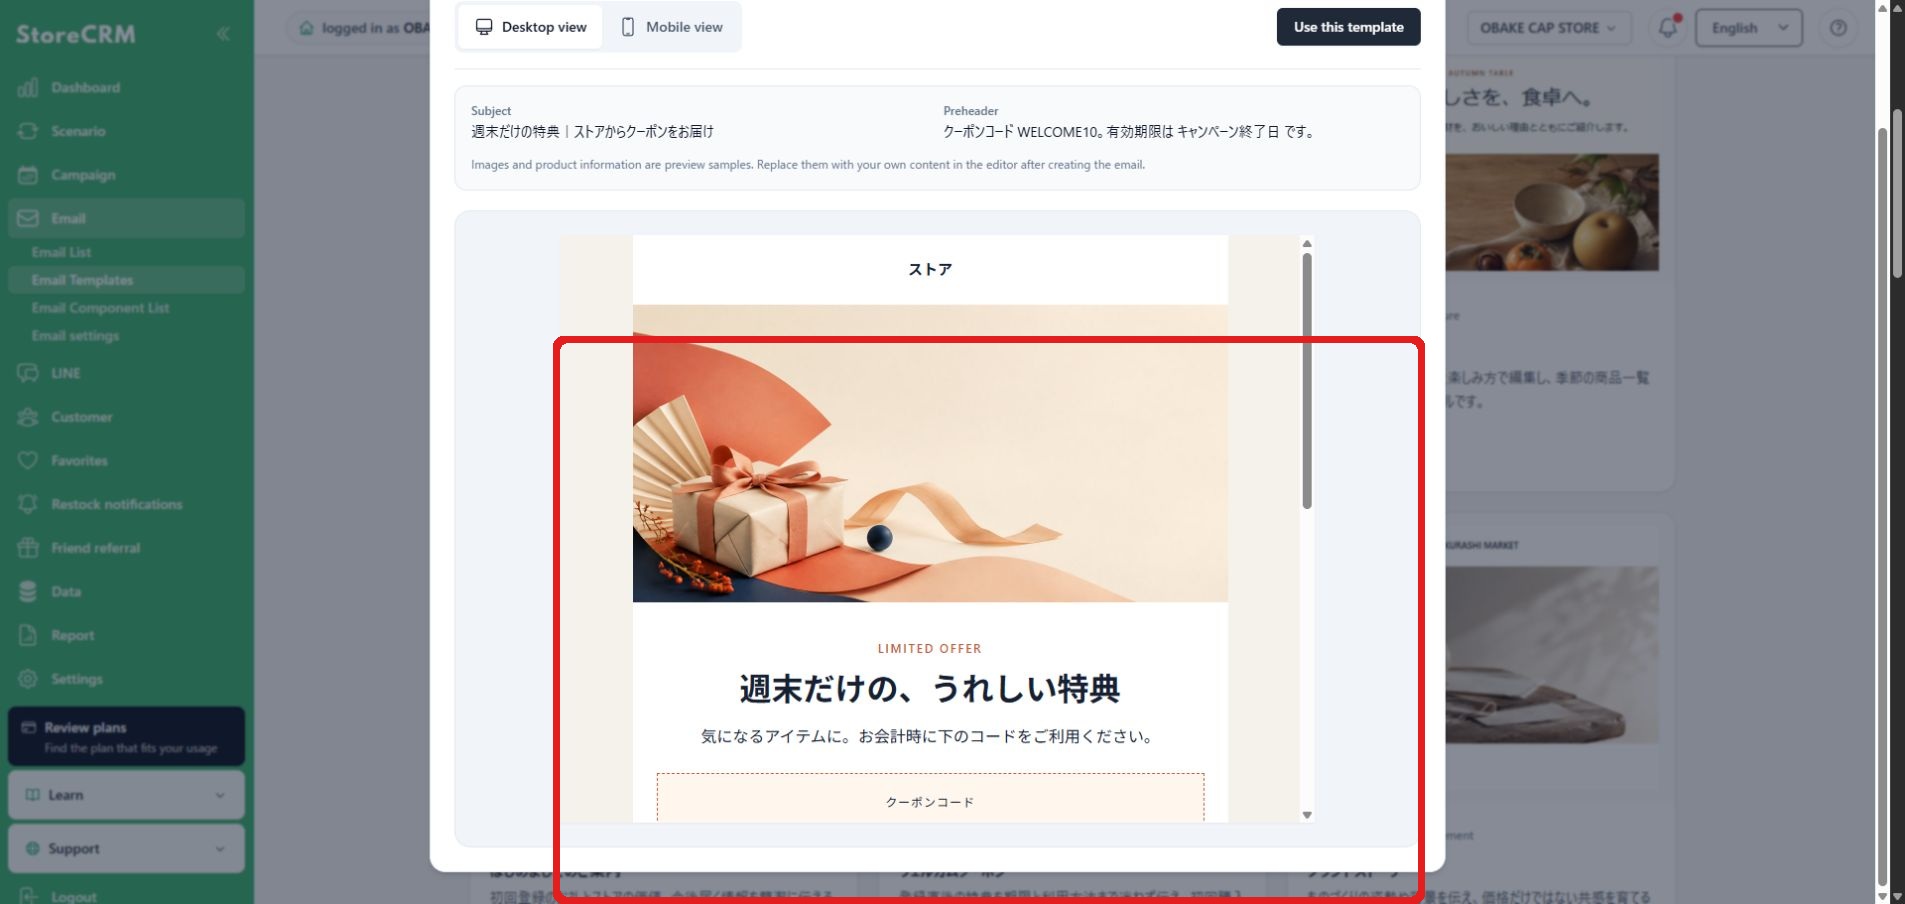
Select a card to open a preview and toggle between desktop and mobile to see headings, images, buttons, and footers.
4. Use a template
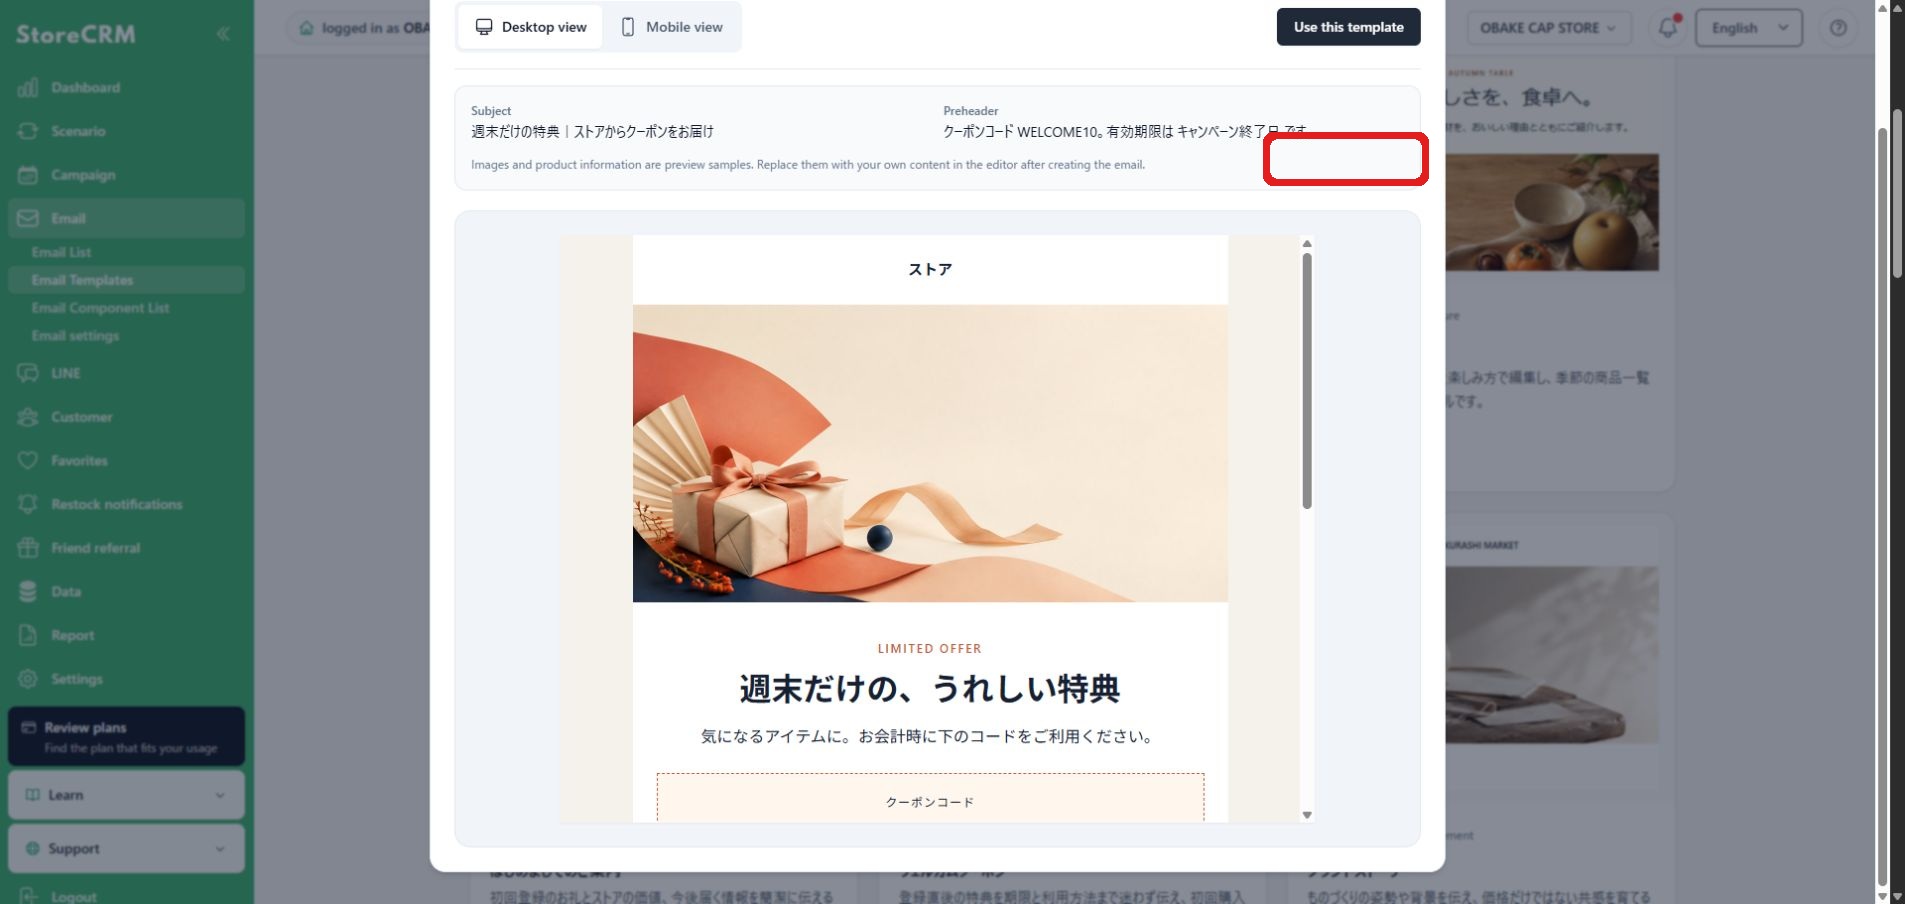
Select Use this template to create a new email from a copy. The original template is not changed. Review the subject, body, merge tags, links, and unsubscribe link before saving.
Save and update your own templates
Save an existing email as a store template to reuse it from My Templates. If another browser window updates the template while you are editing it, review the conflict message, reload the latest version, and then save. If conversion or list loading fails, retry without overwriting the template with empty content.
Register your branding
1. Open your brand settings
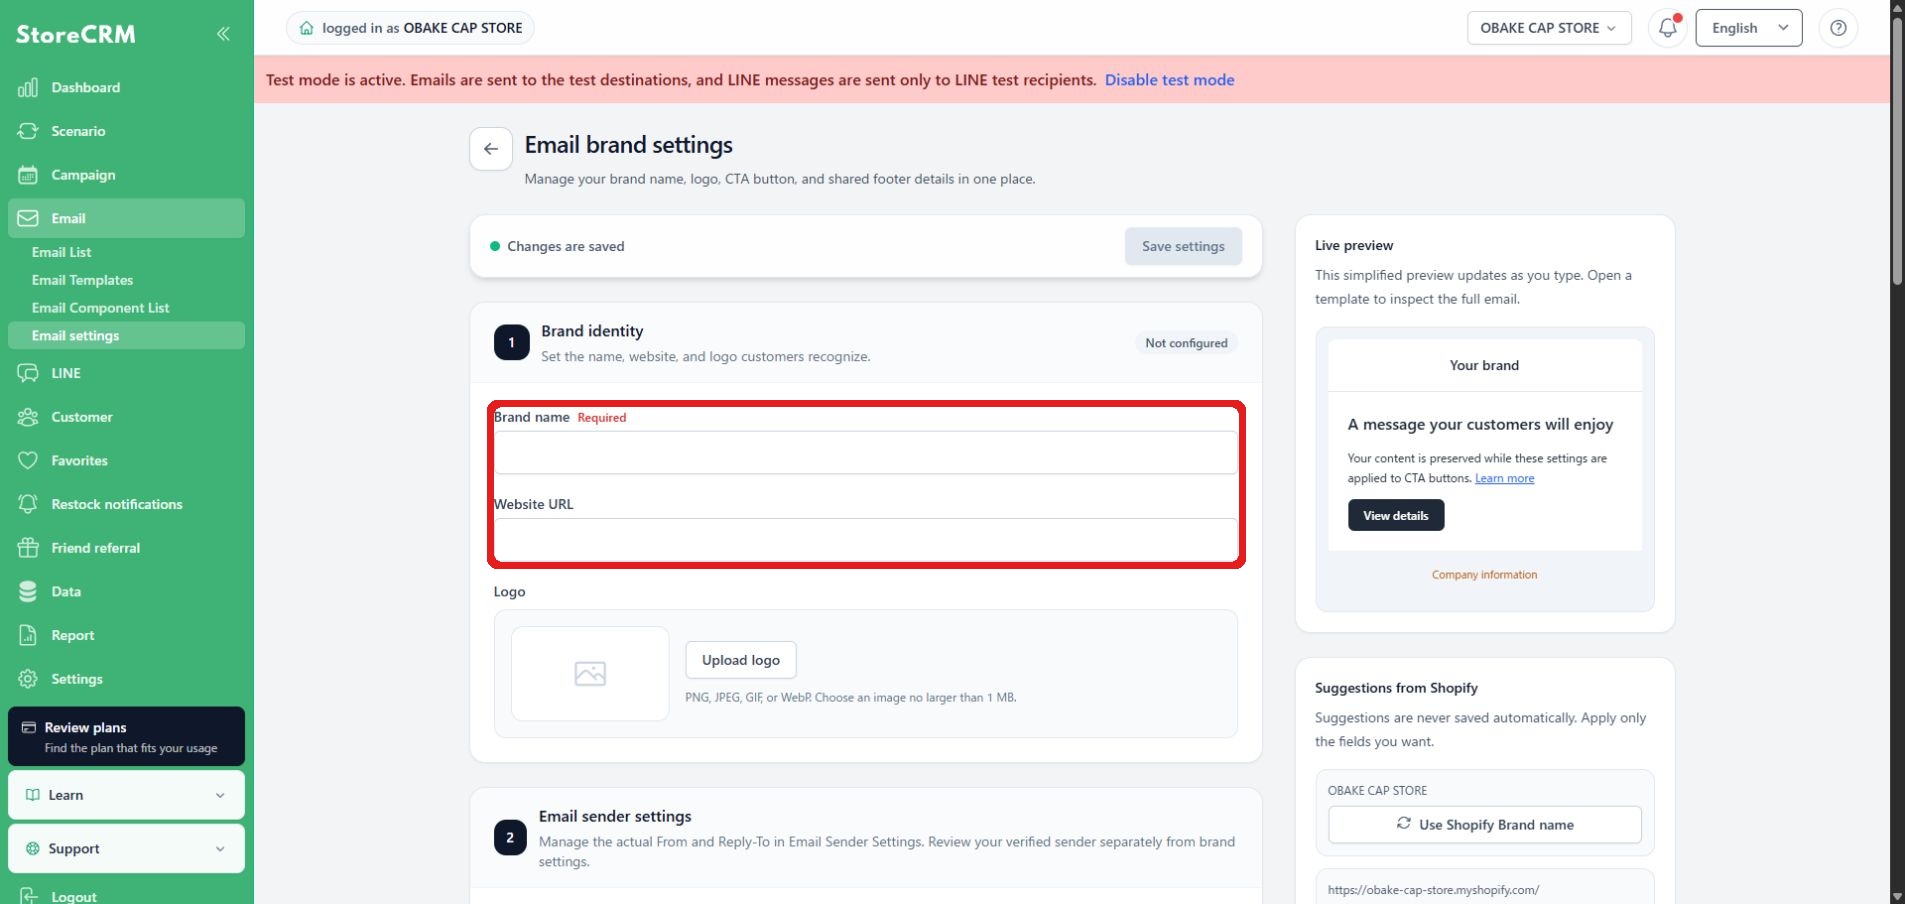
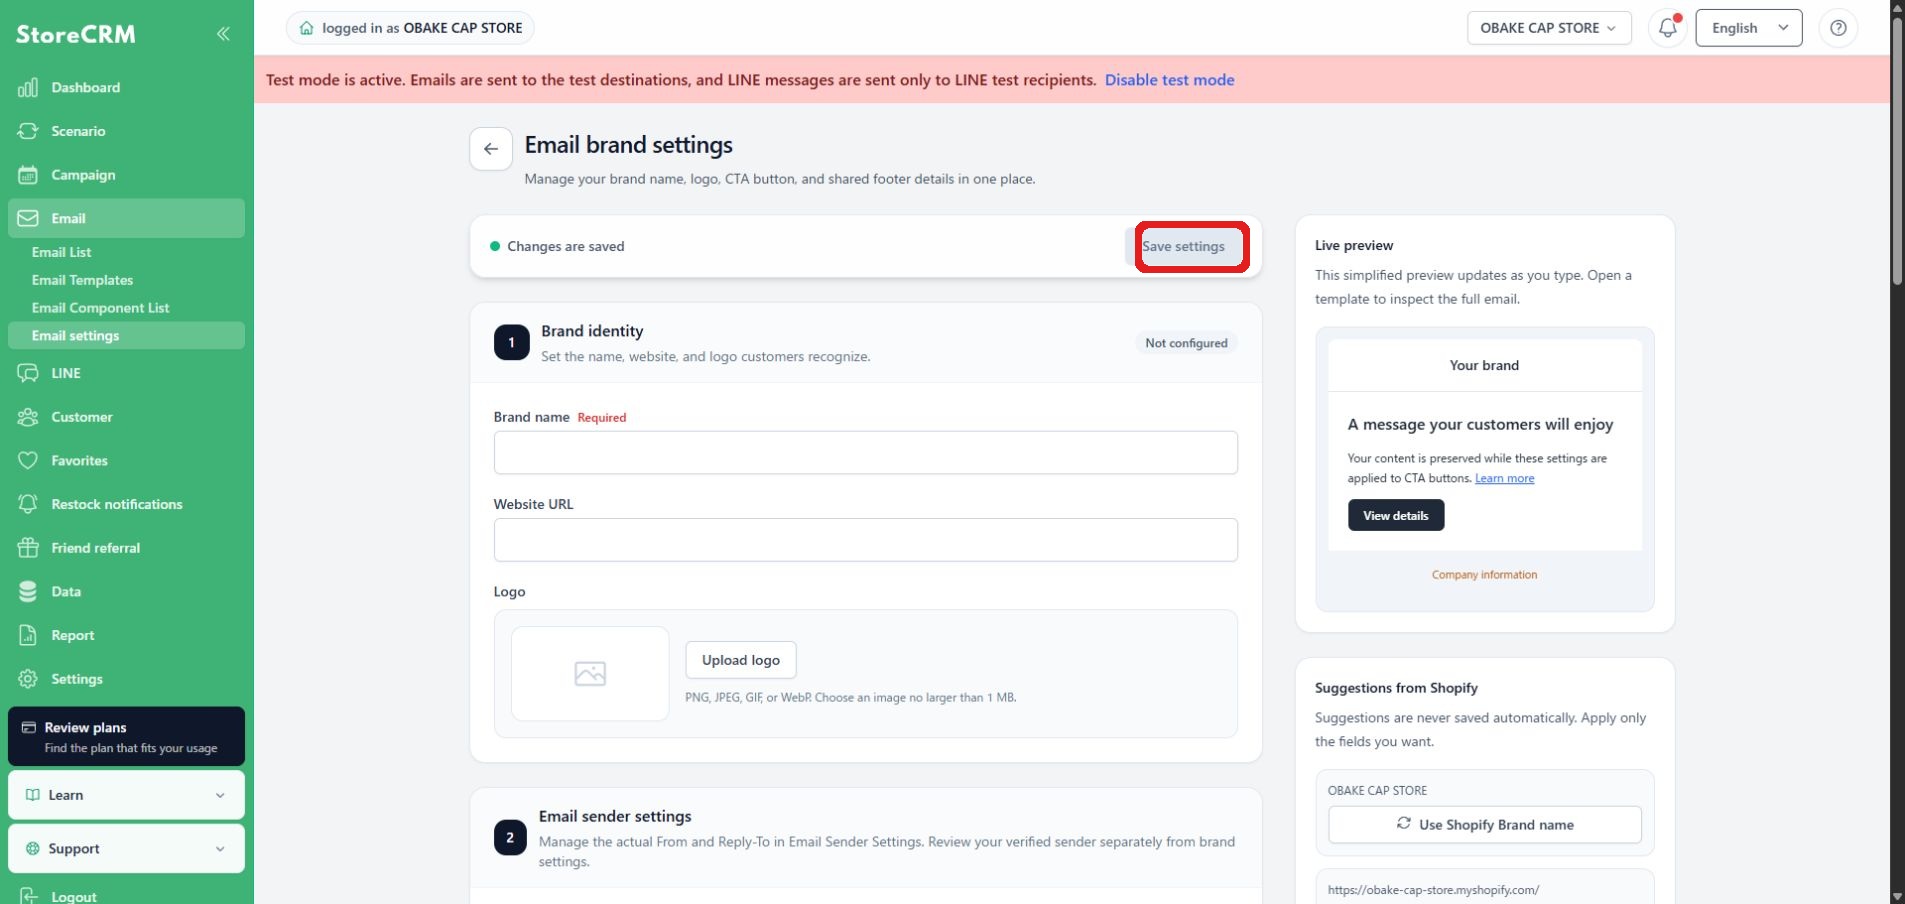
Open Settings → Brand settings, then enter the brand name, website URL, logo, brand color, button color, company information, contact details, and copyright notice.
2. Set your logo and social links
Upload the logo and check its appearance. Add URLs only for the social networks you use. A removed logo will not appear in newly created emails.
3. Save and confirm with new email
Select Save, then create a new email from an official template to check the result. To apply the settings to an existing email, review the changes and reapply the brand settings; edits to the email body are preserved. For emails generated from scenarios, enable the option to apply brand settings.
If templates cannot be displayed or saved
- If the template list is empty, clear the search criteria and the selected tab to refresh.
- If a logo error appears, check the file format, file size, and image URL.
- If you see a contrast warning between the text color and the background color, change it to a readable combination.
- If there is a save conflict, reload the latest content, check the difference, and then edit it again.
 English
  Japanese