Complete Guide to Creating and Sending Shopify Drip Emails
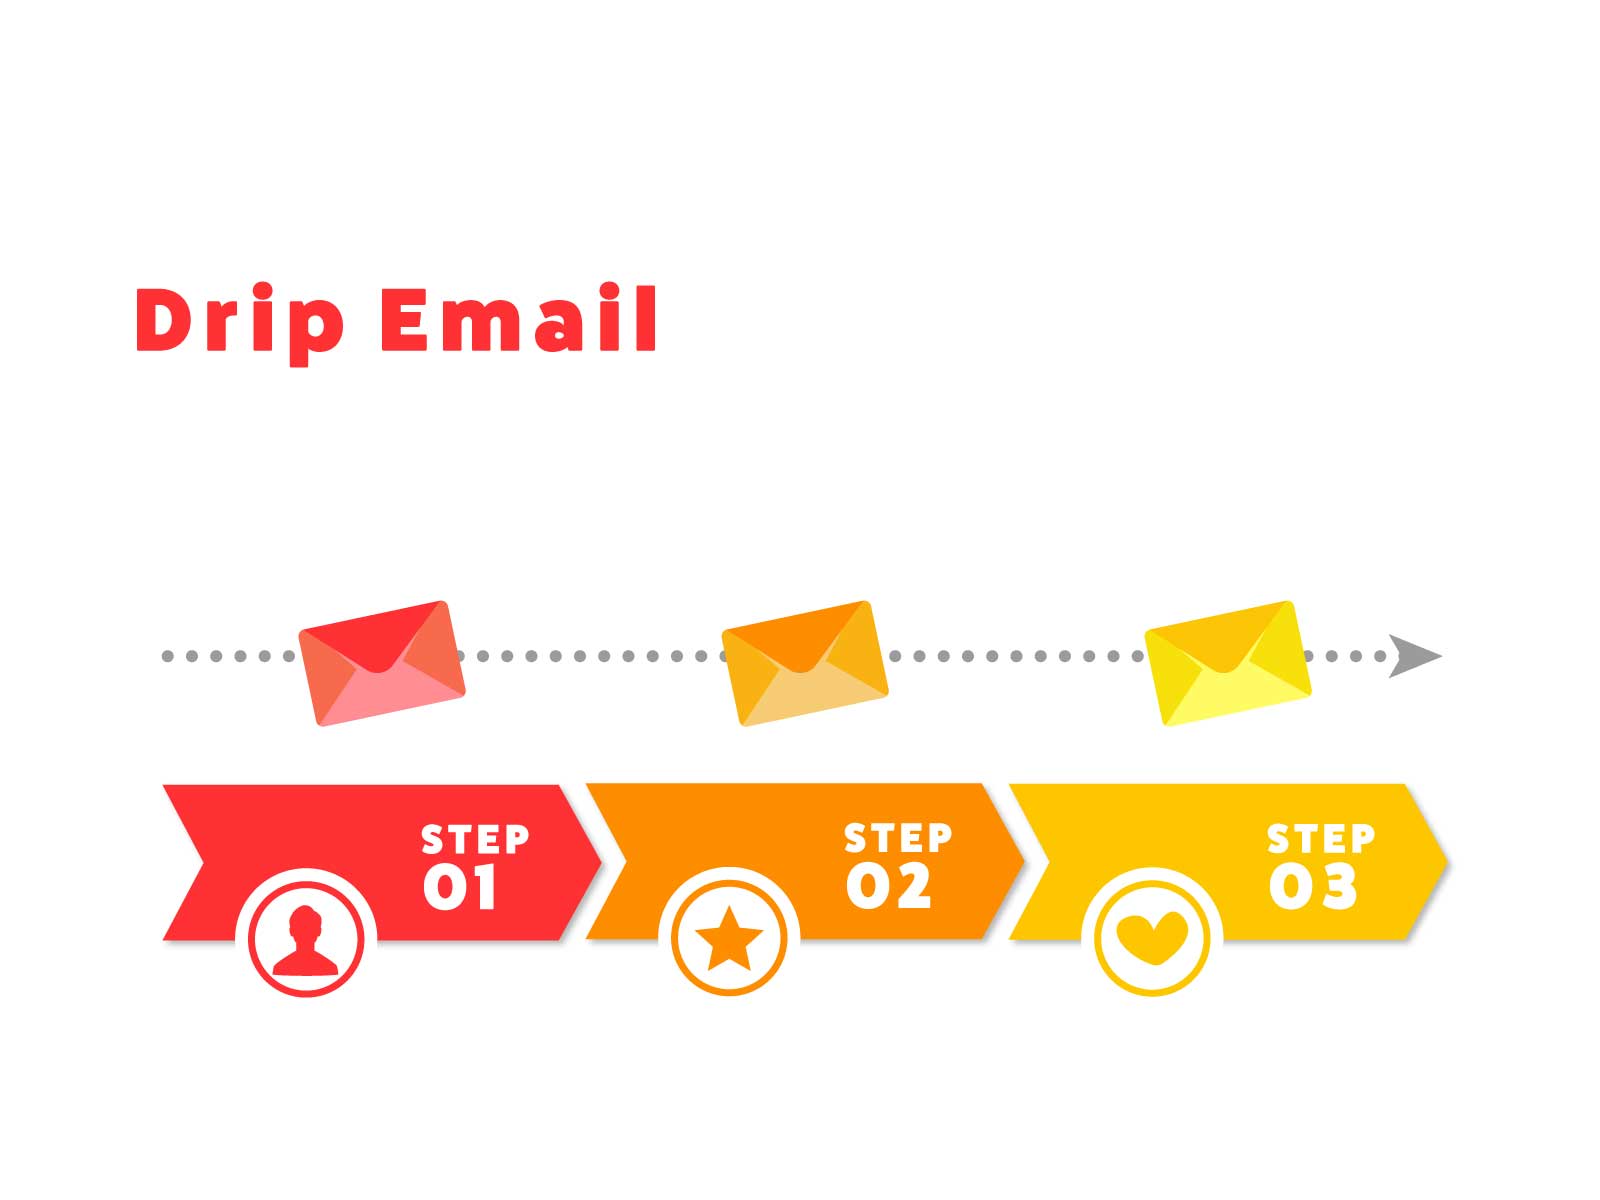
Table of Contents
ToggleIntroduction
[Video Manual] [Shopify] How to Set Up Drip Emails in StoreCRM
Creating a Drip Email Scenario (For Membership Registration)
About the Scenario Objective
It is crucial to clearly define the objective when implementing marketing strategies.IntroductionLet’s review the purpose of the drip email scenario for member registration.
① Increasing Brand Awareness and Promotion
Introducing the brand and key products right after registration helps maintain customer interest and stimulate purchase intent.
It can also help increase trust in the brand.
*Be cautious, as sending too many emails can lead to unsubscriptions.
➁ Collecting Customer Data
You can analyze what kind of information or products newly registered users are interested in by looking at open and click rates.You can also use that information to provide more personalized content and product recommendations.
Create the Scenario
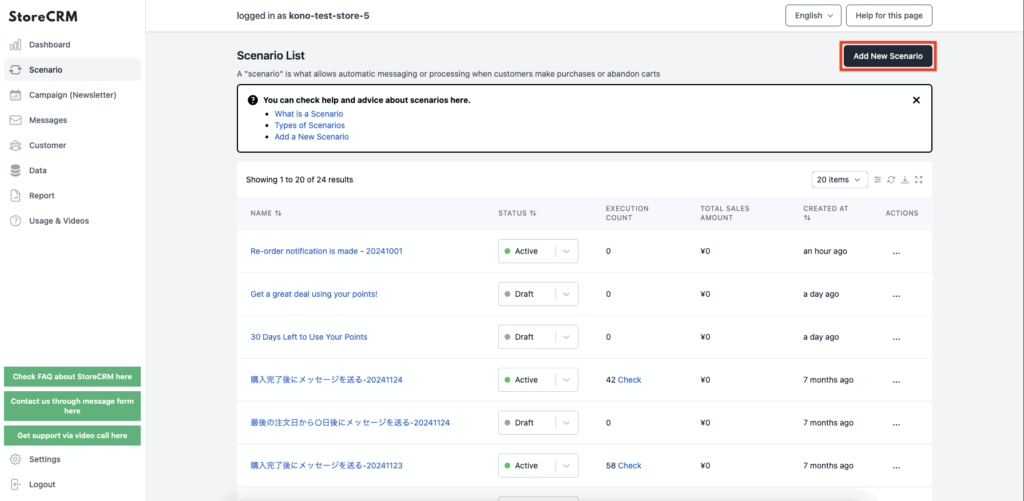
➀Open the StoreCRM app screen and click [Scenario] to open the scenario list page.
Click [Add New Scenario] in the top-right corner of the screen.
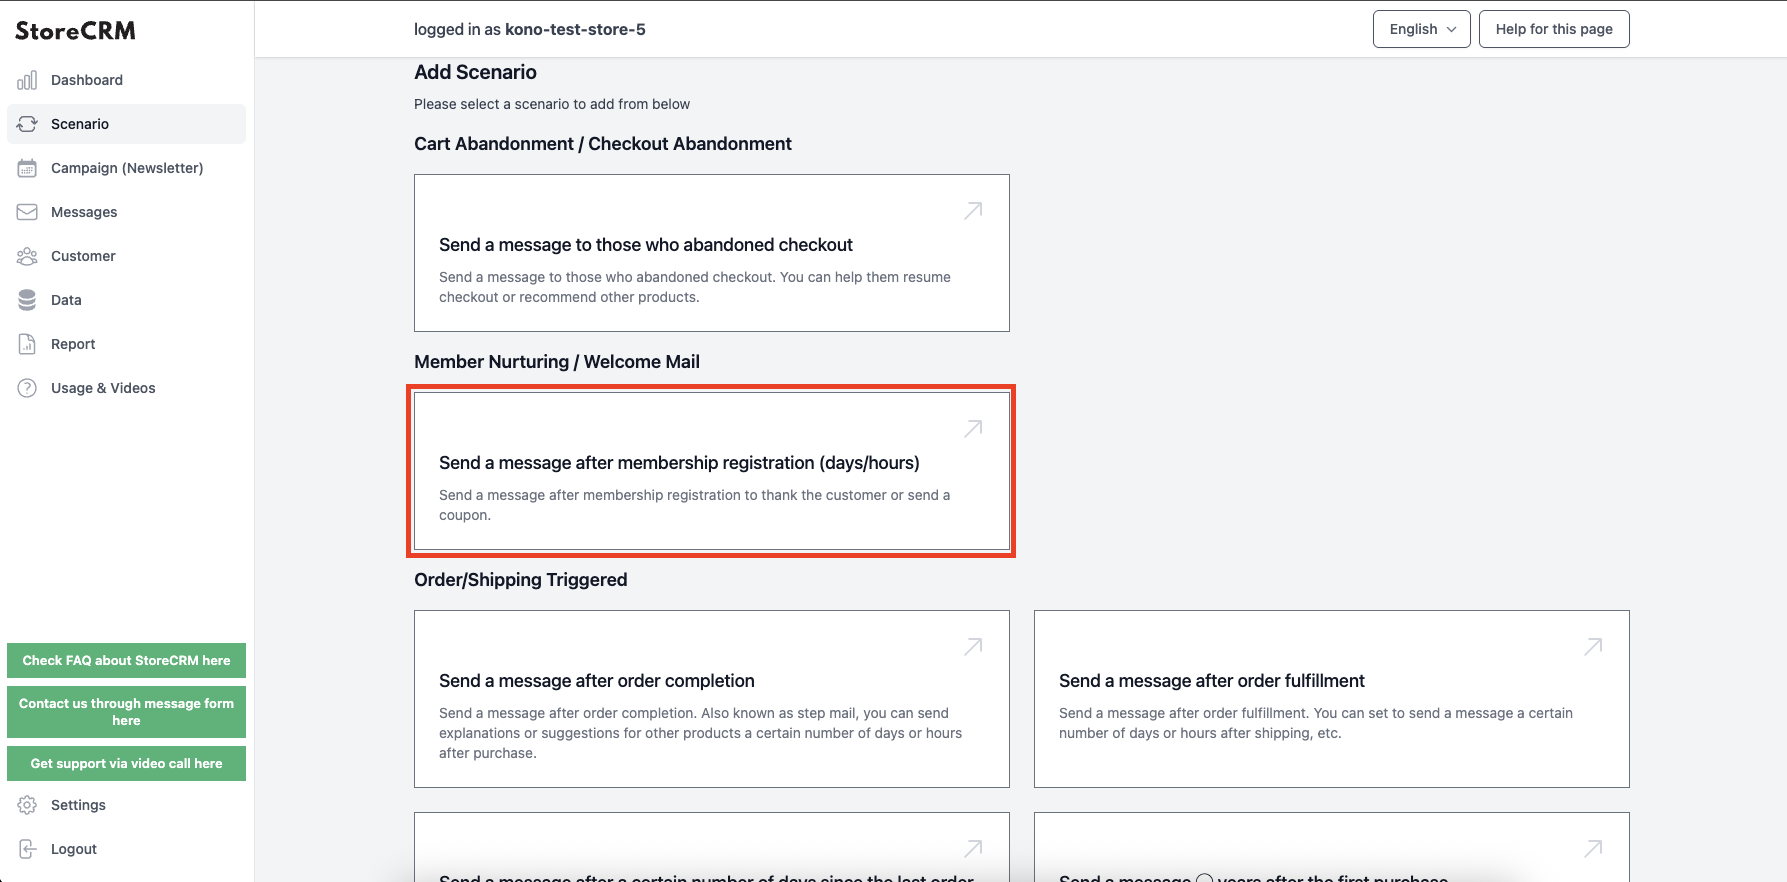
➁Since we are creating a drip email scenario after member registration, click [Member Nurturing / Welcome Email] > [Send Email ● Days (or Hours) After Registration]
*To create a drip email scenario after a purchase is completed, select [Triggered by Order or Shipment] > [Send Email After Purchase Completion]*
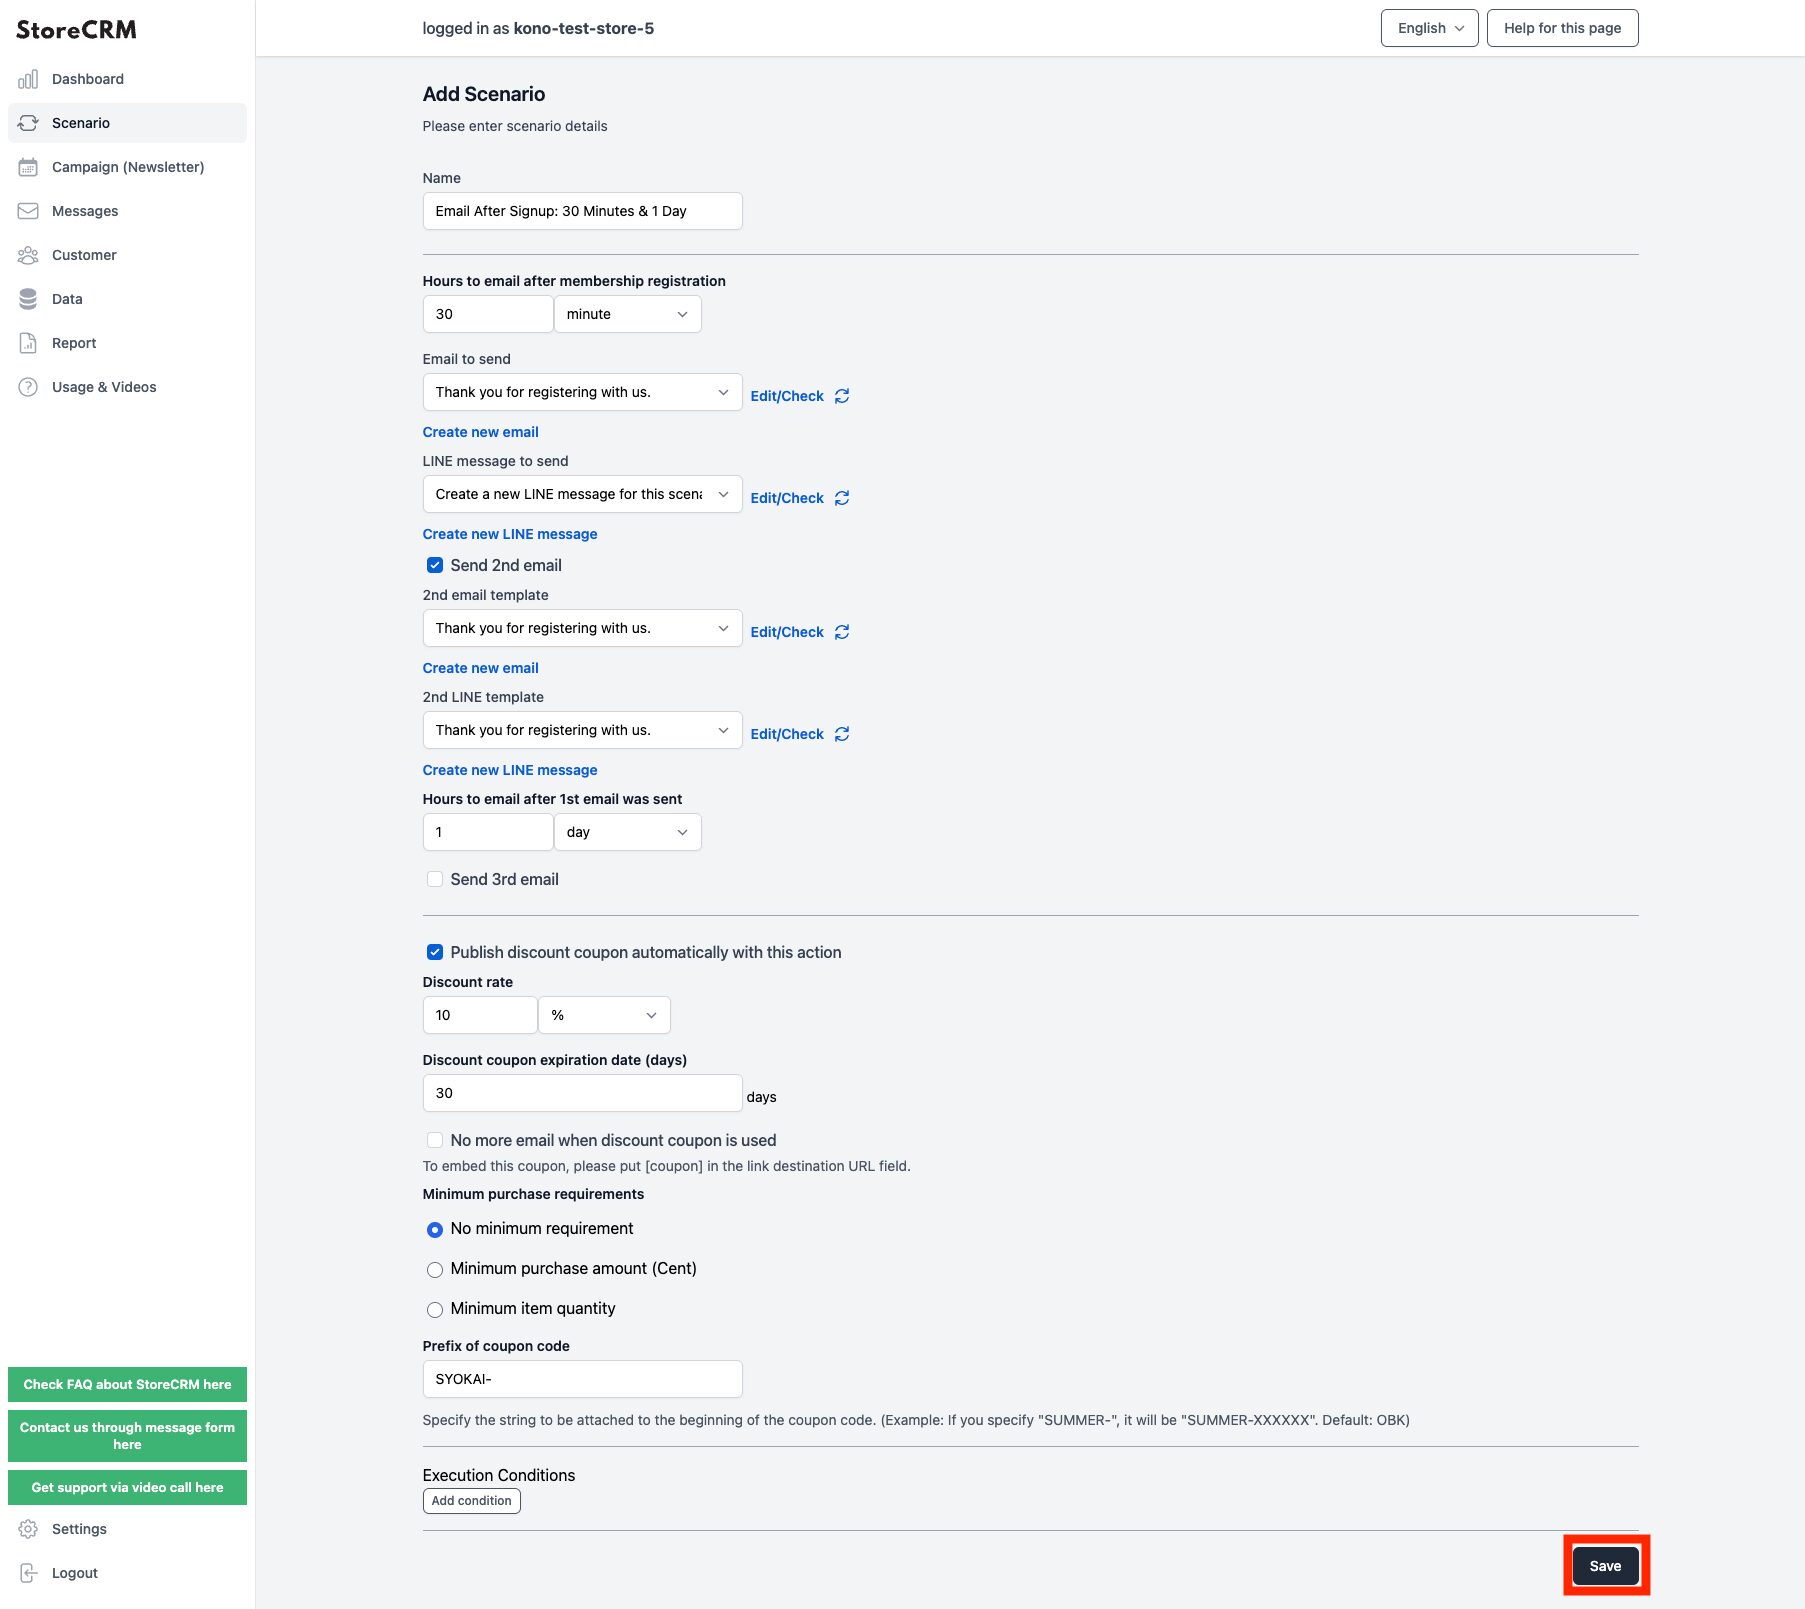
③The scenario settings screen will appear. Configure the email schedule and frequency. Once done, click [Save] at the bottom right.
- Send a thank-you email 30 minutes after registration
- Send a coupon email one day after the first email
- Use 'SYOKAI-' as the prefix for the coupon code
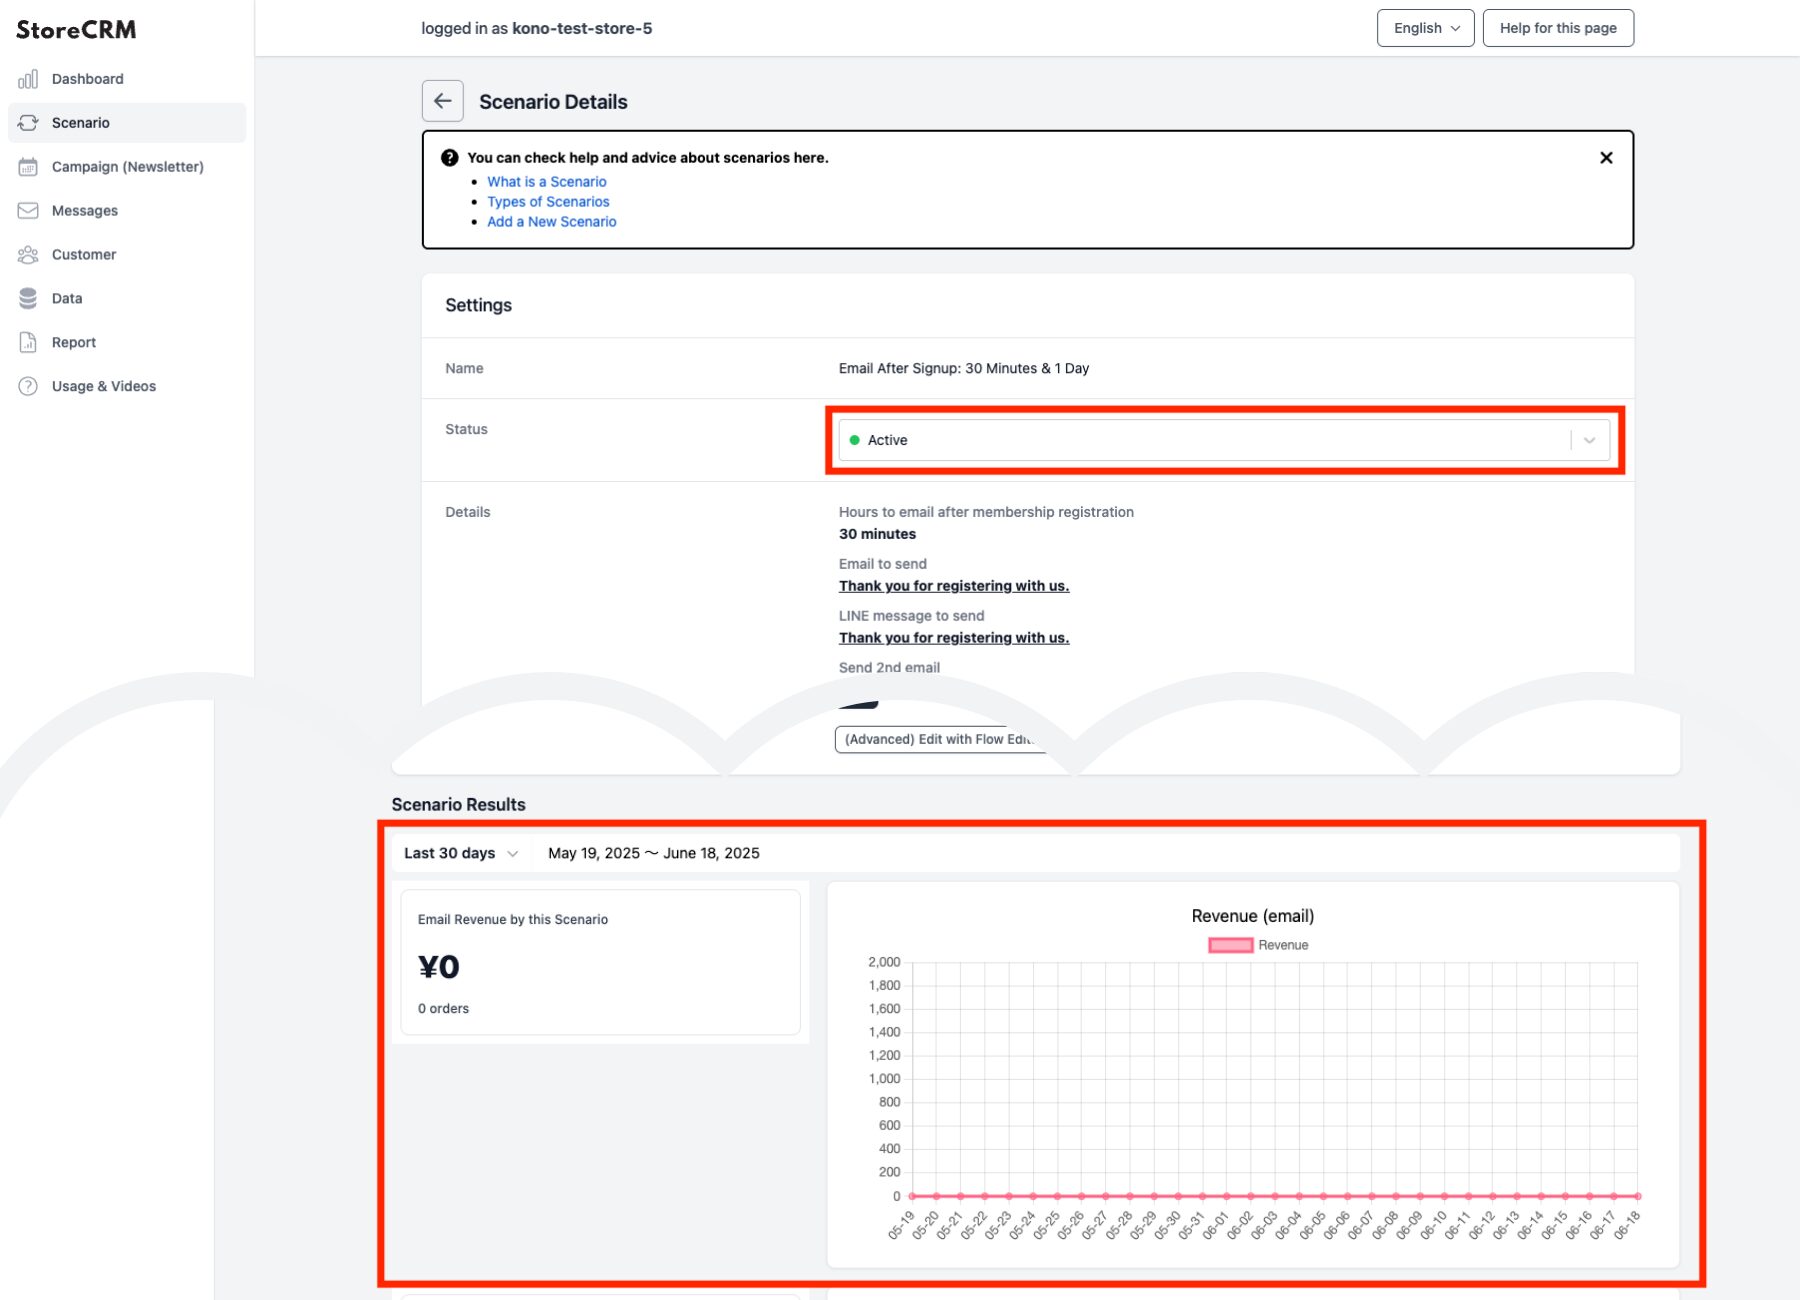
④After completing the settings, click the [Save] button to create the scenario and view the details.
Clicking the toggle switch at [Enable?] will activate the scenario and emails will be sent based on the conditions you set.
*Emails that match the scenario are automatically generated when the scenario is created.
If you want to customize the email, refer to the next section for editing instructions.
You can also check the effectiveness of the scenario such as sales and open rates from [Scenario Results].
This completes the scenario creation.
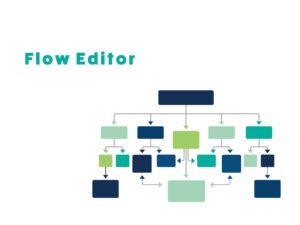
Editing the Email
StoreCRM provides pre-made templates for drip emails, so you can run scenarios as-is if desired.If you want to match the email to your store’s tone and design, or convey messages in your own words, you can edit it using the email editor.
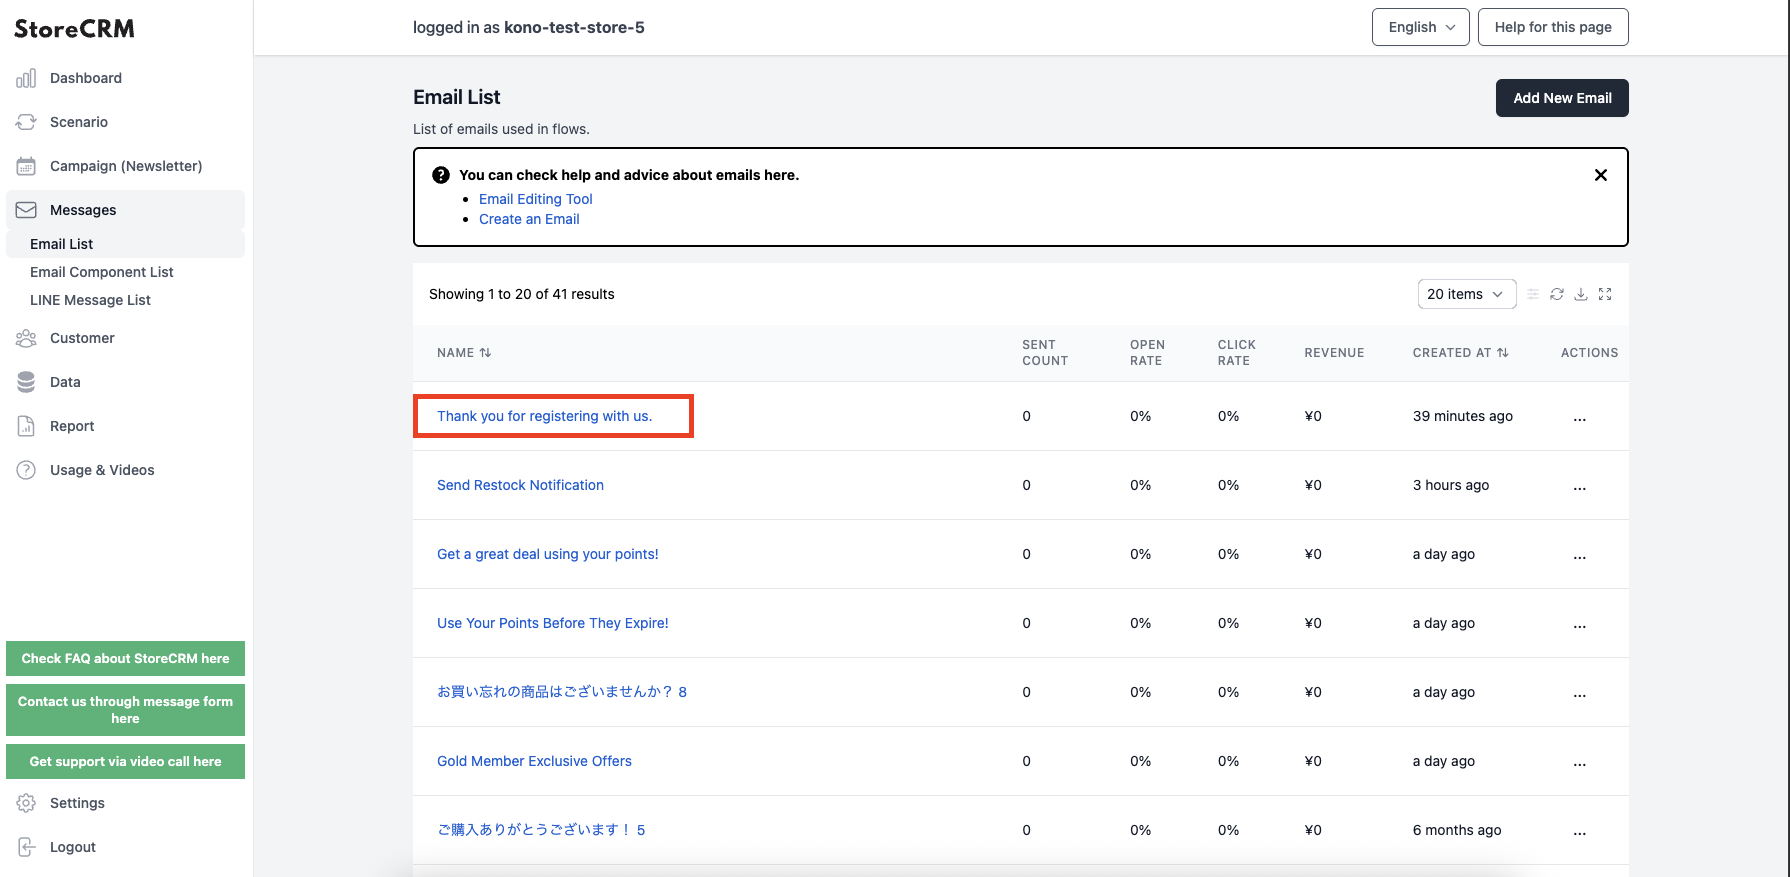
➀Open the StoreCRM app page and click [Email] > [Email List].
Click the name of the email you want to edit from the email list.
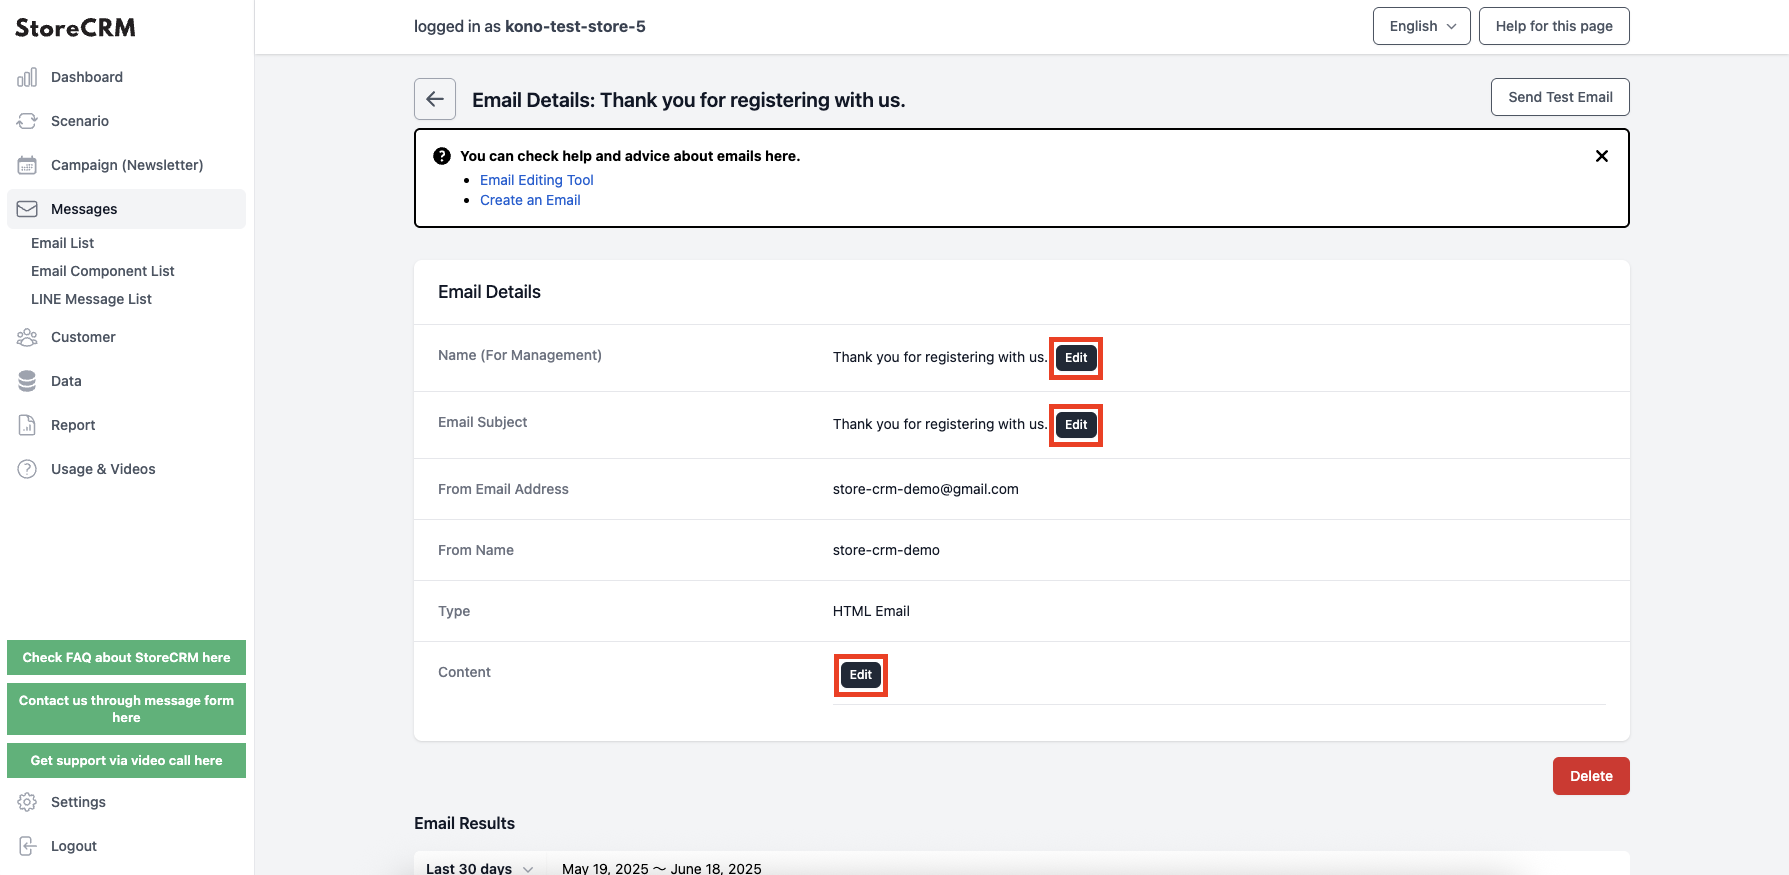
➁From the email details page, click [Edit] to customize the [Email Name (for admin use)], [Email Title], and [Body].
Create emails that match your store’s tone and aim to improve open rates and CVR.*
*CVR stands for Conversion Rate and indicates the percentage of users who complete a desired action, such as a purchase or sign-up.
To embed a coupon in the email, create a button or link with the target [coupon]. Implement this via [Body] > [Edit].