
Introduction
Sending a coupon in a birthday email is a highly effective way to improve retention in an ecommerce store. Telling customers that they will receive a coupon on their birthday is also a good way to encourage them to create an account in the first place.
This article covers the groundwork for birthday email campaigns: how to add a date-of-birth form to Shopify with StoreCRM, and what to watch out for along the way.
Read here for how to send birthday emails.
How this differs from classic customer accounts
With classic customer accounts, you added the date-of-birth form by editing the theme's `customer/register.liquid` or `customer/account.liquid` files.
New customer accounts work differently: instead of a password-based signup page, customers log in with a one-time code sent to their email. That means you cannot add Liquid code to a theme signup page any more.
With new customer accounts you add the StoreCRM app block from Shopify's checkout and customer accounts editor, and collect the date of birth at one of these moments:
- The customer account profile page
- The order confirmation (thank-you) page
- The order status page
Because the form can be shown after a first login or a first purchase, stores on new customer accounts can still collect everything a birthday email campaign needs.
Supported placements
StoreCRM's support for new customer accounts covers the following app blocks.
- Profile page — the customer registers their date of birth on their account page after logging in. This is the primary placement.
- Order confirmation page — the customer registers immediately after checking out. Good for prompting registration right after a first purchase.
- Order status page — the customer registers while checking their order details. Reaches customers who come back after buying.
In the checkout and customer accounts editor you will see a `StoreCRM Birthday` block you can add to each placement. Select the page you want — profile, order confirmation or order status — and then add the app block.
Customers whose birthday is already on file do not see the form. On the profile page they see their registered birthday and a short note instead, and cannot register again.
Improving the collection rate right after signup

The StoreCRM app block can collect dates of birth on the profile page, the order confirmation page and the order status page.
Because new customer accounts do not let you edit the signup form freely from the theme, however, a dedicated app is worth considering if you want customers to be taken to an extra-information screen immediately after logging in or signing up.
For example, the Shopify app [New customer accounts signup form - MetaSync] can display a signup form immediately after a customer logs in with a new customer account.
👇 Install it here
https://apps.shopify.com/al-customermetasync

Because the app can send customers straight to the date-of-birth field after signup, it tends to collect more birthdays than asking them to fill it in later on the profile page or the order confirmation page.
MetaSync can also collect phone numbers, SMS consent, gender, privacy policy consent and survey answers as customer metafields, not just birthdays.
If you want to use the dates it collects in StoreCRM, configure it to save to the same metafield as StoreCRM's `birthday metafield` — `facts.birth_date`, for example.
MetaSync is a separate app from StoreCRM, so please check its developer's documentation for pricing, specifications and support coverage.
Before you start
Check the following before you begin.
- The StoreCRM app is installed on your Shopify store.
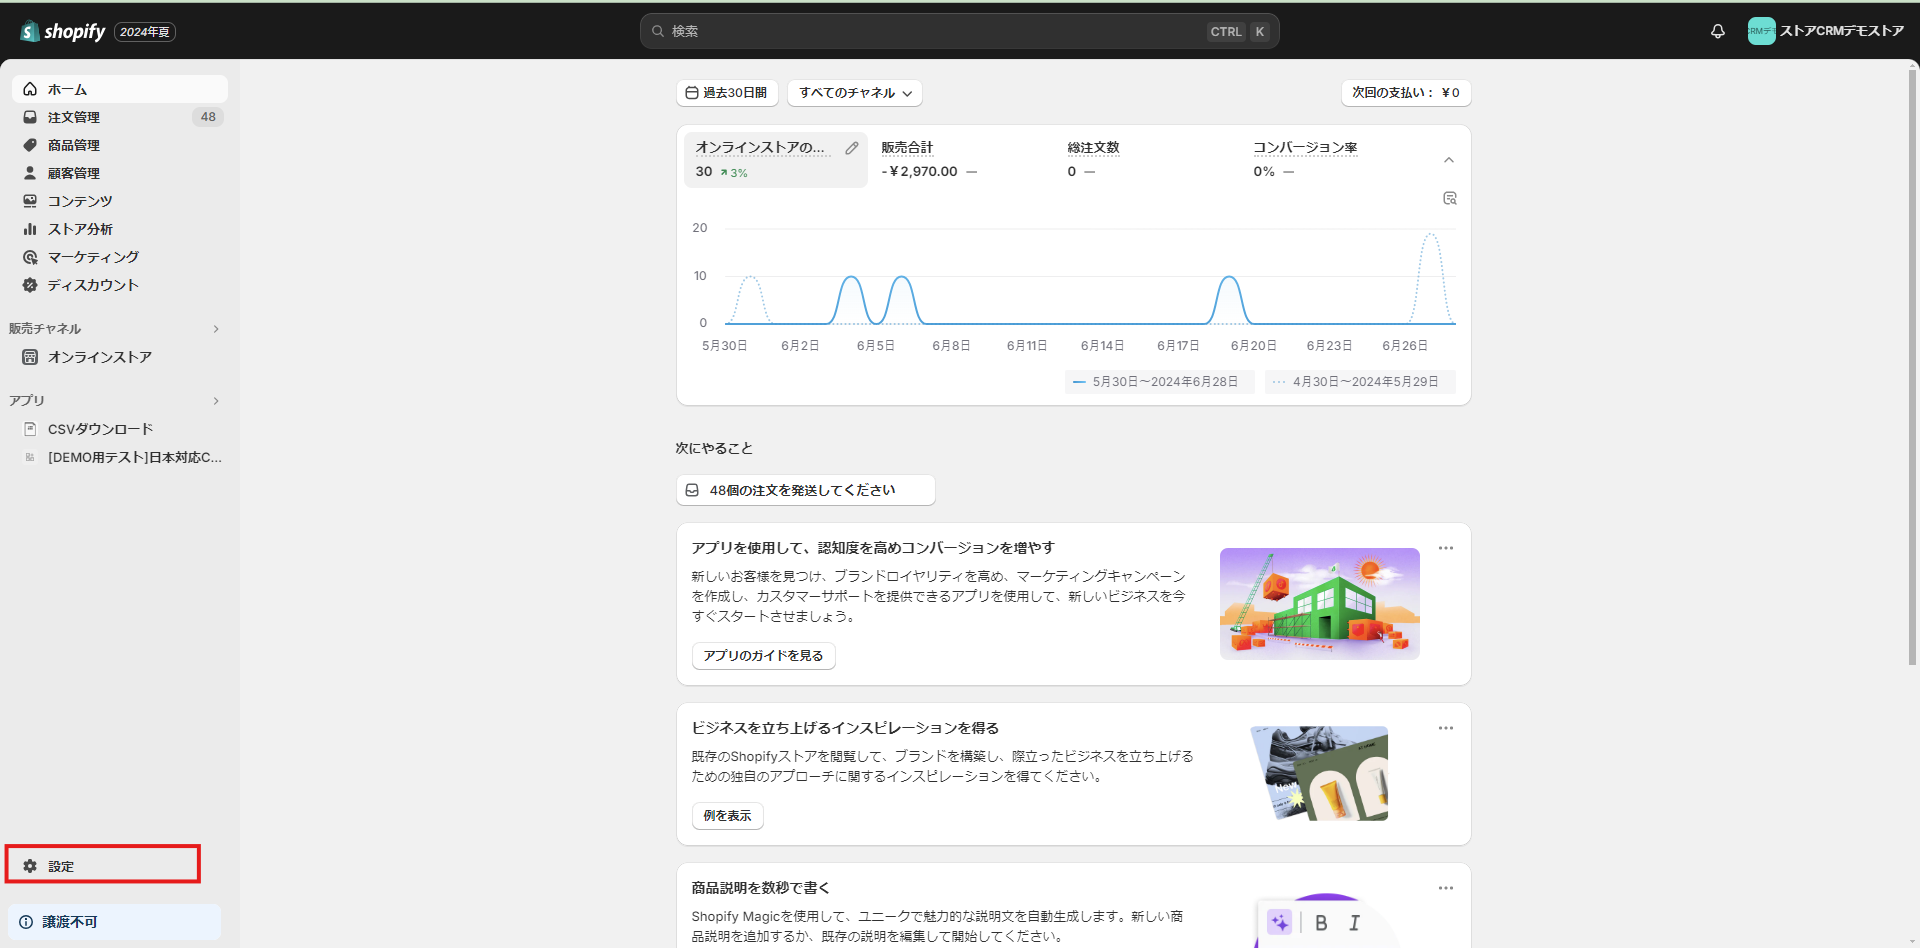
- New customer accounts are enabled under `[Settings] > [Customer accounts]` in the Shopify admin.
- The customer account login link is live so that customers can reach the profile page.
- You have a test customer account available.
- You have told customers why you collect their date of birth, in your privacy policy or during signup.
With new customer accounts there is no need to edit theme Liquid or JavaScript directly.
Creating the customer metafield
StoreCRM reads the date of birth stored in a Shopify customer metafield and copies it into the customer record on the StoreCRM side.
By default it uses the following Shopify standard metafield.
- Namespace: `facts`
- Key: `birth_date`
- How it is written in StoreCRM: `facts.birth_date`
- Content type: date
If the metafield does not exist yet, create it as follows.

To offer a birthday field you first need a customer metafield to store it in.
1. In the Shopify admin, go to [Settings] > [Custom data] > [Customers].

2. Click [Add definition].

3. Type [Date of birth] as the name and a suggestion appears below the field; click it.

4. Under Options > Customer account access, select [Read and write], turn on Storefront API access, and click [Save].
If you already store dates of birth in a different metafield, make a note of its namespace and key. You will enter the same values in the StoreCRM settings below.
Check the StoreCRM customer settings
Next, confirm which birthday metafield StoreCRM reads from.

1. Open the StoreCRM app.

2. Go to [Settings] > [Customer settings].

3. Confirm that `birthday metafield` is set to `facts.birth_date`.

namespace.key form.For example
custom.birthday — the namespace and the key joined with a dot.

5. Click [Save].
Adding the date-of-birth form to the profile page
In this section we add the date-of-birth form to the customer account profile page.
The profile page is where a logged-in customer reviews their own information. Customers who have not registered a birthday see the form; those who have see their current birthday along with a short note.
What you will build in this section

The StoreCRM birthday block appears on the customer account profile page.
Before registration the customer sees a date field and a submit button. After registration, the birthday can no longer be changed from that screen.
Steps

1. In the Shopify admin, open `[Settings] > [Checkout]`.


3. When the checkout and customer accounts editor opens, choose `[Profile]` in the page selector.

4. Find `StoreCRM Birthday` under `[Apps]` on the left. `[Profile]` is listed as a destination, so add the block there.

5. Drag and drop the block in the left-hand panel to put it exactly where you want it.

Adding the form to the order confirmation and order status pages
The date-of-birth form is not limited to the profile page — you can also place it on the order confirmation page and the order status page.
That is a good option if you want to promote a birthday coupon right after purchase, or collect the date of birth before sending customers to their profile page.
What you will build in this section


The blocks on the order confirmation and order status pages appear only when the customer can be identified and no birthday is on file.
Adding it to the order confirmation page

1. Open the checkout customisation page exactly as before.

2. Choose `[Thank you]` in the page selector.

3. Add `StoreCRM Birthday` from the block picker on the left.

4. Drag and drop the block in the left-hand panel to put it exactly where you want it.

5. Adjust the wording and the button styling in the settings panel on the right if you need to, then click `[Save]`.
Adding it to the order status page
1. Open the checkout customisation page exactly as before.

2. Choose `[Order status]` in the page selector.

3. Add `StoreCRM Birthday` from the block picker on the left.

4. Drag and drop the block in the left-hand panel to put it exactly where you want it.

5. Adjust the wording and the button styling in the settings panel on the right if you need to, then click `[Save]`.
Adjusting the copy and the design

The following options are available for the StoreCRM Birthday block in the checkout and customer accounts editor.
- Title — the heading at the top of the block. Defaults to `Birthday` if left empty.
- Description — the explanatory text next to the date field. Defaults to StoreCRM's standard wording if left empty.
- Button label — the text on the save button. Defaults to `Register your birthday` if left empty.
- Note for registered customers — text shown on the profile page only when a birthday is already on file.
- Button style — choose from `primary`, `secondary`, `critical`, `monochrome` and `plain`.
- Field size — choose from `wide`, `middle` and `small`.
- Field alignment — choose from `left`, `center` and `right`.
- Button size — choose from `wide`, `middle` and `small`.
- Button alignment — choose from `left`, `center` and `right`.
[Tip]
In the profile page's `note for registered customers` you can link to your contact form using the following format.
Your birthday cannot be changed from this screen once registered. If you need to change it, please get in touch through our [contact form](https://example.com/contact).
Links must start with `https://`, `mailto:` or `tel:`.
Testing your setup
Once everything is configured, test it as follows.
Testing the profile page
- Prepare a test customer with no birthday on file. 2. Log in to your store's customer account. 3. Open the profile page. 4. Confirm that the date-of-birth form appears. 5. Enter a date and click `Register your birthday`. 6. Confirm that `Your birthday has been saved.` appears. 7. Reload the page and confirm that the form no longer appears and the registered birthday is displayed instead.

Testing the order confirmation and order status pages
1. Place a test order as a customer with no birthday on file. 2. Open the order confirmation page or the order status page. 3. Confirm that the date-of-birth form appears. 4. Enter a date and click `Register your birthday`. 5. Confirm that the save confirmation message appears.
Checking in the Shopify admin
1. Open `[Customers]` in the Shopify admin. 2. Open the test customer. 3. Confirm that the date you entered is stored in the `Date of birth` metafield.

Checking in StoreCRM
1. Open the StoreCRM app. 2. Go to `[Customers] > [Customer list]`. 3. Click the test customer. 4. Confirm that the birthday field on the customer detail page shows the date you registered.

Once you have confirmed all of the above, the setup is complete.
Common problems
The StoreCRM Birthday block does not appear
Check the following.
– Is the StoreCRM app installed? – Are you in Shopify's checkout and customer accounts editor? – Are you using new customer accounts? – Is the page you are adding it to the profile, order confirmation or order status page?
If you still cannot find the block, contact us through the contact form and we will check StoreCRM's support status for your setup.
The form does not appear for customers
The form is hidden in the following cases.
– A birthday is already on file – The customer is not logged in – The customer cannot be identified on the order confirmation or order status page – StoreCRM is still loading the customer data, or failed to load it
To test with a customer who already has a birthday, use a different test customer.
The birthday cannot be saved
Check the following.
– Is the date in the future? – Is it a valid date? – Is the connection between Shopify and StoreCRM active? – Is StoreCRM's `birthday metafield` written in `namespace.key` form?
Saving repeatedly in a short space of time can trigger a temporary limit. Wait a while and try again.
I need to change a birthday
Once registered, a birthday cannot be changed from the customer account screens.
If a correction is needed, edit the customer metafield in the Shopify admin or contact StoreCRM support.
Do the same steps work with classic customer accounts?
If you are using classic customer accounts, follow the classic instructions — adding the form to the theme's signup page or account page — rather than the steps in this article.
Summary
With new customer accounts, you collect dates of birth by adding the StoreCRM app block from the checkout and customer accounts editor, rather than editing theme Liquid.
StoreCRM lets stores on Shopify's new customer accounts collect the dates of birth that birthday email campaigns need, and put them to work in birthday and birth-month campaigns.
Read here for how to send birthday emails.
We also offer free setup support — we will configure the app for you — as well as suggestions for growing revenue once you are up and running. Feel free to get in touch through the contact form.


