Table of Contents
ToggleThis article explains how to add a Favorite Button to the Collection Page using StoreCRM for Shopify.
Adding a favorite feature to your e-commerce site helps customers by reducing the effort needed to re-search products they are interested in. It also makes it easier for them to discover related products or promotions based on what they’ve favorited, leading to a better customer experience.
From the store owner’s perspective, understanding each customer’s interests and preferences allows for more precise marketing strategies. You can also offer tailored suggestions and promotional campaigns (cross-sells and up-sells) based on favorite items, creating additional opportunities for sales.
With StoreCRM, there’s no need for other favorite apps—everything from the favorite feature to data-driven marketing strategies is included.All of this can be done using just this app.
Adding a favorite feature benefits both customers and store owners, so it’s highly recommended.
For details on how to add and customize the favorite button on product pages, visit here.
This article explains the process using the free Dawn theme.
Paid themes or customized themes may have different file structures. Please contact StoreCRM customer support for implementation assistance.
Feel free to contact us via the inquiry form at Contact us.
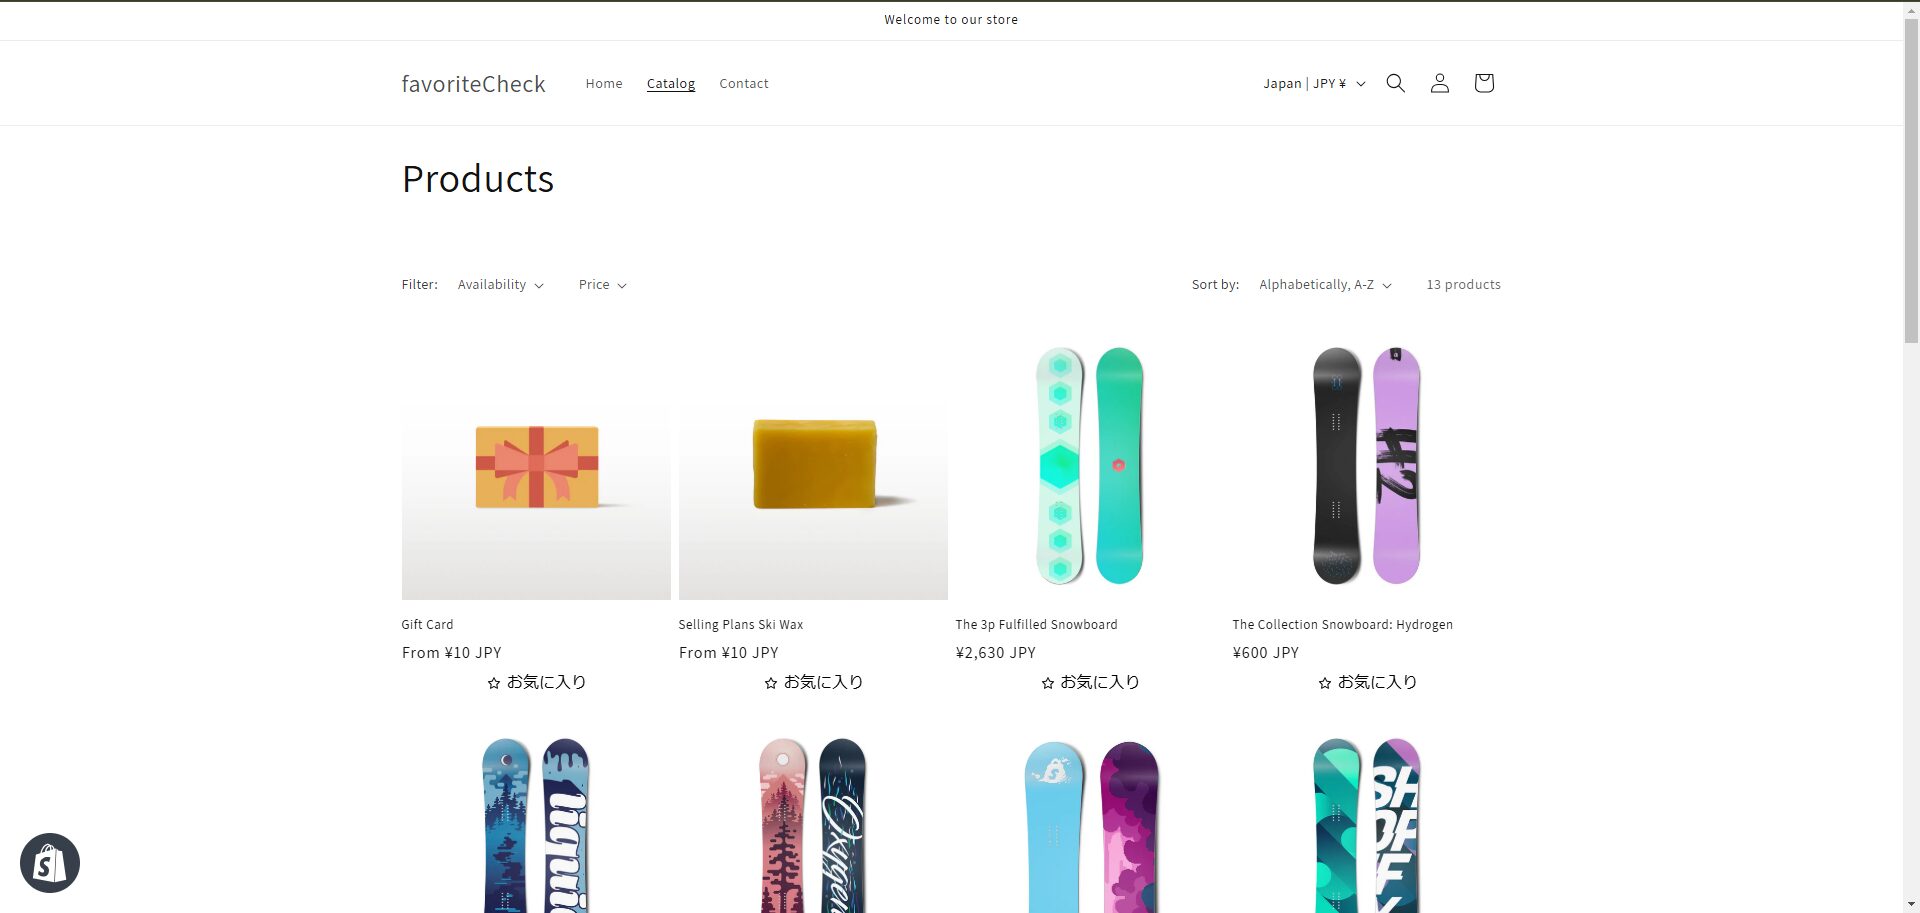
Let’s start by checking the final look of the favorite button that we will implement.
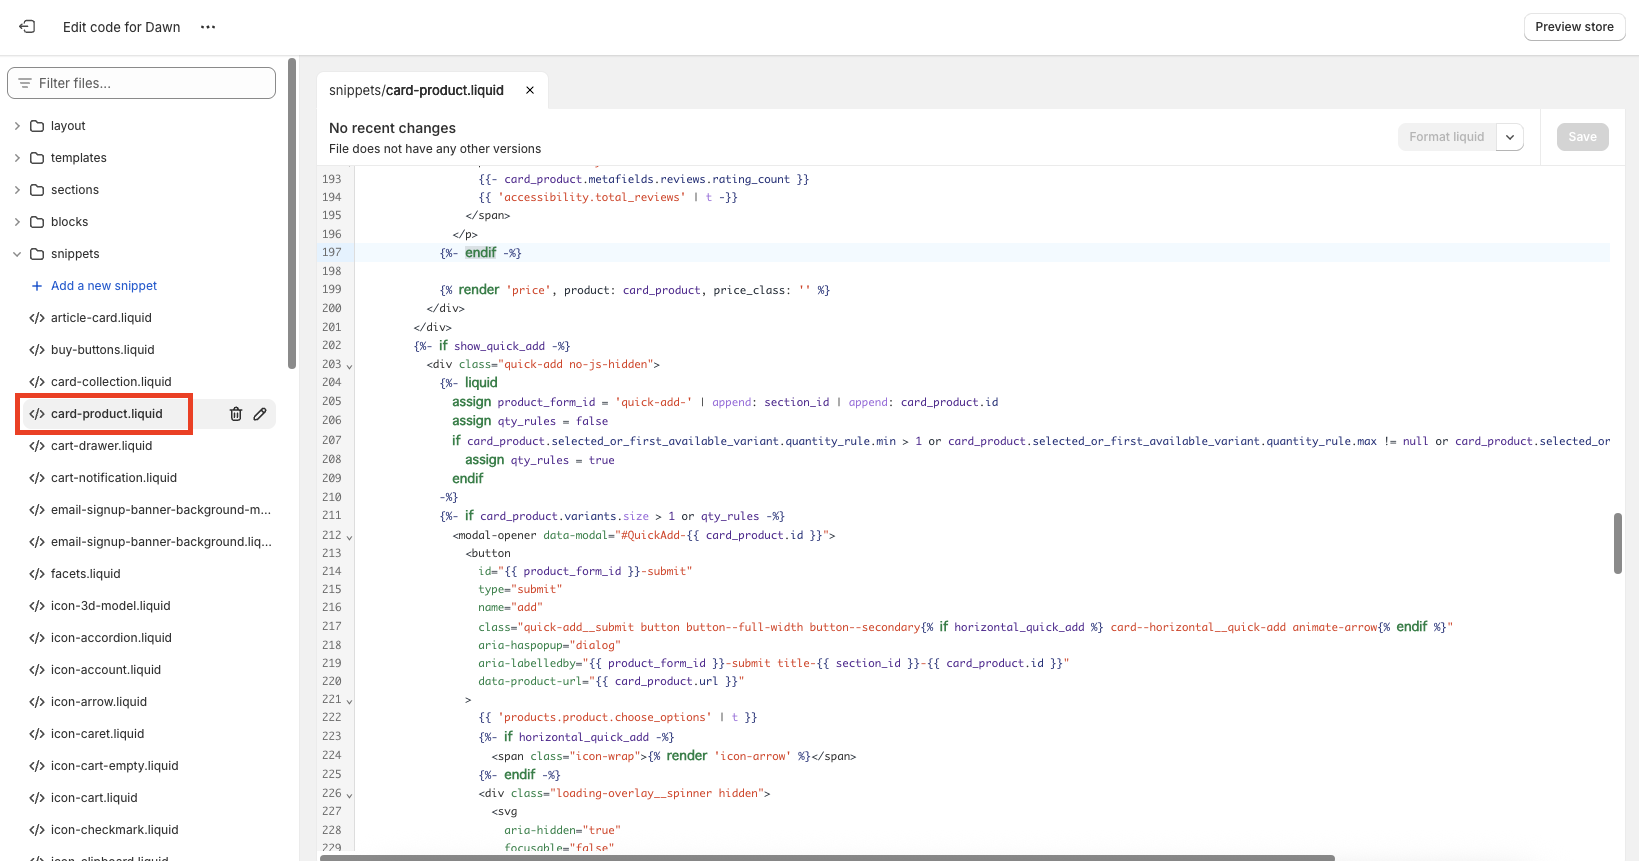
In the following steps you’ll edit your theme. If you’re unsure, we recommend selecting 'Duplicate' to make a copy and edit the duplicated version.

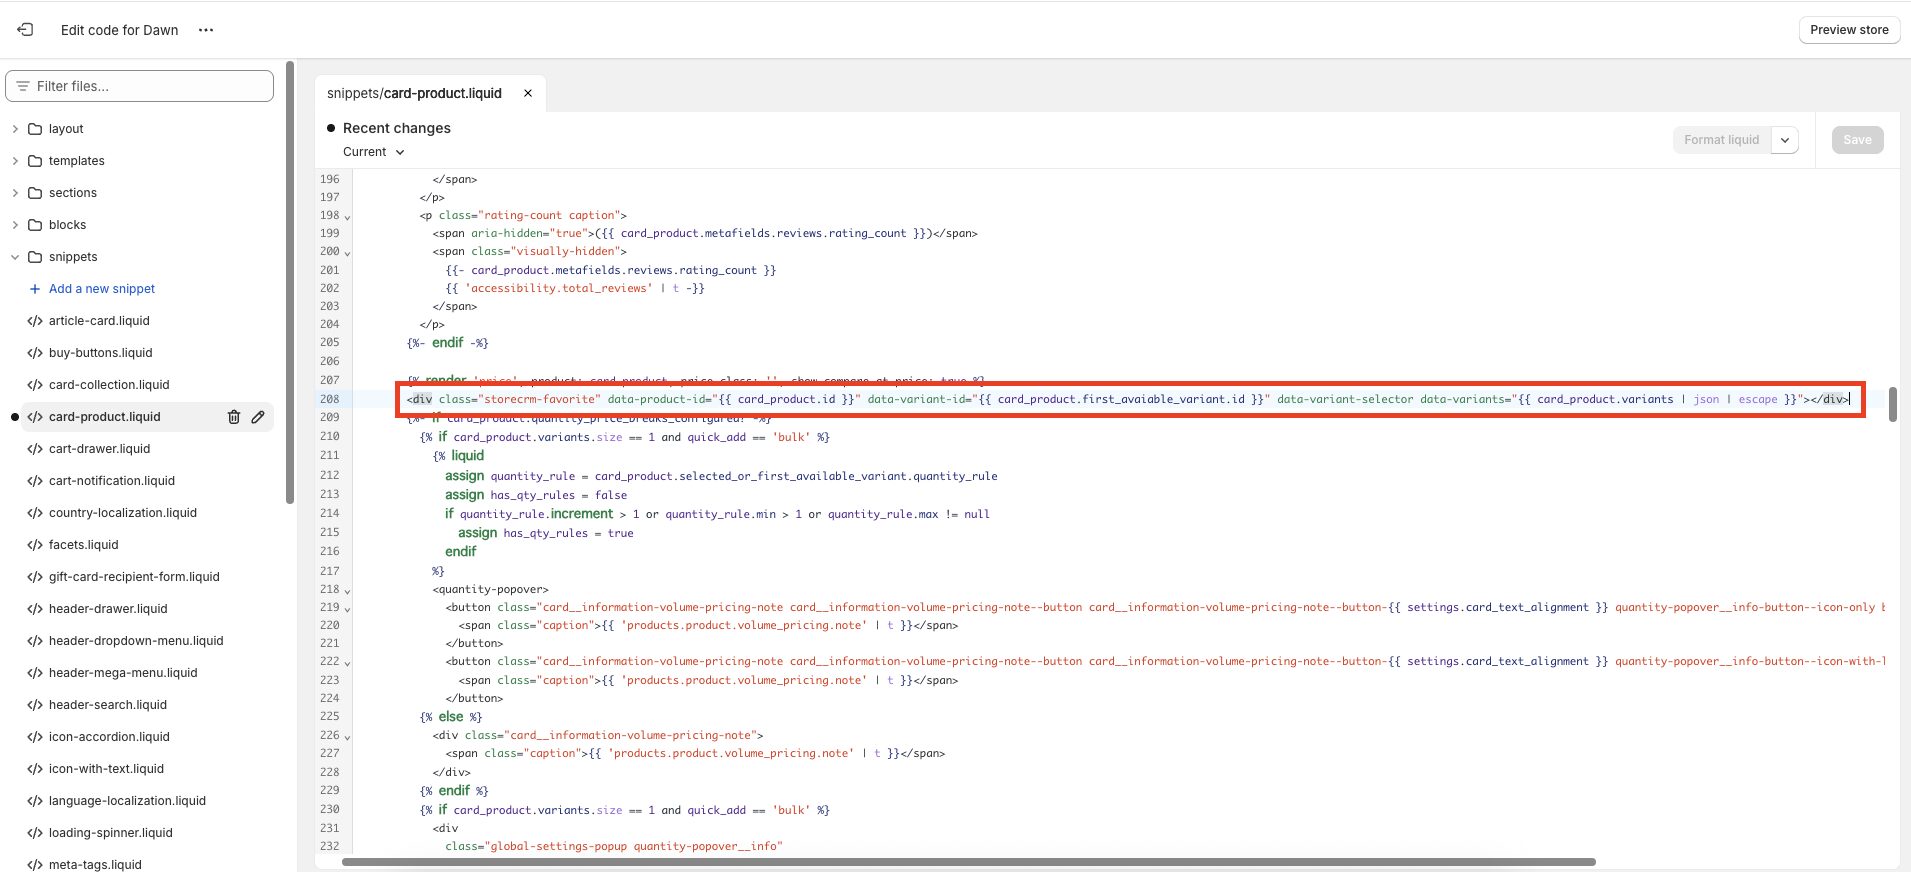
③At line 207,{% render 'price', product: card_product, price_class: '', show_compare_at_price: true %}paste the following code below.You can choose whether to include text on the favorite button depending on your store’s design.
Be sure to save your changes just in case.
[Version with Text]
<div class="storecrm-favorite" data-product-id="{{ card_product.id }}" data-variant-id="{{ card_product.first_avaiable_variant.id }}" data-variant-selector data-variants="{{ card_product.variants | json | escape }}"></div>[Version without Text]
<div class="storecrm-favorite" data-product-id="{{ card_product.id }}" data-variant-id="{{ card_product.first_avaiable_variant.id }}" data-no-label data-variant-selector data-variants="{{ card_product.variants | json | escape }}"></div>
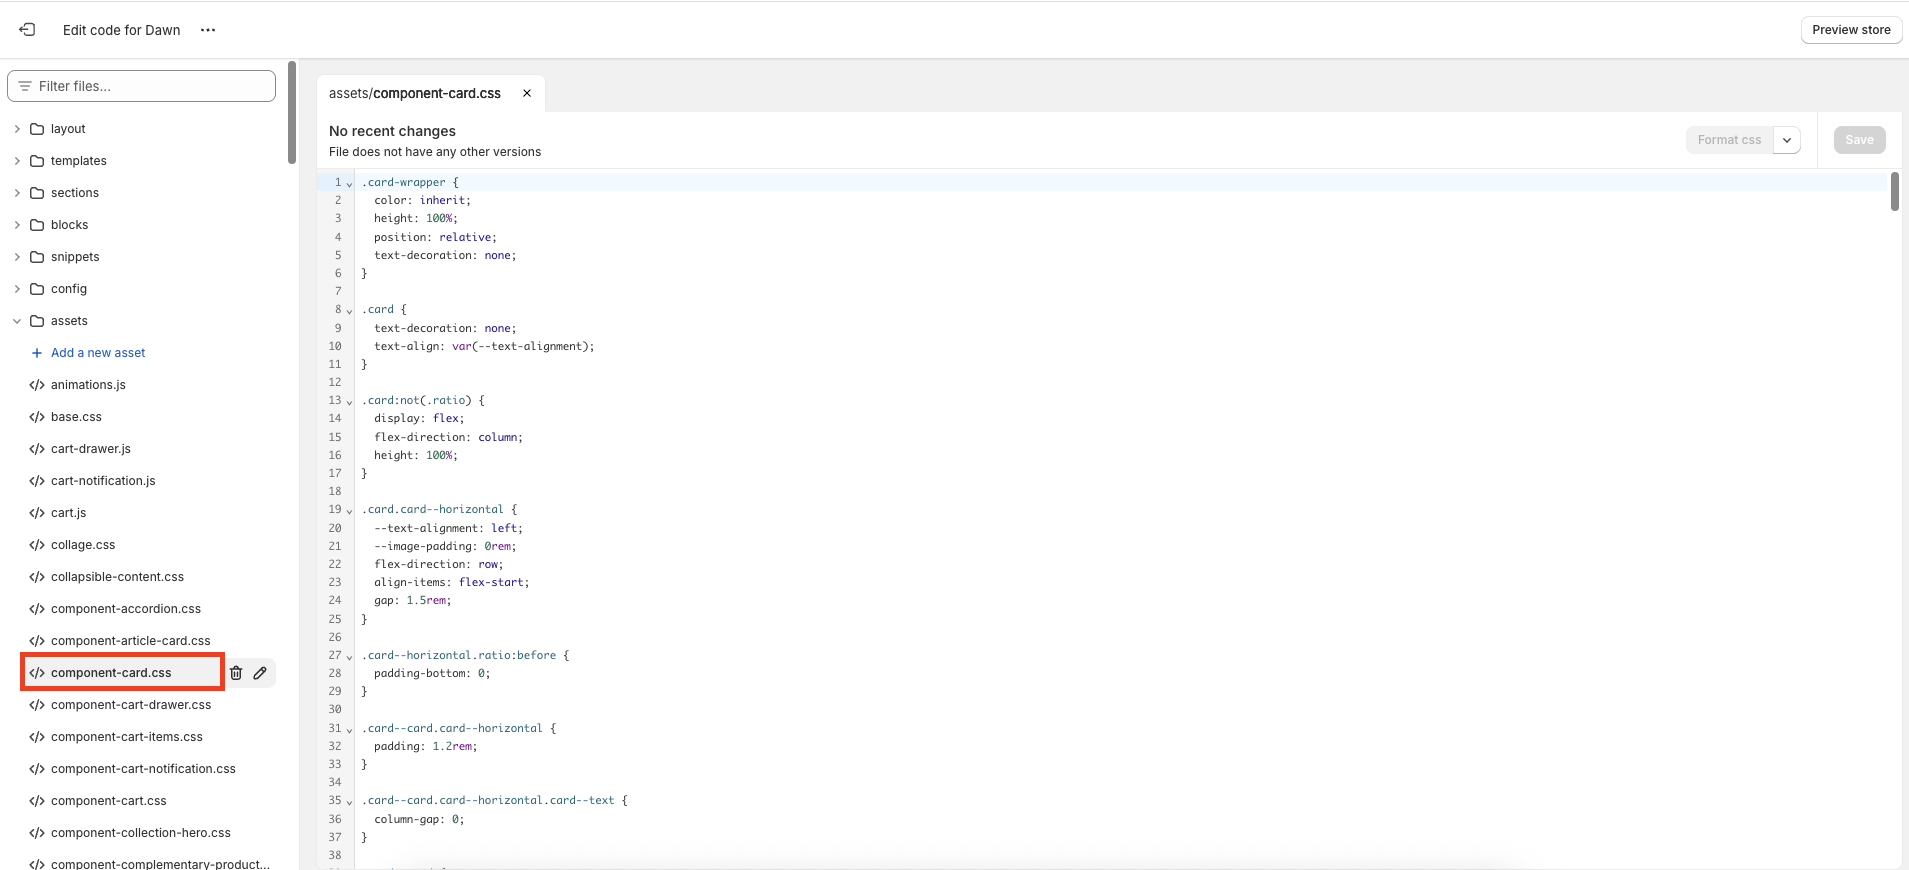
④Open [asset] → [component-card.css].

⑤ [.card__heading a::after]でsearch and modify line 350 frombottom: 0; → bottom: 50; and change it as shown below.
Be sure to save your changes just in case.
⑥Check the collection page to confirm the favorite button is displayed correctly.
Using StoreCRM, you can implement strategies like the favorite feature introduced here without the need for separate apps or MA integrations.
We are also preparing scenarios that utilize the favorite registration information introduced here, so stay tuned.
StoreCRM also offers free setup support and sales consulting for customers who adopt the app.
Feel free to contact us via the inquiry form at Contact us.